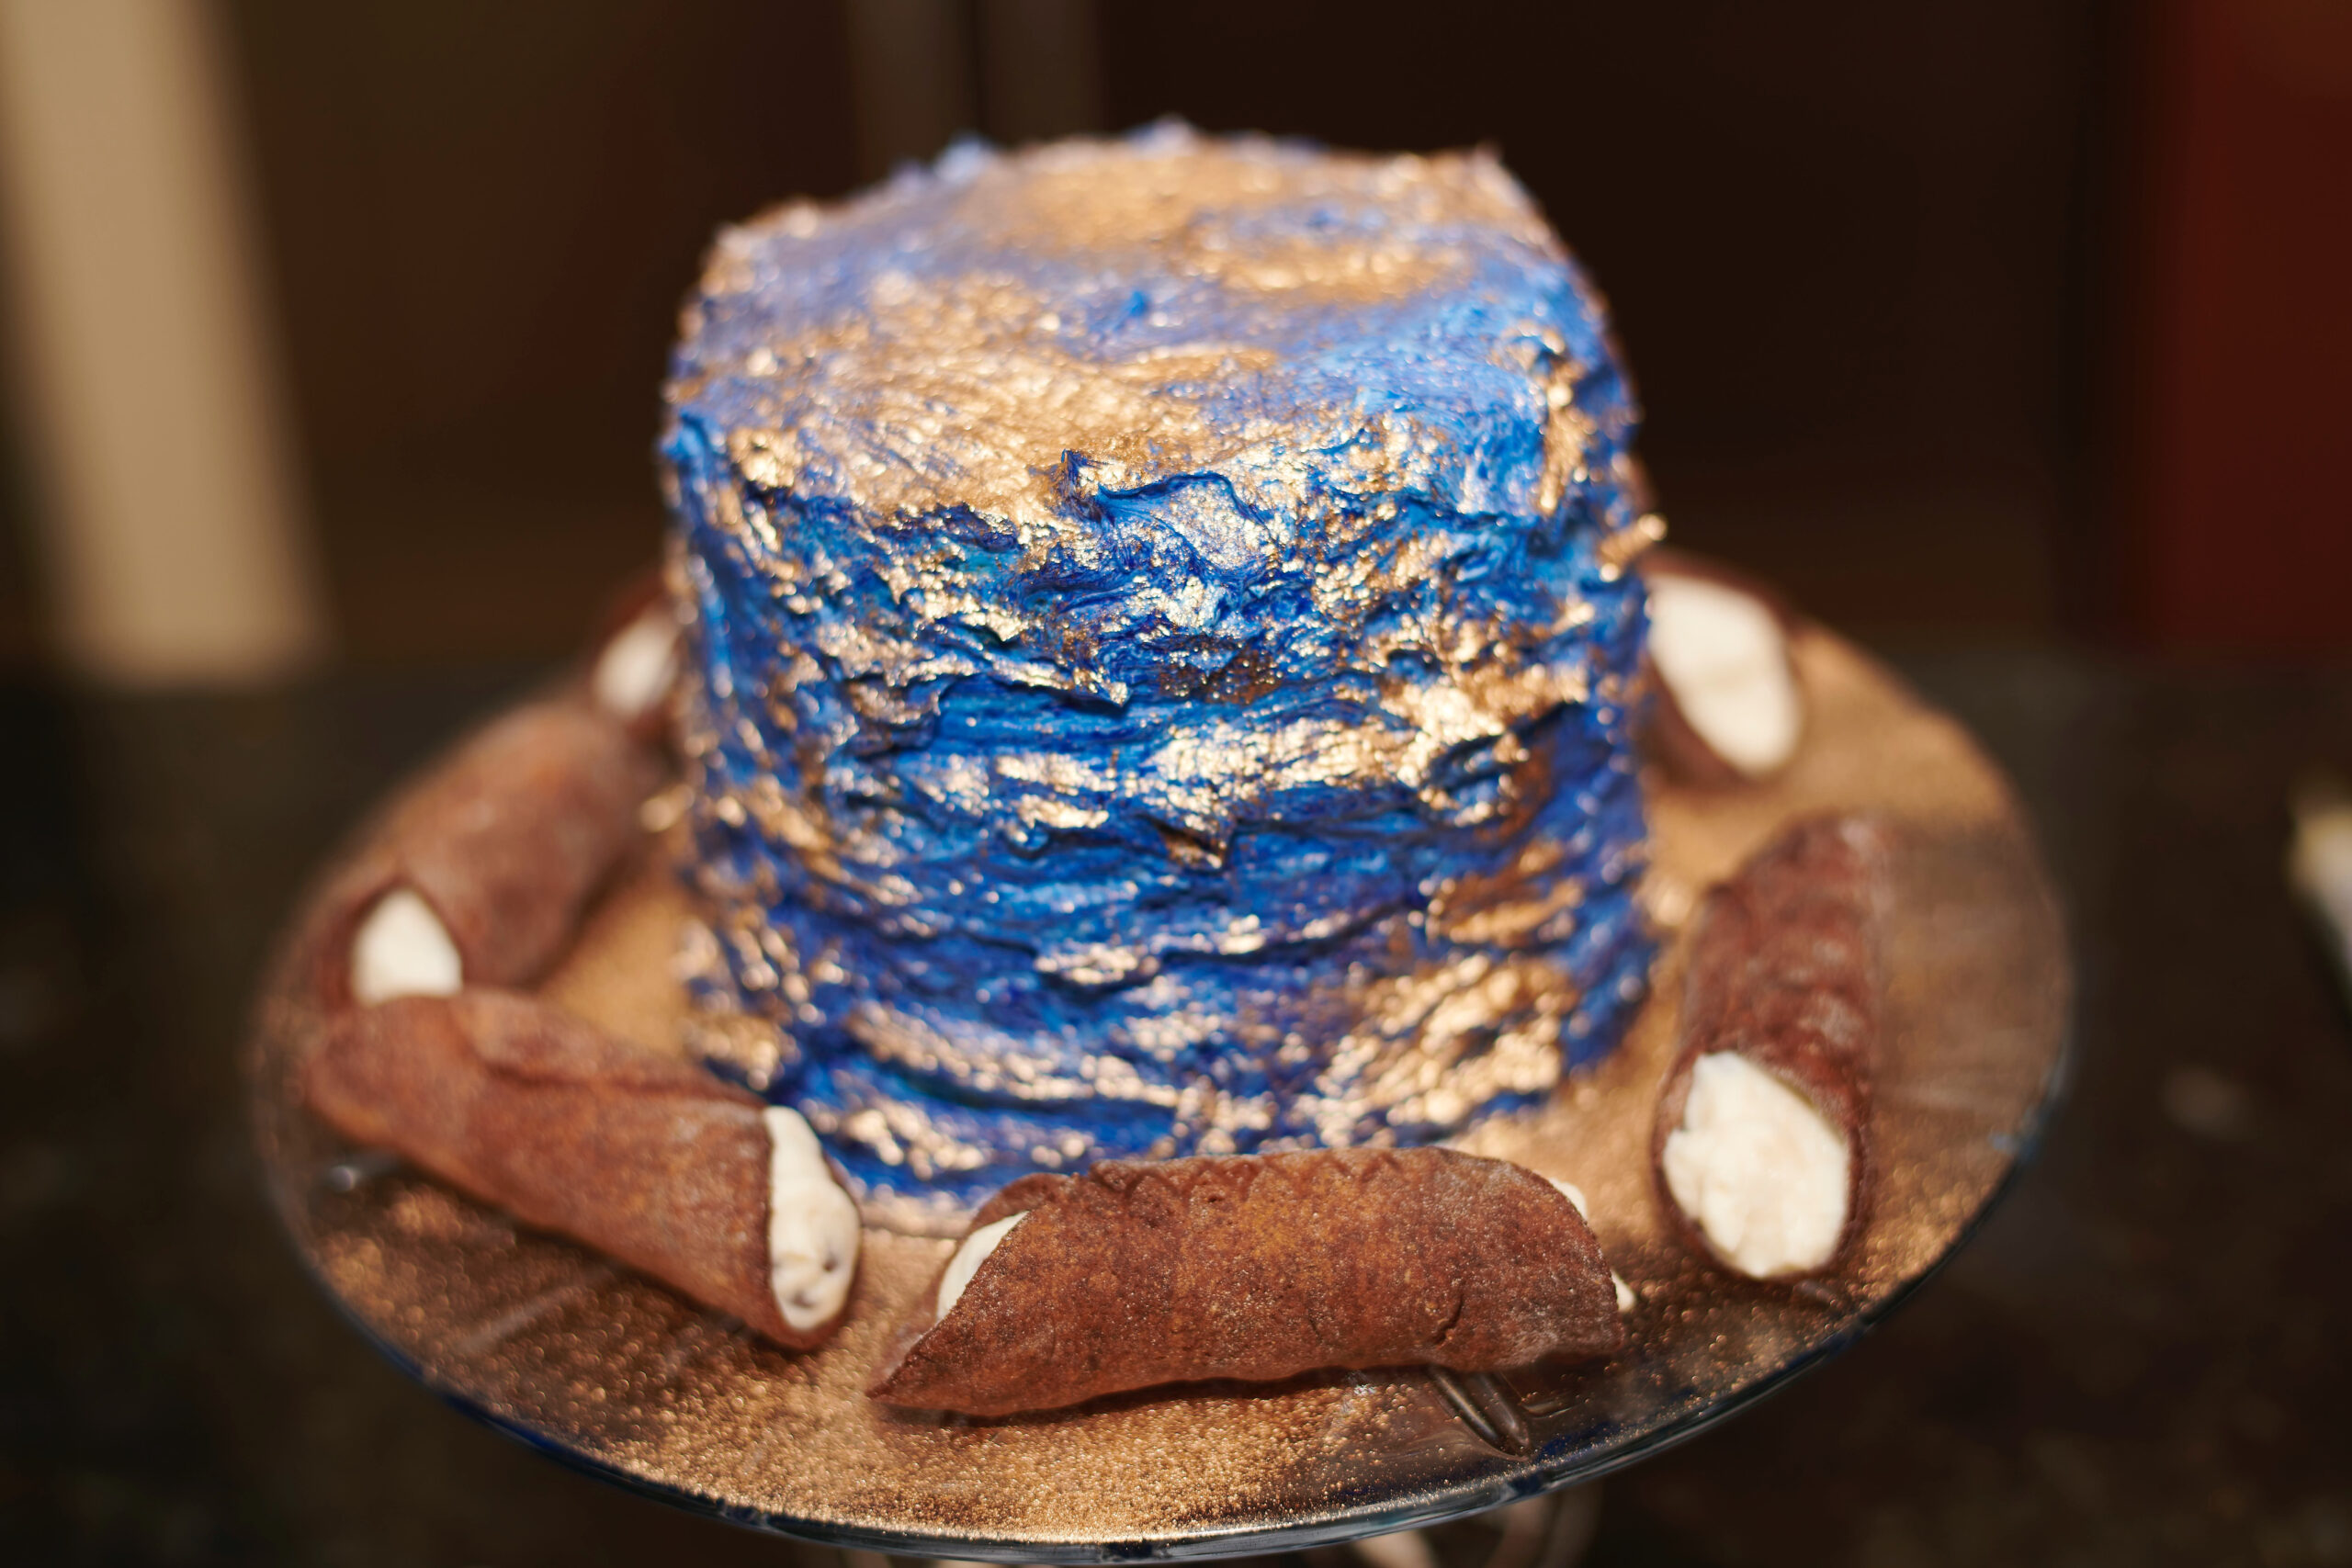
Make the best gluten-free cannoli with crisp homemade shells and a creamy ricotta mascarpone filling with citrus, cinnamon, and chocolate chips.
Learn how to make the best gluten-free cannoli recipe with crisp homemade cannoli shells and a rich ricotta mascarpone filling. This classic Italian dessert is perfect for holidays, celebrations, family gatherings, and other special occasions.
There is nothing quite like biting into a freshly filled cannoli with its crisp, golden shell and smooth, creamy center. These homemade gluten-free cannoli shells fry until beautifully crisp and develop the delicate bubbles associated with traditional cannoli.
Whole milk ricotta and mascarpone give the filling a luxurious texture, while fresh citrus zest, vanilla, cinnamon, and mini chocolate chips provide a balanced combination of sweetness, warmth, and bright flavor. Draining the ricotta thoroughly is essential for creating a thick filling that holds its shape when piped.
Prepare the shells and filling ahead of time, but keep them separate until shortly before serving. Filling the shells at the last minute preserves their signature crunch and gives every cannoli a bakery-quality texture.
Directions
Step 1: Drain the Ricotta
If needed, place the ricotta in a fine-mesh sieve lined with cheesecloth and set it over a bowl. Cover and refrigerate for several hours or overnight, allowing the excess liquid to drain completely. Properly drained ricotta produces a thick, creamy filling that pipes easily without making the shells soggy.
Step 2: Prepare the Cannoli Filling
Combine the drained ricotta, mascarpone, confectioners’ sugar, vanilla extract, lemon or orange zest, cinnamon, and salt in a large mixing bowl.
Using a hand mixer or a stand mixer fitted with the paddle attachment, mix on low speed until the filling is smooth and creamy. Avoid overmixing.
Fold in the mini chocolate chips with a rubber spatula. Cover the filling and refrigerate it for at least 1 hour while preparing the cannoli shells.
Step 3: Combine the Dry Ingredients
Whisk the rice flour, tapioca flour, potato starch, xanthan gum, granulated sugar, salt, cinnamon, and optional cocoa powder together in a medium bowl until evenly combined.
Step 4: Combine the Wet Ingredients
Lightly beat the cold egg in a small bowl. Add the ice water and vanilla extract, then whisk until thoroughly combined.
Step 5: Make the Cannoli Dough
Add the cold butter or solid refined coconut oil to the dry ingredients. Use a pastry cutter, two knives, or your fingertips to cut the fat into the flour mixture until it resembles coarse crumbs.
Make a well in the center of the mixture and pour in the egg mixture. Mix with your hands until a dough begins to form.
If the dough feels dry or crumbly, add more ice water 1 teaspoon at a time. If it becomes sticky, dust it with a small amount of potato starch.
The finished dough should be smooth and easy to handle.
Step 6: Knead and Divide the Dough
Transfer the dough to a work surface generously dusted with potato starch. Knead it for 2 to 3 minutes, or until it becomes smooth and elastic.
Divide the dough into four equal portions. Place three portions in a resealable bag while working with the remaining portion so the dough does not dry out.
Step 7: Roll and Cut the Dough
Roll one portion of dough approximately 1/16-inch thick. Use a 3 1/2-inch round cookie cutter, biscuit cutter, or drinking glass to cut circles from the dough.
Dust the work surface and rolling pin with additional potato starch as needed to prevent sticking. Repeat with the remaining portions of dough.
Step 8: Heat the Frying Oil
Pour enough peanut oil or light olive oil into a deep fryer or heavy-bottomed pot to submerge the cannoli shells by at least 1 inch. Heat the oil to 375°F.
Lightly coat the outsides of the metal cannoli forms with a thin layer of the frying oil.
Step 9: Shape the Cannoli Shells
Roll each dough circle into a slightly larger oval approximately 4 to 5 inches wide, keeping it no longer than the cannoli form.
Wrap the dough around a metal cannoli form. Brush the overlapping edge with beaten egg white, then press firmly to seal it. Repeat with the remaining dough circles.
Step 10: Fry the Cannoli Shells
Carefully lower the prepared cannoli forms into the hot oil without overcrowding the pot. Fry the shells for 1 to 5 minutes, turning them occasionally, until they are crisp and lightly golden brown.
Monitor the oil temperature throughout frying and adjust the heat as needed to keep it close to 375°F.
Lift the shells from the oil and allow the excess oil to drain back into the pot. Transfer them to a wire cooling rack.
Step 11: Remove the Cannoli Forms
Let the fried shells cool just until they are safe to handle. Protecting your hands with folded paper towels, gently hold each shell while carefully sliding out the metal form.
If a shell sticks, gently twist the metal tube to loosen it without twisting the fragile shell. Allow the forms to cool for a few minutes before using them again.
Continue shaping and frying the dough until all the cannoli shells are cooked. Let the shells cool completely before filling them.
Step 12: Fill the Cannoli Shells
Transfer the chilled filling to a pastry bag fitted with a large round or star tip. Alternatively, place it in a large resealable bag and trim one corner.
Pipe the filling into both ends of each cooled shell until the center is completely filled.
Step 13: Garnish and Serve
If desired, dust the filled cannoli lightly with confectioners’ sugar. Garnish the ends with chocolate shavings, mini chocolate chips, chopped pistachios, candied orange peel, gluten-free maraschino cherries, or dried fruit.
Serve the cannoli immediately after filling for the crispiest texture.
Notes
Drain the ricotta thoroughly before preparing the filling. Excess moisture can produce a loose filling and quickly soften the shells.
For an especially smooth filling, press the drained ricotta through a fine-mesh sieve before combining it with the other ingredients.
Whole milk ricotta and mascarpone create the richest, creamiest filling.
Fresh orange zest gives the filling a traditional Sicilian-inspired flavor, while lemon zest provides a lighter citrus note.
Cold unsalted butter creates crisp, tender shells with a rich flavor. Solid refined coconut oil can be used as a dairy-free alternative in the shells and should not contribute a noticeable coconut flavor.
Keep the frying oil close to 375°F. Oil that is not hot enough may produce greasy shells, while excessively hot oil may brown the shells before they become evenly crisp.
Use caution when frying. Lower the forms into the oil carefully, keep water away from the hot oil, and never leave the pot unattended.
Let the fried shells cool completely before adding the filling.
Fill the cannoli shortly before serving. Once filled, the moisture from the ricotta mixture will gradually soften the shells.
Store the unfilled shells only after they have cooled completely. Keep them in a cool, dry place inside an airtight container with a paper towel to help absorb moisture.
Store the cannoli filling in an airtight container in the refrigerator for up to 3 days.
Refrigerate filled cannoli promptly and enjoy them as soon as possible for the best texture.
Check the labels on the rice flour, tapioca flour, potato starch, xanthan gum, cocoa powder, confectioners’ sugar, chocolate chips, garnishes, and frying oil to confirm that they meet your gluten-free needs. Prevent cross-contact by using clean equipment, uncontaminated frying oil, and a dedicated preparation area when serving someone with celiac disease or gluten sensitivity.