Learn how to make elegant homemade chocolate curls for cakes and desserts using high-quality chocolate and simple techniques for elegant curls and shavings.
Chocolate curls are an elegant and versatile dessert decoration that can transform homemade treats into bakery-style creations. With a high-quality chocolate bar and a simple kitchen tool, you can create delicate curls, decorative ribbons, or rustic chocolate shavings for cakes, cupcakes, cheesecakes, brownies, mousse, tarts, pies, and hot chocolate.
The secret to beautiful elegant homemade chocolate curls is using chocolate with a generous amount of cocoa butter and working with it at the correct temperature. Chocolate that is too cold will break into small pieces, while chocolate that is too warm will smear or stick to the tool. Once the chocolate is cool, firm, and slightly pliable, it should form smooth curls with gentle, steady pressure.
Dark, milk, white, and ruby chocolate can all be used to create different colors, flavors, and effects. Make one type for a classic finish or combine several varieties for a striking dessert garnish suitable for birthdays, holidays, dinner parties, and other special occasions.
Directions
Step 1: Choose the Chocolate
Select a high-quality chocolate bar with a generous amount of cocoa butter. Premium baking chocolate and couverture chocolate generally produce smoother, more consistent curls than chocolate chips or standard candy bars.
Dark chocolate is often the easiest choice for beginners because it produces firm, defined curls. Milk chocolate creates softer, sweeter curls, while white chocolate produces delicate ivory ribbons that work especially well on celebration desserts.
Step 2: Prepare a Chocolate Bar
If using a solid chocolate bar, remove it from the refrigerator and let it rest at room temperature for several minutes. The chocolate should feel cool and firm, but it should not be so cold that it is brittle.
Place the chocolate securely on a clean, dry cutting board before beginning.
Step 3: Prepare a Chocolate Sheet
If using couverture chocolate, temper it according to the manufacturer’s instructions. Spread the tempered chocolate in a thin, even layer approximately 1/8 inch thick on the back of a baking sheet, a marble slab, or a parchment-lined baking tray.
Allow the chocolate to cool until it is firm but still slightly pliable.
Step 4: Test the Chocolate
Test one small section before making all the curls.
If the chocolate breaks into small pieces instead of curling, it is too cold. Let it warm at room temperature for another minute or two before testing it again.
If the chocolate smears, bends without holding its shape, or sticks to the tool, it is too warm. Move it to a cool location or refrigerate it briefly before trying again.
Properly conditioned chocolate should form a smooth curl when gentle pressure is applied.
Step 5: Make Large Chocolate Curls
Hold the chocolate securely on the cutting board. Place a vegetable peeler at one end of the chocolate and slowly pull it toward you using steady, even pressure.
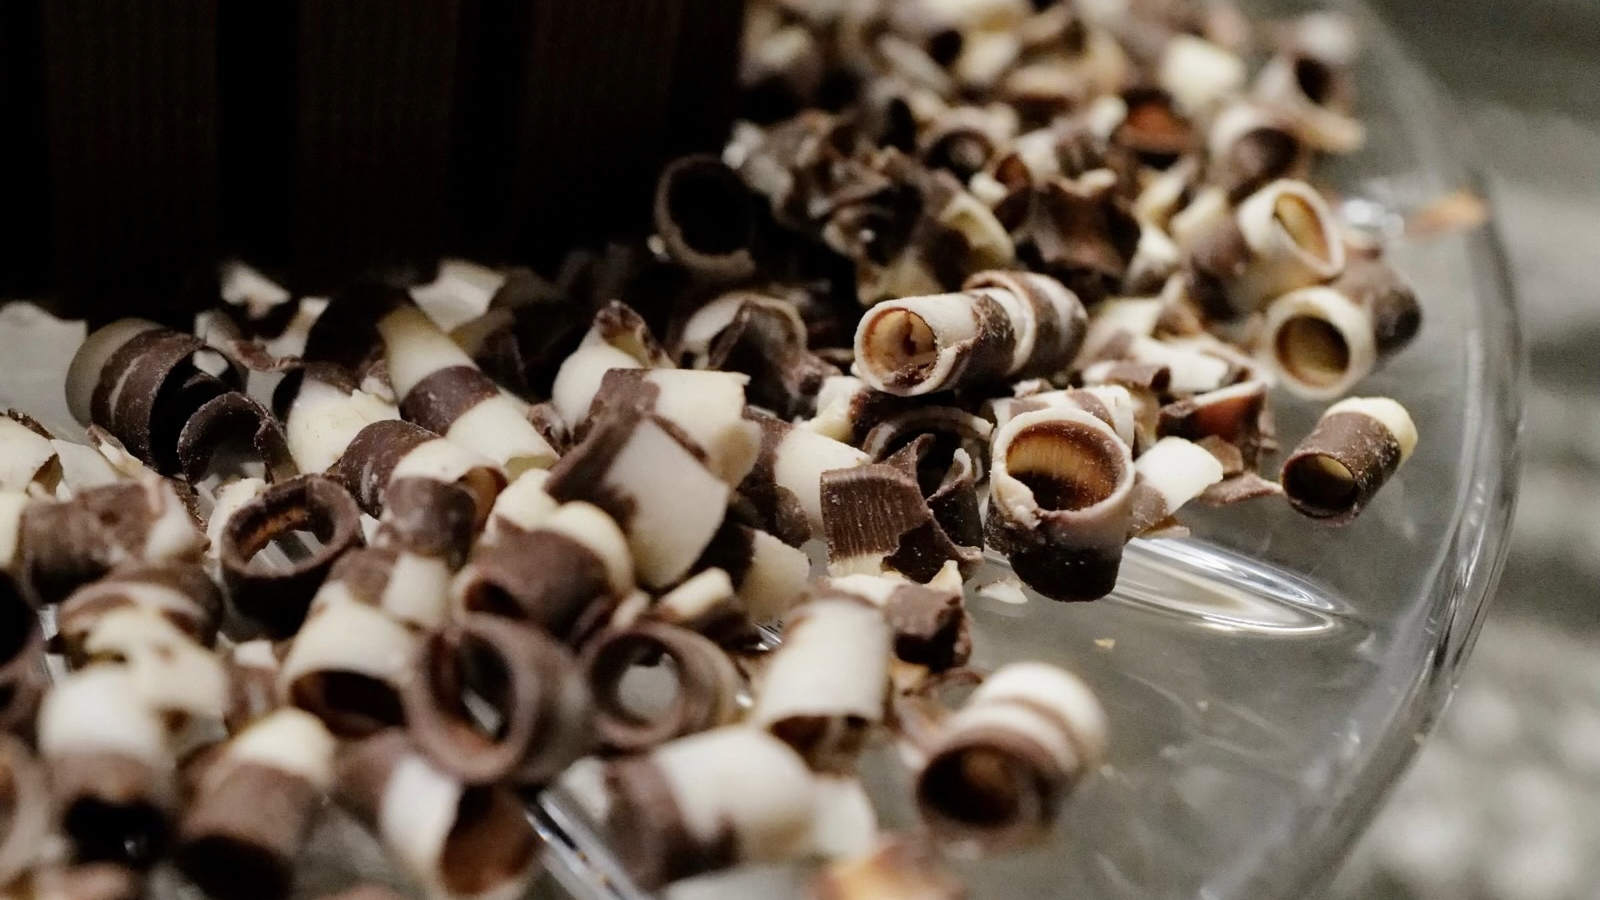
Use long, smooth strokes to create larger curls. These dramatic chocolate curls are especially attractive on layer cakes, cheesecakes, cream pies, and celebration desserts.
Step 6: Make Small Chocolate Curls
For smaller curls and ribbons, make short strokes with the vegetable peeler. You can also gently scrape the surface of the chocolate with a small offset spatula or bench scraper.
Small curls are ideal for decorating cupcakes, brownies, cookies, mousse, pudding, and individual desserts.
Step 7: Create Rustic Chocolate Shavings
Place a sharp chef’s knife at a slight angle against the surface of the chocolate. Carefully push the blade across the chocolate to form irregular curls and shavings.
Use controlled movements and keep your fingers safely away from the knife blade. Rustic shavings are perfect for sprinkling over cheesecakes, trifles, mousse, ice cream, and whipped cream.
Step 8: Transfer the Chocolate Curls
Avoid handling the finished curls directly because the warmth of your hands can cause them to soften or melt.
Gently lift each curl with an offset spatula, toothpick, or food-safe gloves. Arrange the curls in a single layer on a parchment-lined tray. If they begin to soften, place the tray in a cool location or refrigerate it briefly.
Step 9: Decorate the Dessert
Arrange the homemade chocolate curls on cakes, cupcakes, cheesecakes, brownies, mousse, trifles, cream pies, ice cream sundaes, or hot chocolate.
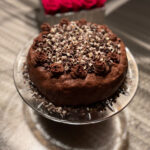
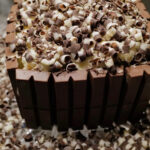
For an elegant cake presentation, pile the curls generously in the center and allow a few to cascade naturally toward the edges. Combine large curls, small ribbons, and rustic shavings to create texture and depth.
You can also mix dark, milk, and white chocolate curls for a beautiful contrast of colors.
Notes
Always choose high-quality chocolate with a generous cocoa butter content for the smoothest curls.
Dark chocolate generally creates the firmest, most defined curls and is often the easiest variety for beginners to use.
Milk chocolate produces softer curls with a sweeter flavor and lighter appearance.
White chocolate softens more quickly than dark chocolate, so handle it gently and work in a cool kitchen whenever possible.
If the chocolate repeatedly breaks into small pieces, allow it to warm slightly before continuing.
If the chocolate becomes soft, sticky, or difficult to shape, refrigerate it for several minutes and test it again.
For a professional bakery-style appearance, combine several sizes of curls instead of making every curl identical.
Pair chocolate curls with fresh raspberries, strawberries, mint leaves, edible flowers, chocolate roses, chocolate ganache, or edible gold leaf for an eye-catching presentation.
Use dark chocolate curls to decorate a rich chocolate cake, milk chocolate curls to contrast with vanilla buttercream, or white chocolate curls to finish cheesecake with fresh berries.
Tiny chocolate ribbons make attractive garnishes for homemade truffles, while rustic shavings are ideal for brownies, tiramisu, mousse, pudding, ice cream sundaes, and whipped cream-topped hot chocolate.
Store finished chocolate curls in an airtight container with parchment paper between the layers. Keep the container in a cool, dry location away from direct sunlight. Refrigerate the curls if the kitchen is warm.
Chocolate curls can be prepared up to one week in advance when stored as directed.
Chocolate curls can be gluten-free when made with appropriately labeled gluten-free chocolate. When preparing them for someone with celiac disease or gluten sensitivity, check every ingredient label and prevent cross-contact with gluten-containing ingredients, tools, and work surfaces.