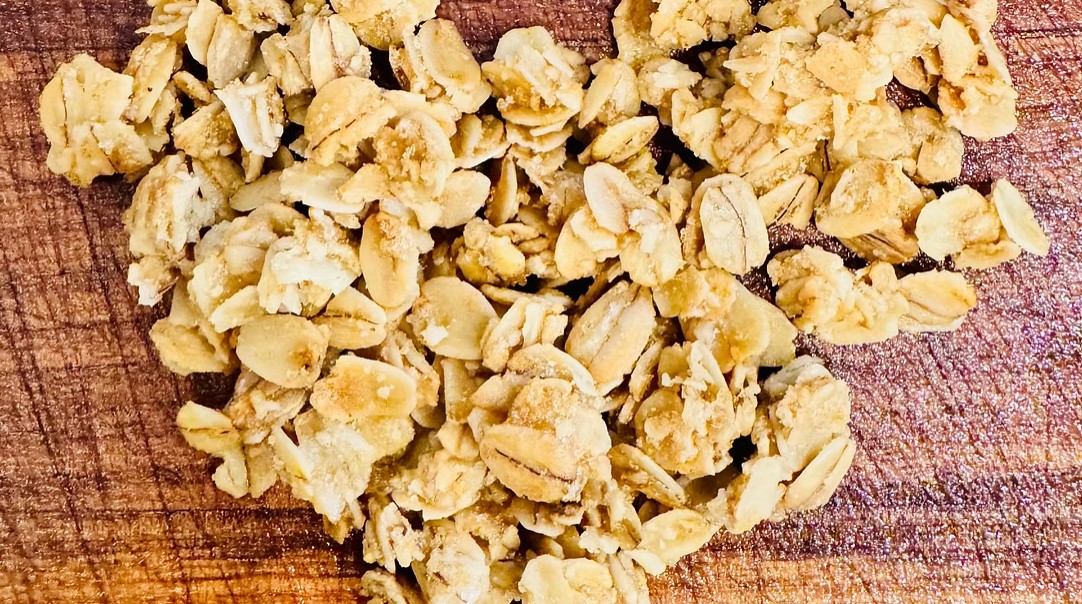
Make crunchy homemade gluten-free cinnamon honey granola with certified gluten-free oats, warm cinnamon, vanilla, and naturally sweet honey.
Golden, fragrant, and satisfyingly crisp, this Crunchy Homemade Gluten-Free Cinnamon Honey Granola Recipe is a versatile pantry staple made with just six simple ingredients. Certified gluten-free rolled oats are coated with honey, cinnamon, vanilla, oil, and a touch of salt before being baked until lightly golden and crunchy.
Making granola at home allows you to control the sweetness and choose exactly what goes into every batch. Honey gives the oats a pleasant sweetness while helping them develop a crisp texture in the oven. Ground cinnamon and pure vanilla extract add warmth and depth without overpowering the natural flavor of the toasted oats.
This easy granola is suitable for breakfast, snacks, and simple desserts. Serve it with milk, sprinkle it over yogurt, add it to a smoothie bowl, or pair it with fresh fruit. You can also enjoy a handful on its own whenever you want a sweet and crunchy snack.
The basic recipe is delicious as written, but it is also easy to customize. After the granola has cooled, add dried fruit, nuts, seeds, coconut, or chocolate chips. Keeping the additional ingredients separate until the granola finishes baking prevents delicate mix-ins from burning or becoming overly dry.
Directions
Step 1: Prepare the Oven
Preheat the oven to 300°F. Position the oven racks so there is enough room for two baking sheets.
Step 2: Mix the Honey Mixture
In a medium bowl, combine the oil, honey, ground cinnamon, pure vanilla extract, and kosher salt. Stir until the cinnamon and salt are evenly distributed and the mixture is smooth and thoroughly blended.
If the honey is especially thick, continue stirring until it combines evenly with the oil. An evenly blended mixture will make it easier to coat all the oats.
Step 3: Coat the Oats
Place the certified gluten-free rolled oats in a large mixing bowl. Pour the honey mixture over the oats.
Using a large spoon or flexible spatula, stir thoroughly until every oat is evenly coated. Scrape the bottom and sides of the bowl several times to incorporate any honey mixture that may have settled.
Step 4: Spread the Granola
Divide the coated oats evenly between two ungreased baking sheets. Spread the granola into thin, even layers, making sure it is not heavily piled in the center of either pan.
An even layer encourages consistent baking and helps the oats become crisp without allowing some areas to brown before the rest of the granola is ready.
Step 5: Bake the Granola
Place the baking sheets in the preheated oven and bake for approximately 20 minutes.
Stir the granola halfway through the baking time. Redistribute it into an even layer before returning the baking sheets to the oven. Continue baking until the oats are lightly golden and fragrant.
Watch the granola carefully near the end of the baking time. Honey-sweetened granola can begin to brown quickly once it is nearly finished.
Step 6: Cool Completely
Remove the baking sheets from the oven and place them on heat-safe surfaces. The granola may still feel slightly soft when it first comes out of the oven.
Allow it to cool completely on the baking sheets. The oats will become crisp and crunchy as they cool.
Avoid transferring the granola to a storage container while it is still warm because trapped moisture can soften it.
Step 7: Add Optional Mix-Ins
Once the granola is completely cool, gently break it into pieces. If desired, fold in dried fruit, chopped nuts, seeds, coconut, or chocolate chips.
Adding these ingredients after cooling helps preserve their flavor and texture while preventing them from burning in the oven.
Step 8: Store the Granola
Transfer the cooled granola to an airtight container. Store it at room temperature in a cool, dry place for up to two weeks.
Notes
For larger granola clusters, firmly press the coated oat mixture onto the baking sheets before baking. Stir gently and only as much as necessary halfway through the baking time. Allow the finished granola to cool undisturbed before breaking it into clusters.
For a looser granola with smaller pieces, stir the oats more thoroughly during baking and again shortly after removing the pans from the oven.
Add dried cranberries, raisins, chopped dates, dried cherries, pumpkin seeds, sunflower seeds, chopped nuts, shredded coconut, or chocolate chips after the granola has cooled completely.
If using chocolate chips, make sure the granola is fully cooled before adding them so they do not melt.
For a slightly different sweetness and flavor, replace part of the honey with pure maple syrup. The finished flavor and texture may vary depending on how much maple syrup is used.
Serve the granola with milk or spoon it over yogurt, smoothie bowls, chia pudding, or fresh fruit. It can also be used as a crunchy topping for baked apples and other gluten-free desserts.
Do not judge the granola’s final texture while it is still hot. It becomes noticeably crisper as it reaches room temperature.
Store the granola only after it has cooled completely. Keep the container tightly closed and protect it from heat and moisture to help maintain its crunch.
Use certified gluten-free rolled oats when preparing this recipe for someone with celiac disease or gluten sensitivity. Oats that are not specifically labeled gluten-free may be exposed to wheat, barley, or rye during growing, processing, transportation, or packaging.
Check the labels on the vanilla extract, cinnamon, oil, honey, and any optional mix-ins to confirm that they meet your dietary needs. Prevent cross-contact by using clean utensils, mixing bowls, baking sheets, and storage containers.