Make a star-spangled passion fruit pavlova with crisp meringue, a marshmallow-like center, whipped cream, and colorful fresh berries.
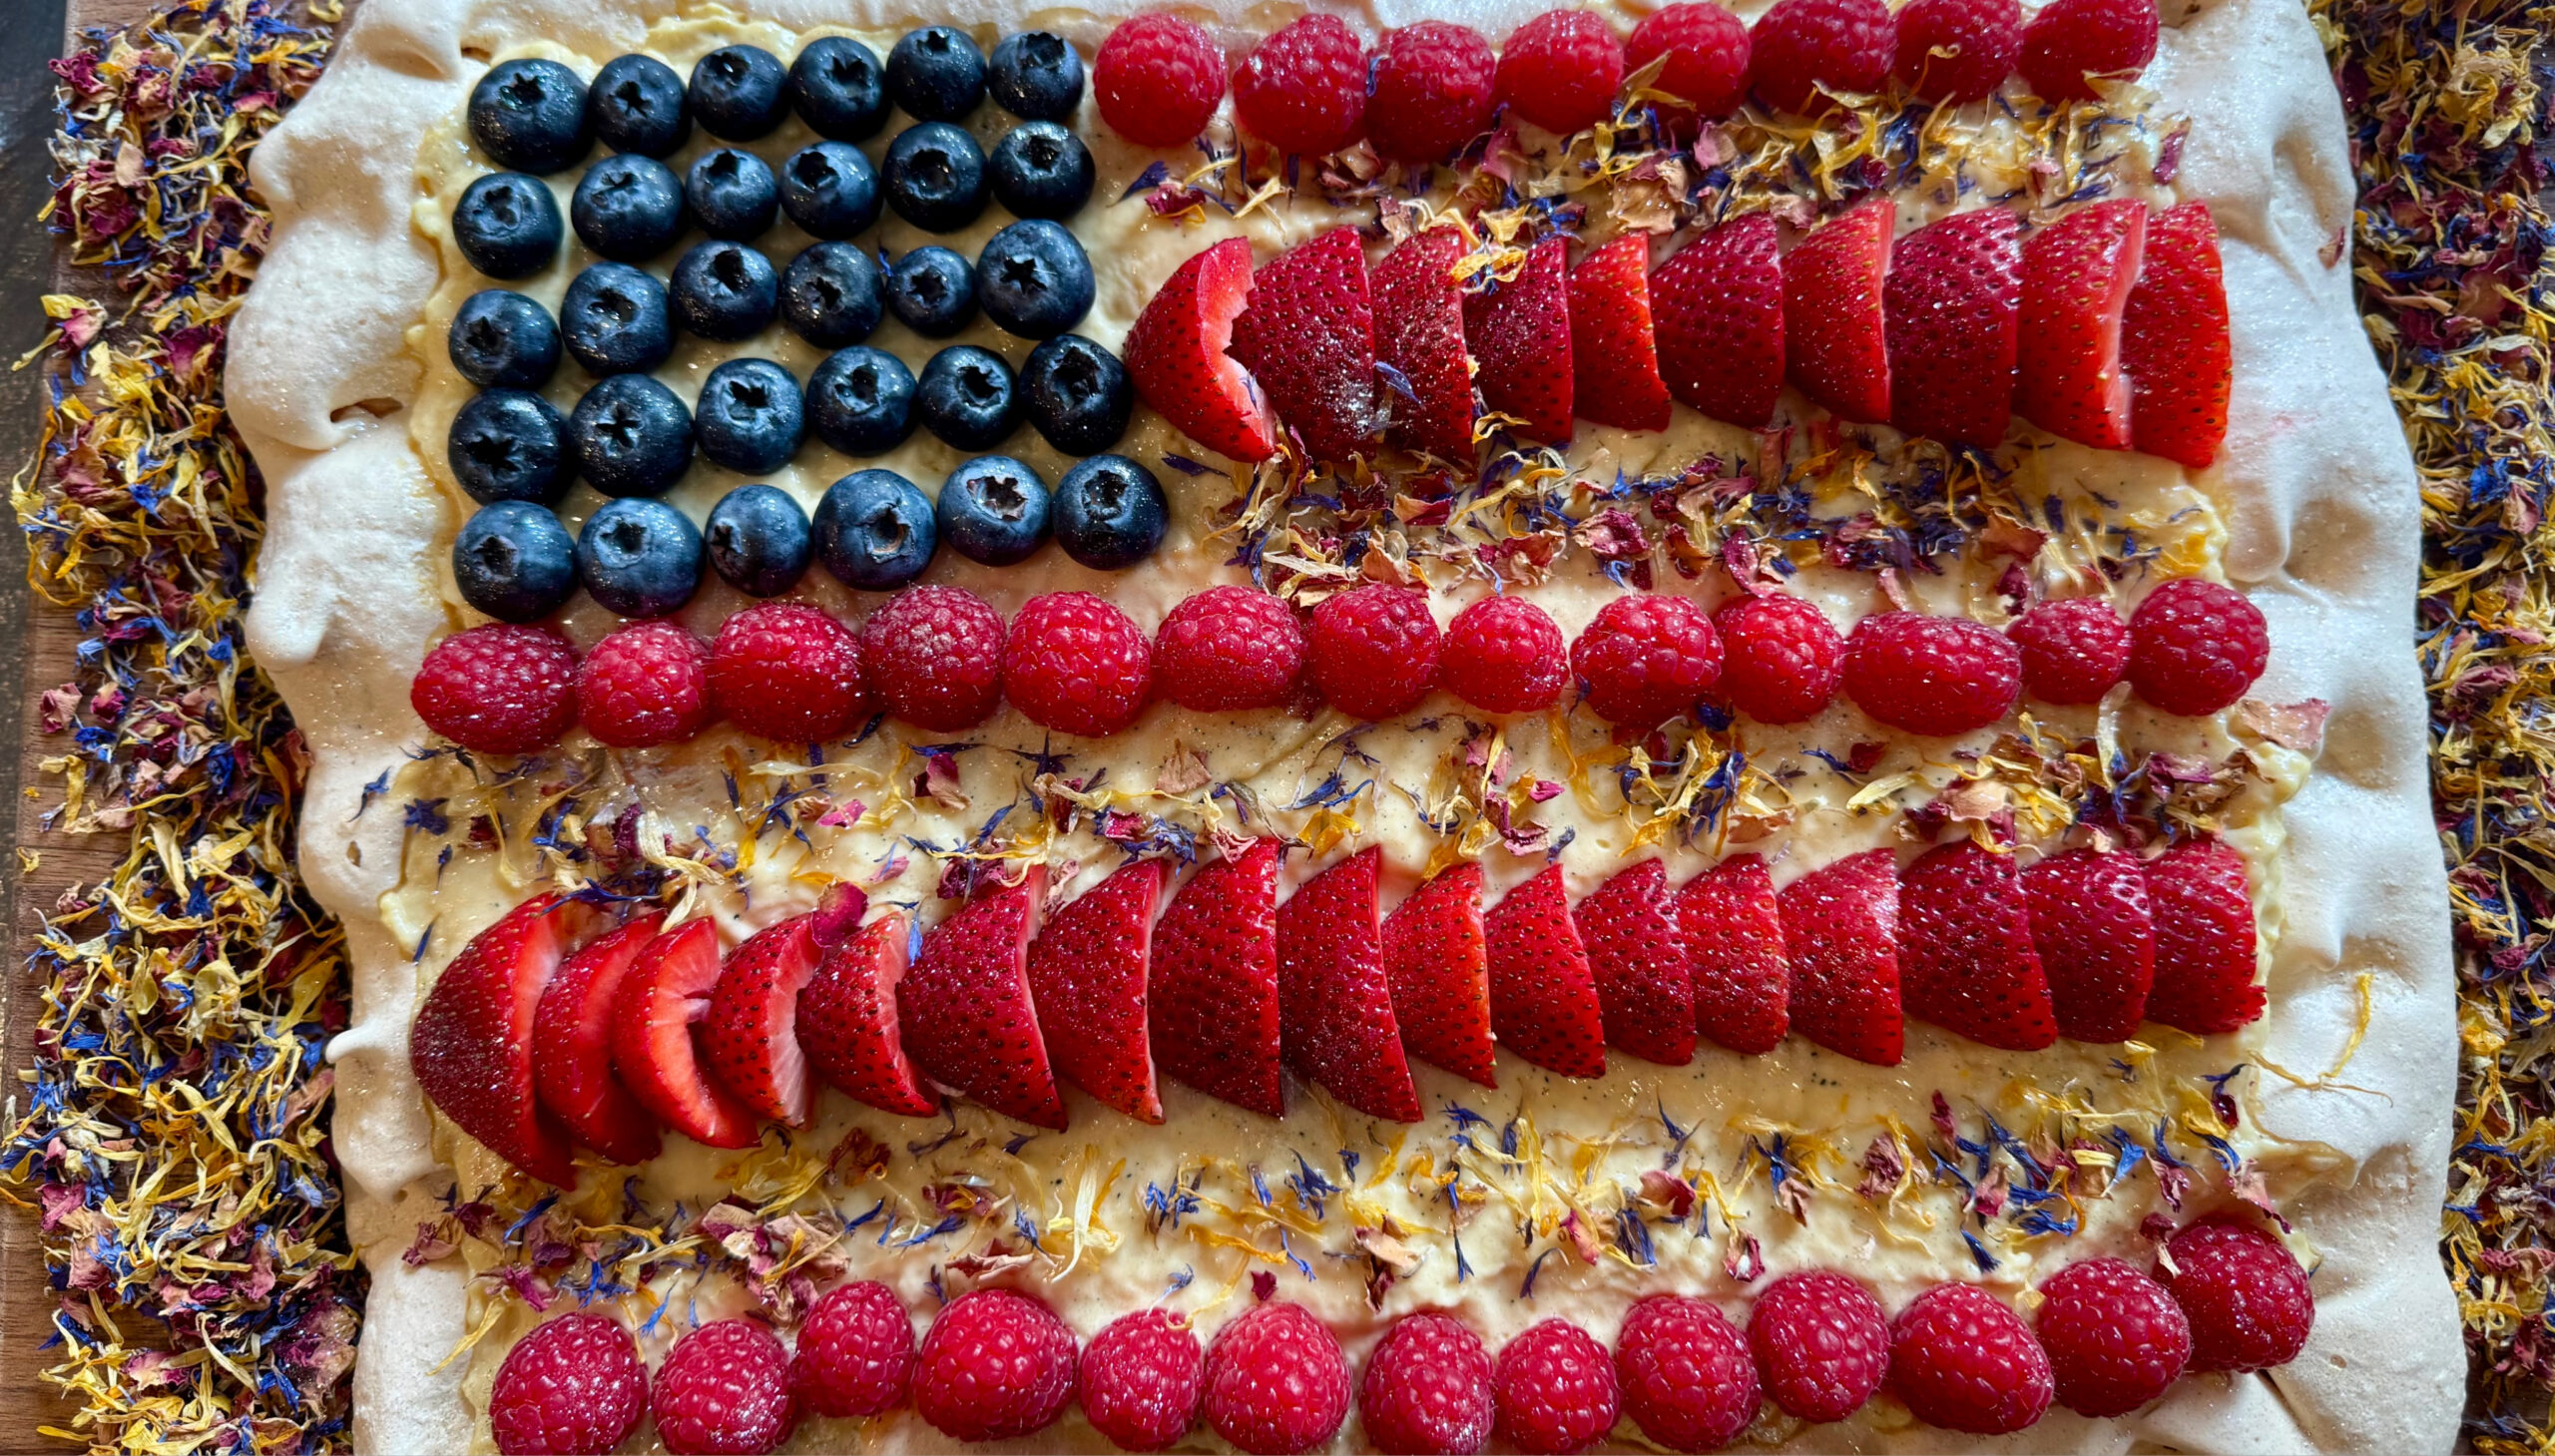
This Easy Star-Spangled Passion Fruit Pavlova Recipe is a festive summer dessert featuring a crisp meringue shell, a soft marshmallow-like center, fluffy whipped cream, colorful berries, and bright tropical flavor. Decorated with red strawberries, white whipped cream, and blueberries, it makes an eye-catching centerpiece for Independence Day, Memorial Day, summer birthdays, picnics, and other special celebrations.
Passion fruit pulp adds a pleasantly tart contrast to the sweet vanilla meringue. Slow baking gives the pavlova its delicate exterior, while gradual cooling helps the center develop its signature airy, slightly chewy texture. A generous layer of lightly sweetened whipped cream and fresh fruit completes the dessert.
Although this patriotic passion fruit pavlova looks elaborate, it is prepared with a short list of familiar ingredients. Shape the meringue into a circle, rectangle, or star, then decorate it shortly before serving for the best combination of crisp meringue, creamy topping, and fresh fruit.
Directions
Step 1: Prepare the Oven
Position an oven rack in the center of the oven and preheat the oven to 300°F. Place a wire baking rack on top of a baking sheet, then cover the rack completely with parchment paper.
Step 2: Combine the Sugar and Cornstarch
Place the caster sugar and cornstarch in a medium bowl. Whisk until evenly combined. Mixing the cornstarch with the sugar helps distribute it throughout the meringue.
Step 3: Begin Whipping the Egg Whites
Place the egg whites and salt in the clean, dry bowl of a stand mixer fitted with the whisk attachment. Beat on high speed until the egg whites become frothy and opaque.
Add the cream of tartar and continue beating until it is incorporated.
Step 4: Add the Sugar Mixture
Reduce the mixer speed to low. Gradually add the sugar and cornstarch mixture in small additions, allowing each addition to begin dissolving before adding more.
Add the vinegar, then increase the mixer speed to high. Continue beating until the meringue begins to form stiff peaks.
Step 5: Add the Passion Fruit and Vanilla
With the mixer running on high speed, add the vanilla extract and strained passion fruit pulp.
Continue beating for 3 to 5 minutes, or until the meringue is thick and glossy and holds firm peaks when the whisk is lifted. The mixture should appear smooth and voluminous.
Step 6: Shape the Pavlova
Transfer the meringue to the prepared parchment paper. Spread it into a large circle, rectangle, or star shape, depending on the desired presentation.
Use a spatula to build the edges slightly higher than the center, creating a shallow well for the whipped cream and fruit. Form decorative swirls and peaks around the edges.
Step 7: Bake the Pavlova
Place the pavlova in the oven and bake at 300°F for 10 minutes.
Without opening the oven door, reduce the temperature to 250°F. Continue baking for 2 hours and 10 minutes, or until the exterior feels dry and crisp.
Step 8: Cool the Pavlova
Turn off the oven and leave the pavlova inside with the door closed for at least 2 hours or up to 16 hours. Slow cooling helps the center set and may reduce excessive cracking.
Once the pavlova is completely cool, carefully transfer it to a serving platter and gently remove the parchment paper.
Step 9: Prepare the Whipped Cream
About 1 hour before serving, place the heavy cream and confectioners’ sugar in a mixing bowl. Whip until soft peaks form.
Add the vanilla extract and continue mixing just until incorporated. Avoid overwhipping the cream so the finished topping remains light and smooth.
Step 10: Decorate the Pavlova
Spoon the whipped cream into the center of the cooled pavlova. Arrange strawberries, blueberries, raspberries, blackberries, kiwi, or a combination of fresh fruit over the cream.
For a patriotic red, white, and blue presentation, use strawberries or raspberries with blueberries and leave some of the white whipped cream visible between the fruit.
Step 11: Serve
Serve the pavlova immediately after decorating it for the best texture. Use a sharp knife to cut the delicate meringue, then carefully transfer each serving to a dessert plate.
Notes
Room-temperature egg whites whip more efficiently and may produce greater volume. Separate the eggs while they are cold, then let the whites reach room temperature before beginning the recipe.
Make sure the mixing bowl and whisk are completely clean and dry. Even a small amount of grease or egg yolk can interfere with the egg whites as they whip.
Caster sugar dissolves more readily than regular granulated sugar, helping create a smoother meringue. Add the sugar mixture gradually rather than pouring it in all at once.
Fresh passion fruit provides a vibrant tropical flavor. Frozen passion fruit pulp may also be used after it has been completely thawed and strained.
Avoid preparing pavlova on an extremely humid day when possible. Moisture in the air can soften the exterior and make it more difficult to achieve the characteristic crisp shell.
Small cracks are normal in homemade pavlova. Slow cooling inside the closed oven helps minimize dramatic temperature changes and allows the center to develop its marshmallow-like texture.
For a chocolate passion fruit variation, gently fold 2 tablespoons Dutch-process cocoa powder into the finished meringue before shaping and baking it.
For a peppermint variation, add 1 teaspoon peppermint extract and 3 to 5 drops of red food coloring to the meringue mixture.
For a richer tropical dessert, replace the whipped cream topping with passion fruit mousse.
Store the baked, unfilled pavlova in an airtight container at room temperature for up to 2 days.
Once the pavlova has been topped with whipped cream and fruit, refrigerate it and enjoy it within 24 hours. The meringue will gradually soften as it absorbs moisture from the toppings.
This dessert is naturally gluten-free based on the ingredients listed. When preparing it for someone with celiac disease or gluten sensitivity, check all packaged ingredients for appropriate gluten-free labeling and prevent cross-contact during preparation.