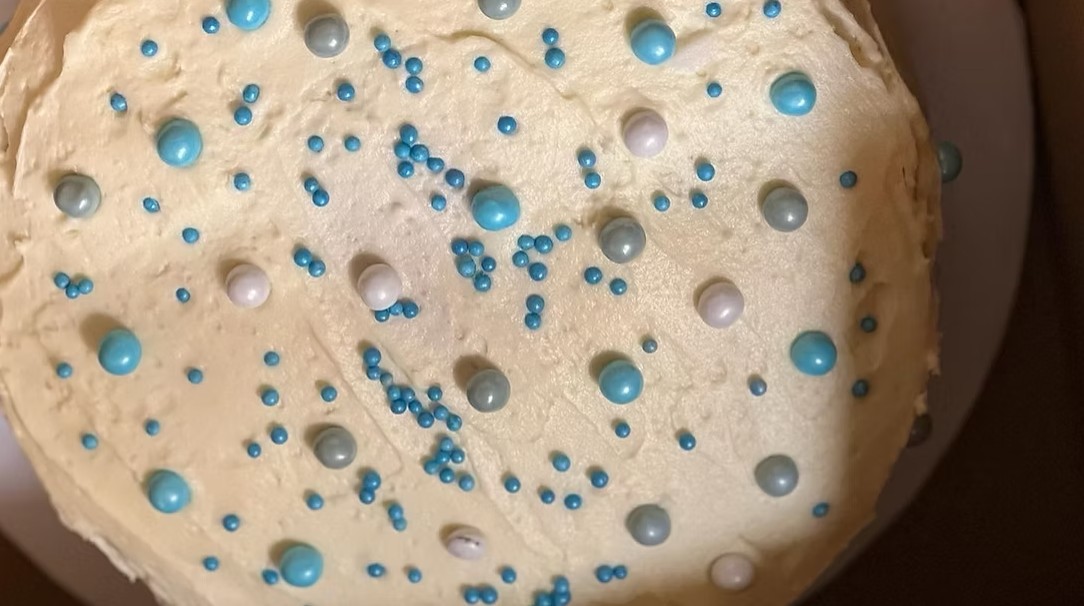
Make a simple vanilla buttercream with butter, powdered sugar, cream, and vanilla. This fluffy homemade frosting is perfect for cakes and cupcakes.
This Simple Vanilla Buttercream Recipe is rich, creamy, and incredibly easy to prepare with a handful of familiar ingredients. Real butter gives the frosting its full flavor, while powdered sugar, heavy cream, and vanilla extract create a smooth, sweet finish. It is a dependable homemade frosting for birthday cakes, cupcakes, cookies, brownies, and other favorite desserts.
Whipping the softened butter before adding the remaining ingredients is the secret to an especially light and fluffy texture. The extra mixing time incorporates air into the butter, helping the finished frosting spread smoothly and hold decorative shapes. Once prepared, the buttercream is sturdy enough for piping borders, rosettes, stars, and generous cupcake swirls.
This versatile vanilla frosting can also be adjusted to suit different decorating needs. Add a little more powdered sugar for a firmer consistency or additional heavy cream for a softer, more spreadable texture. Whether you are decorating a celebration cake or preparing a simple batch of cupcakes, this classic buttercream delivers bakery-quality flavor without a complicated technique.
Directions
Step 1: Soften the Butter
Before beginning, make sure both the unsalted butter and salted butter are properly softened. The butter should feel cool and yield gently when pressed, but it should not look melted, greasy, or overly warm. Butter at the correct temperature will whip more evenly and help create a light, stable frosting.
Step 2: Whip the Butter
Place the softened unsalted butter and salted butter in the bowl of a stand mixer fitted with the paddle attachment. Beat on medium-high speed for 4 to 5 minutes, or until the butter becomes pale, light, and exceptionally fluffy.
Stop the mixer several times during this process and scrape down the sides and bottom of the bowl with a flexible spatula. Thorough scraping prevents dense pockets of butter from remaining beneath the whipped mixture and ensures that the buttercream develops a consistent texture.
Step 3: Add the Powdered Sugar
Reduce the mixer speed to low. Gradually add the powdered sugar, allowing each addition to begin mixing into the butter before adding more. Keeping the mixer on low during this stage helps prevent the powdered sugar from flying out of the bowl.
Continue mixing until all the powdered sugar has been incorporated. Stop the mixer and scrape the sides and bottom of the bowl again so that no dry sugar or unmixed butter remains.
Step 4: Add the Cream and Vanilla
With the mixer running on low speed, slowly pour in the heavy cream and add the vanilla extract. Mix until the liquids are fully incorporated and the frosting begins to look smooth.
If the buttercream appears slightly separated at first, continue mixing. The butter, sugar, cream, and vanilla should come together as the mixer distributes the ingredients evenly.
Step 5: Whip Until Light and Fluffy
Increase the mixer speed to medium and beat the buttercream for another 3 to 5 minutes. Pause occasionally to scrape down the bowl. Continue whipping until the frosting is silky, airy, and easy to spread.
Check the consistency before decorating. The finished buttercream should form soft peaks while remaining sturdy enough to hold its shape. If necessary, use the adjustments described in the Notes section to make it thicker or softer.
Step 6: Frost or Pipe
Use the vanilla buttercream immediately to frost cakes, cupcakes, cookies, brownies, or other baked treats. For piped decorations, transfer the frosting to a piping bag fitted with the desired decorating tip.
When frosting a layer cake, make sure the cake layers are completely cool before applying the buttercream. Warm cake can soften or melt the frosting and may cause the layers to shift.
Step 7: Store for Later
If the buttercream will not be used immediately, transfer it to an airtight container and refrigerate it. Before decorating, allow the chilled frosting to return to room temperature. Whip it briefly on medium speed until it becomes smooth and fluffy again.
Notes
Butter temperature is important. Properly softened butter blends easily and traps air during mixing. Butter that is too cold may leave small lumps, while butter that is overly warm can produce loose or greasy frosting.
Using both unsalted and salted butter provides a balanced sweet and salty flavor. The salted butter helps keep the frosting from tasting overwhelmingly sweet without requiring a separate measurement of salt.
For a thicker buttercream, add more powdered sugar a few tablespoons at a time. Mix well after each addition and check the texture before adding more. A firmer frosting is useful for detailed piping, warm rooms, and decorations that need extra structure.
For a softer buttercream, mix in additional heavy cream 1 tablespoon at a time. Avoid adding too much at once because a small amount of liquid can noticeably change the consistency.
For the smoothest texture, sift the powdered sugar before adding it, especially if it contains hard lumps. Sifting is optional, but it can make the finished frosting easier to spread and pipe.
Use clear vanilla extract if you want the buttercream to remain as white as possible. Pure vanilla extract may give it a light ivory color but offers a richer, more traditional vanilla flavor.
Gel food coloring is the best choice for tinting buttercream because it adds concentrated color without introducing much extra liquid. Add a small amount at a time and mix thoroughly before deciding whether more color is needed.
To reduce visible air bubbles, mix the finished frosting on low speed for 1 to 2 minutes after whipping it. Pressing the buttercream against the side of the bowl with a spatula can also help create an especially smooth finish for cakes.
This recipe pipes beautifully for borders, stars, rosettes, lettering, and decorative cupcake swirls. The exact number of desserts it covers will depend on how generously the frosting is applied and the style of decoration.
Store leftover buttercream in an airtight container in the refrigerator for up to 1 week. It can also be frozen for up to 3 months. Thaw frozen buttercream in the refrigerator, bring it to room temperature, and whip it again before using.
Do not microwave chilled buttercream to soften it quickly because portions of the butter may melt. Gradual warming at room temperature helps preserve the frosting’s smooth texture and stable consistency.
If serving someone with celiac disease or gluten sensitivity, check the labels on the powdered sugar, vanilla extract, and other packaged ingredients for appropriate gluten-free information. Prevent cross-contact by using clean bowls, utensils, decorating tips, and work surfaces.