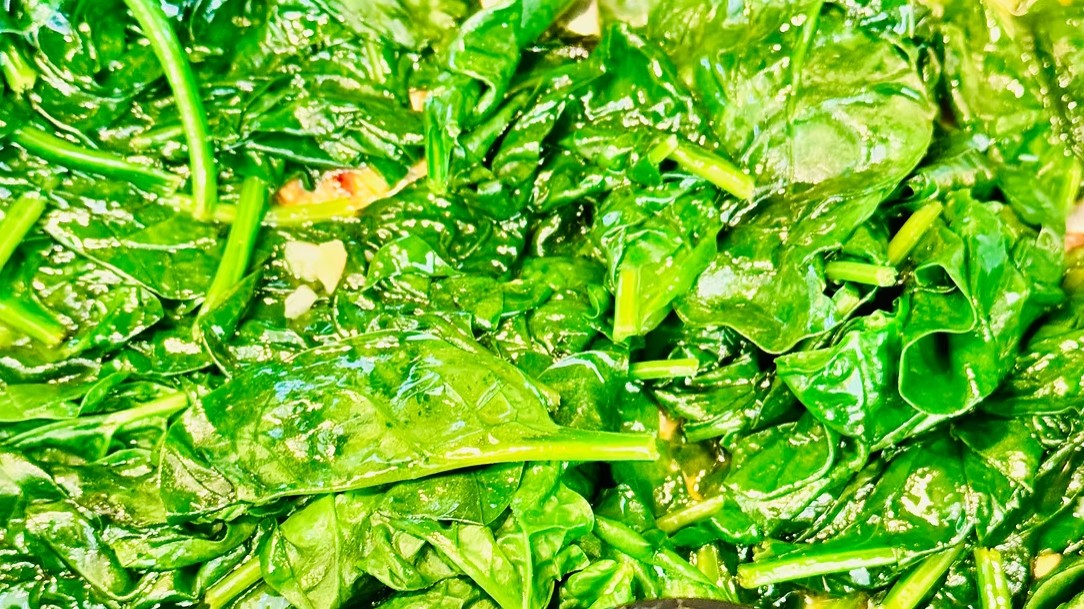
Make this easy Garlic Sautéed Spinach Recipe with baby spinach, fresh garlic, olive oil, and butter in just 10 minutes.
Fresh, tender, and full of flavor, this Garlic Sautéed Spinach Recipe is an easy vegetable side dish that comes together in just 10 minutes. Baby spinach is quickly cooked with fresh garlic, olive oil, butter, kosher salt, and black pepper for a savory dish that complements almost any meal.
Cooking the garlic gently in olive oil releases its flavor without allowing it to become brown or bitter. Covering the pot briefly creates enough steam to wilt the spinach, while a final minute over high heat helps the greens become tender without overcooking.
A small amount of butter added just before serving gives the spinach a rich, silky finish. For even more flavor, finish the dish with fresh lemon juice, grated Parmesan cheese, or a light sprinkle of sea salt.
Serve this quick garlic sautéed spinach with chicken, steak, seafood, pasta, or grain bowls. It is simple enough for busy weeknight dinners while still being flavorful and elegant enough for holiday meals and special occasions.
Prep Time: 5 minutes
Cook Time: 5 minutes
Total Time: 10 minutes
Yield: 4 servings
Ingredients
2 bags baby spinach leaves
2 tablespoons olive oil
6 cloves garlic, chopped
2 teaspoons kosher salt
3/4 teaspoon freshly ground black pepper
1 tablespoon unsalted butter
Sea salt or kosher salt, for serving (optional)
Directions
Step 1: Prepare the Spinach
Rinse the baby spinach thoroughly under cold running water to remove any dirt or grit. Drain well and spin the spinach dry in a salad spinner, leaving a small amount of moisture on the leaves to help them wilt.
Step 2: Warm the Olive Oil
Place a large Dutch oven, stockpot, or deep skillet over medium heat. Add the olive oil and allow it to warm for approximately 30 seconds.
Step 3: Sauté the Garlic
Add the chopped garlic to the warm oil. Cook for approximately 1 minute, stirring frequently, until the garlic is fragrant. Do not allow the garlic to brown because it may develop a bitter flavor.
Step 4: Add the Spinach
Add the spinach, kosher salt, and black pepper to the pot. The spinach may appear to be too voluminous for the pot at first, but it will reduce considerably as it cooks.
Use tongs or a large spoon to toss the spinach with the garlic and olive oil, coating the leaves as evenly as possible.
Step 5: Wilt the Spinach
Cover the pot and cook the spinach for 2 minutes. The trapped steam will begin wilting the leaves.
Remove the lid and increase the heat to high. Cook for approximately 1 additional minute, stirring frequently, until the spinach is completely wilted and tender.
Step 6: Finish with Butter
Use a slotted spoon to transfer the spinach to a serving bowl, leaving the excess cooking liquid in the pot.
Add the unsalted butter to the hot spinach and gently toss until the butter has melted and coated the greens. Finish with a light sprinkle of sea salt or kosher salt, if desired.
Step 7: Serve
Serve the garlic sautéed spinach immediately while warm. Pair it with chicken, steak, seafood, pasta, grain bowls, or your favorite holiday main course.
Notes
Spinach reduces dramatically during cooking, so two bags of fresh spinach will produce approximately four servings once wilted.
Even if the spinach is labeled pre-washed, rinsing it again helps remove any remaining grit.
Cook the garlic over medium heat to prevent it from burning and developing a bitter flavor.
If your pan is not large enough, cook the spinach in batches so it wilts quickly rather than steaming.
A squeeze of fresh lemon juice just before serving brightens the flavor and complements the garlic beautifully.
For additional richness, garnish with freshly grated Parmesan cheese before serving.
Store leftovers in an airtight container in the refrigerator for up to 3 days. Reheat gently in a skillet over low heat until warmed through.
This recipe is naturally gluten-free, low in carbohydrates, and packed with vitamins, minerals, and antioxidants, making it an excellent addition to healthy meals.