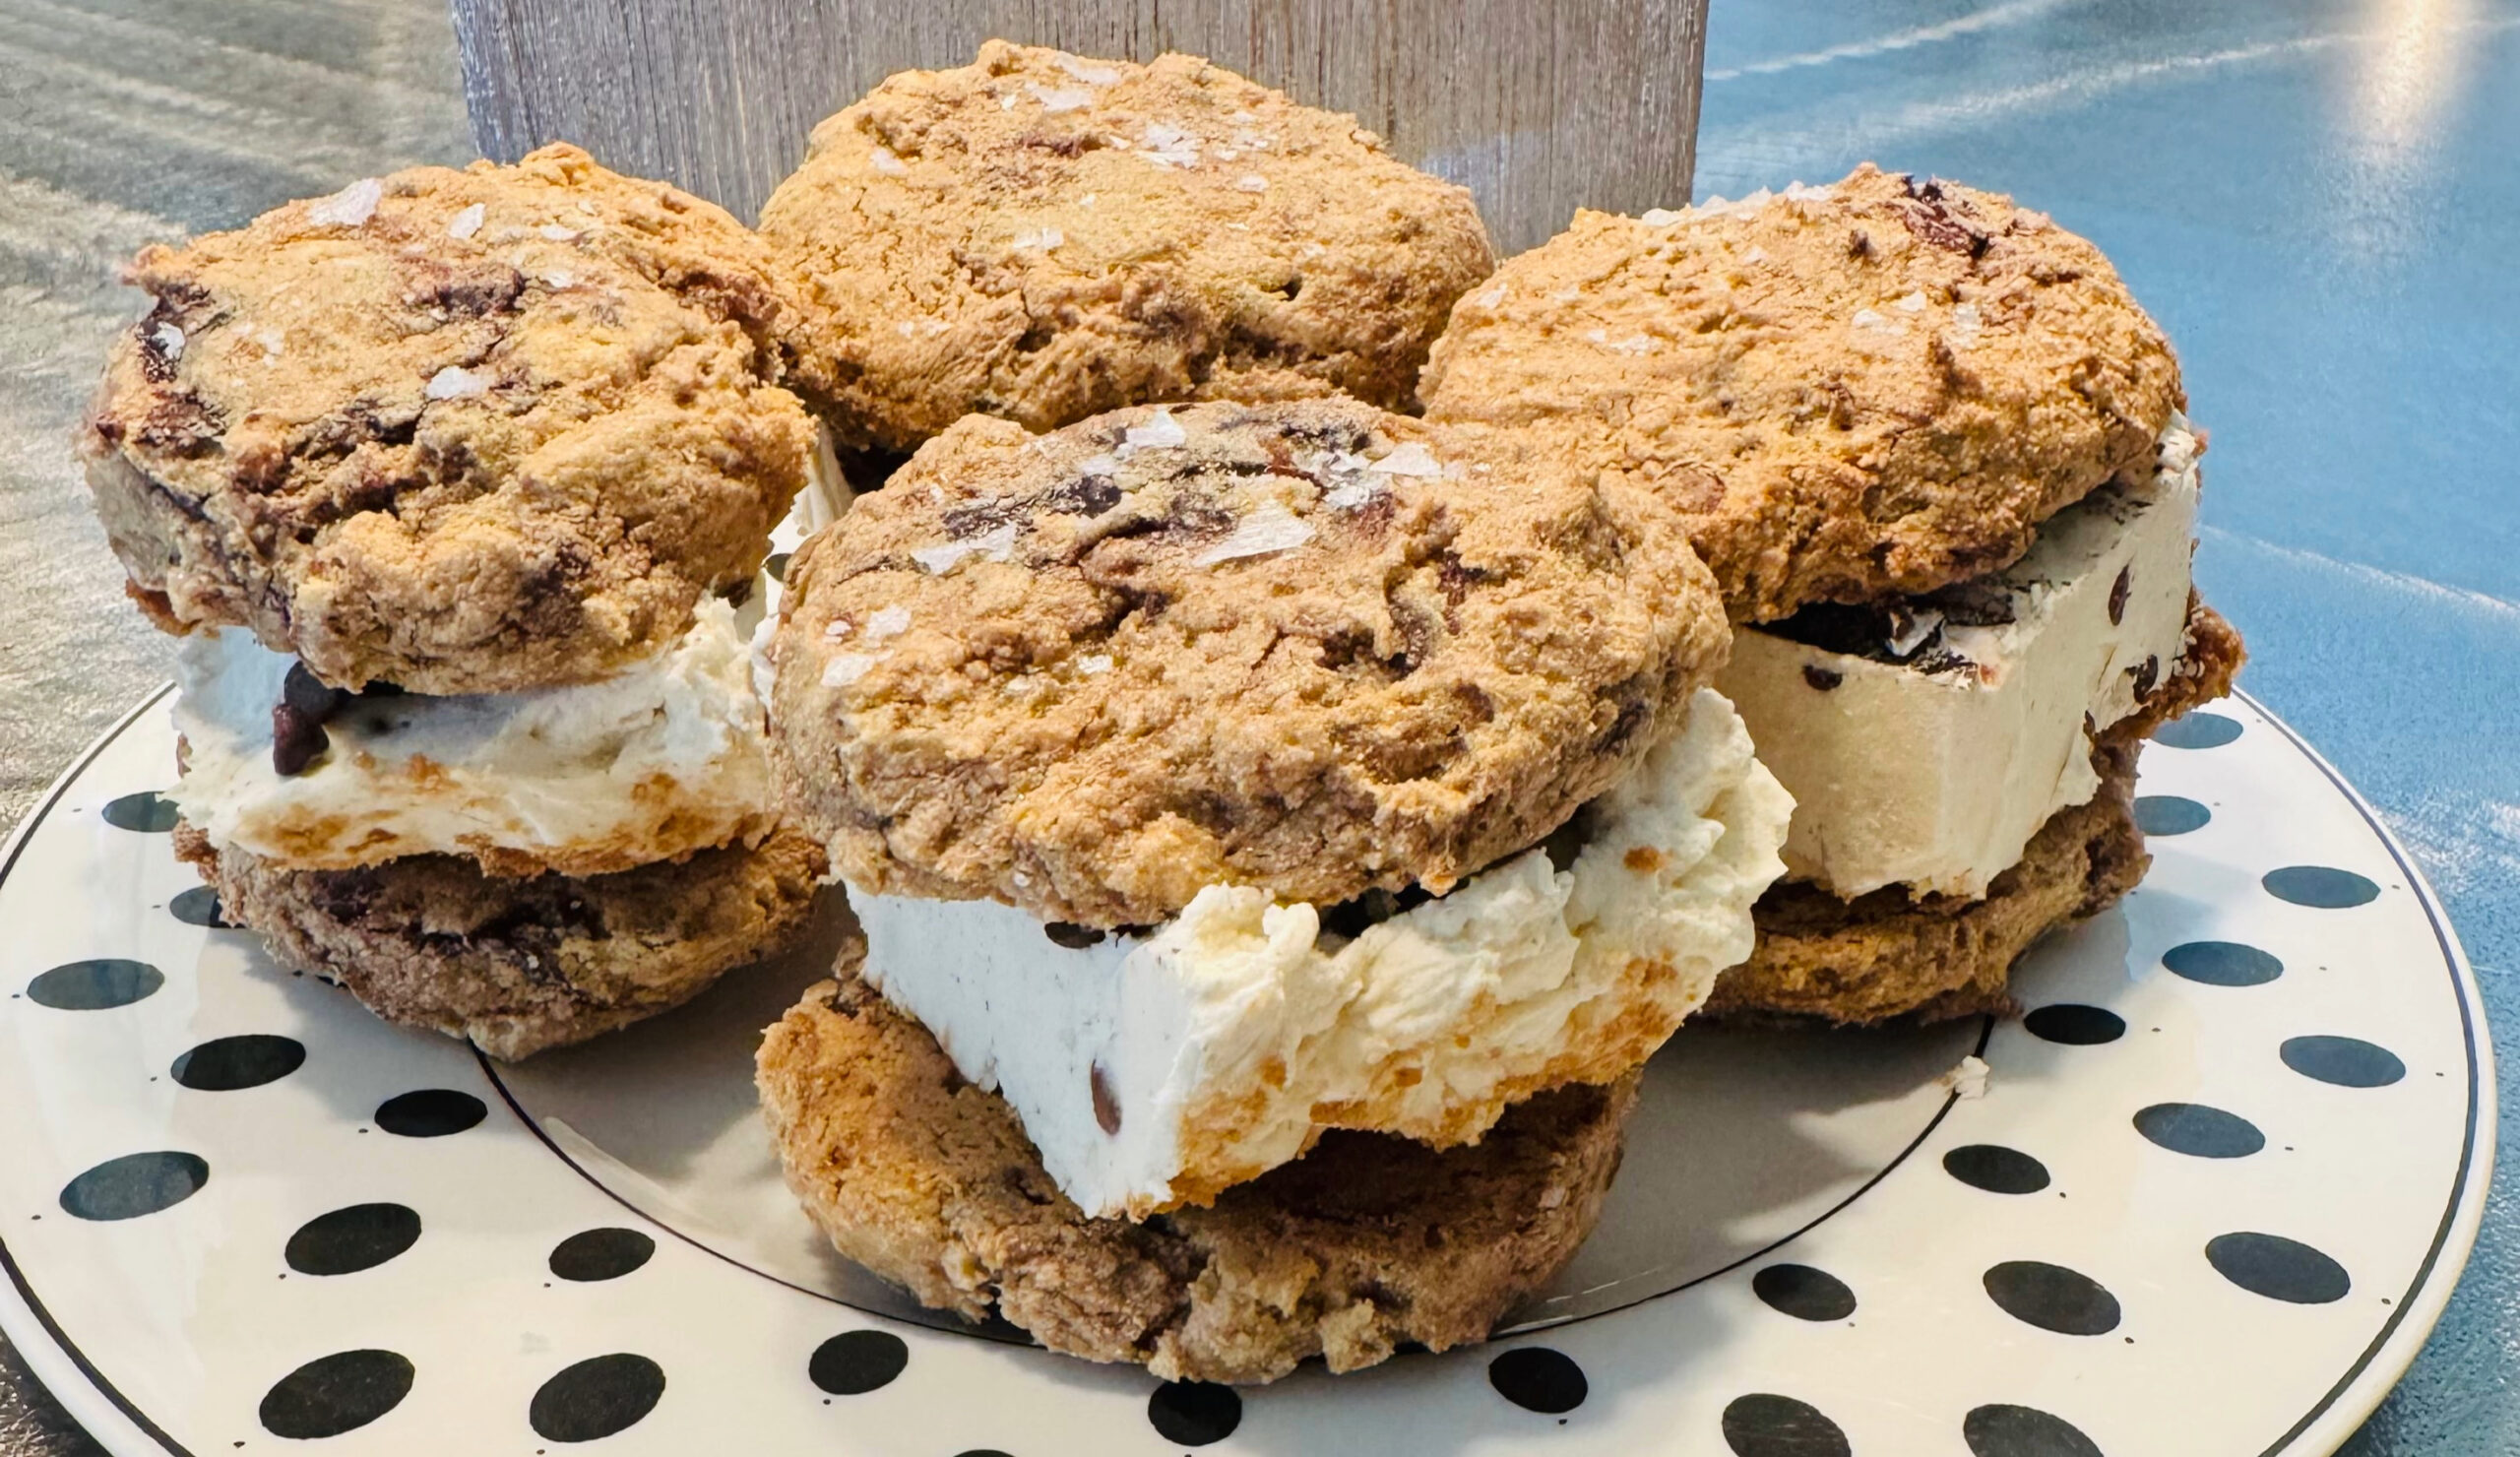
Make easy gluten-free cannoli cookie sandwiches with chewy waffle cone cookies, hot fudge swirls, and creamy ricotta mascarpone filling.
These Easy Gluten-Free Cannoli Ice Cream Cone Cookie Sandwiches combine soft, chewy chocolate chip cookies with crisp pieces of gluten-free waffle cone, ribbons of rich hot fudge, and a creamy cannoli-inspired filling. Ricotta and mascarpone give the filling its signature richness, while citrus zest and cinnamon add fresh, warm flavor to every bite.
Each oversized cookie is baked until lightly golden around the edges while remaining soft in the center. Chilled hot fudge is folded gently into the dough to create visible chocolate swirls without making the cookies uniformly chocolate. Broken gluten-free cones add a satisfying crunch that makes these cookie sandwiches especially fun and memorable.
The cannoli cream filling brings the entire dessert together. Thoroughly drained whole milk ricotta creates the traditional cannoli flavor, while mascarpone makes the filling smooth and luxurious. Mini chocolate chips add texture, and your choice of fresh lemon or orange zest gives the cream a bright finish.
These gluten-free cannoli cookie sandwiches are ideal for summer entertaining, birthdays, bridal showers, holiday dessert tables, and family celebrations. They can be assembled in advance and chilled until serving, making them a convenient option when you want an impressive bakery-style dessert without last-minute preparation.
Directions
Step 1: Prepare the Oven and Baking Sheets
Preheat the oven to 375°F. Line two large baking sheets with parchment paper and set them aside.
Step 2: Combine the Dry Ingredients
Place the glutinous rice flour, oat flour, baking powder, and xanthan gum in a medium mixing bowl. Whisk until the ingredients are evenly combined and no small pockets of flour or xanthan gum remain. Set the mixture aside.
Step 3: Cream the Butter and Sugars
Place the softened butter, packed light brown sugar, and granulated sugar in the bowl of a stand mixer fitted with the paddle attachment. Beat on medium-high speed for 3 to 4 minutes, or until the mixture looks light and fluffy.
Scrape down the sides and bottom of the bowl as needed so the butter and sugars are mixed evenly.
Step 4: Add the Eggs and Vanilla
Add the eggs one at a time, beating well after each addition. Mix in the vanilla extract until it is fully incorporated.
The mixture may look slightly loose after the eggs are added, but it will come together once the dry ingredients are mixed into the dough.
Step 5: Finish the Cookie Dough
Gradually add the dry ingredients to the butter mixture. Mix on low speed just until a soft dough forms. Avoid overmixing once the flour has been incorporated.
Fold in the chocolate chips and broken gluten-free cone pieces with a sturdy spatula. Drop small spoonfuls of the thoroughly chilled or frozen hot fudge sauce over the dough. Fold the dough gently only a few times to create distinct chocolate ribbons. Do not mix the fudge completely into the dough.
Step 6: Portion and Bake the Cookies
Use a large cookie scoop to portion approximately 4 tablespoons of dough for each cookie. Arrange the portions on the prepared baking sheets, leaving plenty of room between them because the cookies will spread.
Sprinkle the tops lightly with flaked sea salt. Bake for 11 to 14 minutes, or until the edges are lightly golden and set while the centers remain soft.
If desired, immediately shape the warm cookies into more even circles using a round cookie cutter or spatula. Allow them to rest briefly on the baking sheets before transferring them carefully to a wire rack. Let the cookies cool completely before adding the filling.
Step 7: Prepare the Cannoli Cream Filling
Place the thoroughly drained ricotta, mascarpone, powdered sugar, vanilla extract, citrus zest, cinnamon, and salt in a large mixing bowl.
Beat until the filling is smooth and creamy. Fold in the mini chocolate chips until they are evenly distributed.
Cover the bowl and refrigerate the cannoli cream for at least 1 hour. Chilling gives the filling time to firm so it will hold its shape between the cookies.
Step 8: Assemble the Cookie Sandwiches
Pair the cooled cookies according to size and shape. Turn one cookie from each pair over so its flat side faces upward.
Spread or pipe a generous amount of chilled cannoli cream onto the flat side of the cookie. Place the matching cookie on top and press gently until the filling reaches the edges. Avoid pressing too firmly, as this can cause the filling to squeeze out.
Repeat with the remaining cookies and cannoli filling.
Step 9: Chill and Serve
Arrange the assembled cookie sandwiches in a single layer and chill them in the refrigerator or freezer for 20 to 30 minutes before serving. This final chilling period helps set the filling and gives the sandwiches a cool, creamy texture.
Serve the sandwiches chilled. If they have been stored in the freezer, let them stand at room temperature for approximately 5 minutes before serving so the cookies and filling can soften slightly.
Notes
Drain the ricotta thoroughly before preparing the cannoli cream. Excess moisture can make the filling loose and prevent it from holding its shape inside the sandwiches.
For the best results, place the ricotta in a fine-mesh strainer set over a bowl and allow the excess liquid to drain before measuring and mixing the filling.
Chill or freeze the hot fudge sauce before adding it to the cookie dough.
Cold fudge is easier to fold into distinct ribbons, while warm or room-temperature sauce may blend completely into the dough.
Fold the hot fudge into the dough only a few times. Overmixing will eliminate the swirled appearance.
Use gluten-free sugar cones or waffle cones that are clearly labeled gluten-free. Also check the labels on the oat flour, chocolate chips, hot fudge sauce, baking powder, and other packaged ingredients when preparing this dessert for someone with celiac disease or gluten sensitivity.
Prevent cross-contact by using clean mixing bowls, utensils, baking sheets, parchment paper, and preparation surfaces.
Mini chocolate chips work especially well in the cannoli filling because they distribute evenly without overwhelming its soft, creamy texture.
Fresh lemon zest gives the filling a light, bright flavor. Orange zest provides a sweeter citrus note that pairs especially well with chocolate and cinnamon.
Store the assembled sandwiches in an airtight container in the refrigerator for up to 3 days.
For longer storage, freeze the sandwiches in an airtight container for up to 1 month. Separate layers with parchment paper to prevent them from sticking together. Let frozen sandwiches stand at room temperature for about 5 minutes before serving.