Make decadent no-churn chocolate ice cream with four simple ingredients. This creamy homemade dessert needs no machine and freezes beautifully.
Rich, creamy, and deeply chocolatey, this Decadent No-Churn Chocolate Ice Cream Recipe transforms four simple ingredients into a smooth homemade frozen dessert. No ice cream machine or complicated custard base is required, making this an approachable treat for warm afternoons, family dinners, celebrations, or any time a chocolate craving strikes.
The recipe gets its luxurious texture from heavy whipping cream beaten until stiff peaks form. Sweetened condensed milk provides sweetness while helping the mixture remain creamy in the freezer, and unsweetened cocoa powder creates the full chocolate flavor. A small amount of vanilla extract rounds out the cocoa and gives every scoop a balanced, dessert-shop taste.
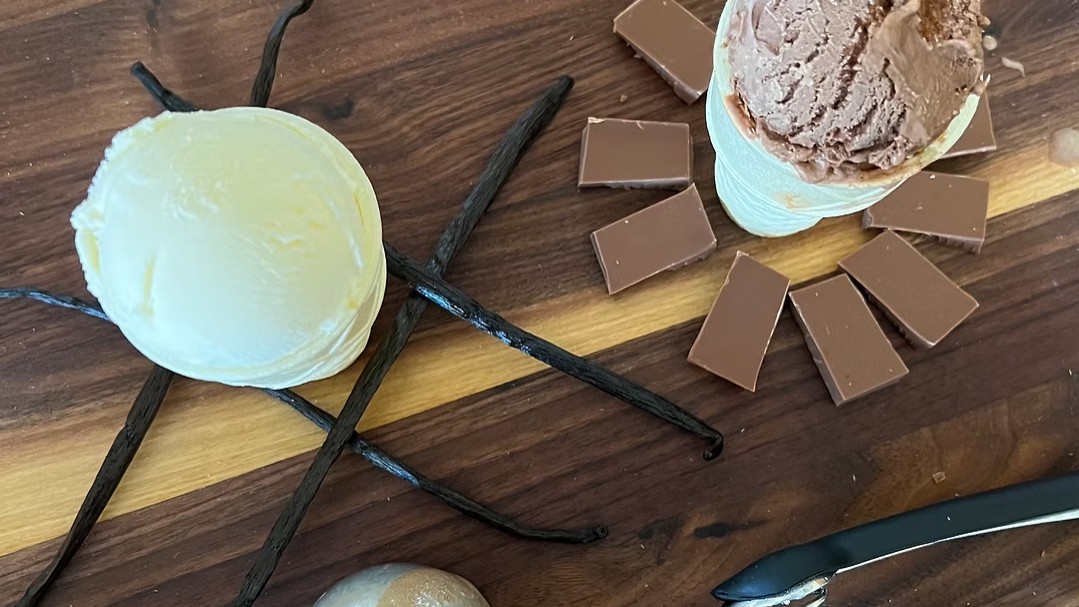
Because the ice cream base comes together in about 15 minutes, most of the preparation is simply waiting for it to freeze. Serve the finished ice cream in bowls or cones, or personalize it with chocolate shavings, berries, crushed gluten-free cookies, nuts, brownie pieces, or chocolate sauce. It is an easy make-ahead dessert that feels wonderfully indulgent.
Directions
Step 1: Prepare the Equipment
Choose a freezer-safe container or insulated ice cream tub that can be tightly covered. Place it nearby so the finished mixture can be transferred without delay. For easier whipping, chill the large mixing bowl and mixer beaters or whisk attachment for about 10 minutes before beginning. Cold equipment is optional, but it helps the cream whip efficiently and hold its airy structure.
Step 2: Whip the Heavy Cream
Pour the cold heavy whipping cream into the chilled mixing bowl. Using a hand mixer or stand mixer fitted with the whisk attachment, beat the cream on medium-high speed until stiff peaks form. The cream is ready when it looks thick and voluminous and the peaks remain upright when the beaters are lifted. Watch it closely near the end and stop as soon as stiff peaks form. Overmixing can make the whipped cream grainy and eventually turn it into butter.
Step 3: Make the Chocolate Base
In a separate large bowl, combine the sweetened condensed milk, unsweetened cocoa powder, and vanilla extract. Whisk until the mixture is smooth, glossy, and evenly chocolate-colored. Scrape the bottom and sides of the bowl as needed so no dry cocoa remains. If the cocoa powder is lumpy, sift it before adding it to the condensed milk. A completely smooth base helps give the finished ice cream a consistent flavor and velvety texture.
Step 4: Lighten the Chocolate Mixture
Add about one-third of the whipped cream to the chocolate base. Gently fold it in with a rubber spatula, sweeping down through the center of the bowl and up around the sides. This first addition loosens the thick condensed milk mixture, making it easier to incorporate the remaining cream without pressing out too much air.
Step 5: Fold Everything Together
Add the remaining whipped cream in two batches. Fold gently after each addition until no obvious white streaks remain. Rotate the bowl as you work and use broad, deliberate strokes rather than vigorous stirring. The trapped air in the whipped cream gives no-churn ice cream its light, scoopable texture, so avoid mixing longer than necessary. If desired, gently fold in chocolate chips, chopped nuts, or small brownie pieces once the base is uniform.
Step 6: Transfer and Cover
Spoon the chocolate mixture into the freezer-safe container and smooth the top with a spatula. Press a piece of plastic wrap or parchment paper directly against the surface to help limit ice crystals, then secure the lid. If the container does not have a lid, cover it tightly with plastic wrap followed by foil.
Step 7: Freeze the Ice Cream
Place the covered container on a level shelf in the freezer. Freeze for 4 to 6 hours, or until the ice cream is firm enough to scoop. A shallow container may freeze more quickly than a deep one. For the firmest texture, leave the ice cream in the freezer overnight.
Step 8: Soften and Serve
Remove the container from the freezer and let the ice cream stand at room temperature for 3 to 5 minutes. Scoop it into bowls or cones and serve it plain or with chocolate shavings, fresh berries, crushed gluten-free cookies, or a drizzle of chocolate sauce. Return any remaining ice cream to the freezer promptly so it does not melt and refreeze.
Notes
Use cold heavy whipping cream with a high fat content for the fullest texture and most reliable volume. Products labeled heavy cream or heavy whipping cream are both suitable.
Choose a good-quality unsweetened cocoa powder because it supplies nearly all of the chocolate flavor. Natural cocoa powder gives the ice cream a classic cocoa taste, while Dutch-process cocoa offers a darker color and smoother, mellower flavor. Either style works in this recipe.
Sifting the cocoa powder is especially helpful if it has been stored for a while or contains firm lumps. This simple step makes the chocolate base easier to whisk smooth.
Fold the whipped cream gently to preserve as much air as possible. Stirring aggressively can deflate the mixture and produce a denser finished dessert.
For added texture, fold in chocolate chips, chopped chocolate, chopped nuts, crushed gluten-free cookies, or bite-size brownie pieces before freezing. Keep additions modest so the ice cream remains easy to scoop.
For a softer serving texture, use a wide, shallow container and allow the ice cream to rest briefly at room temperature before scooping. Do not microwave the container because the outer edges may melt before the center softens.
Store the ice cream tightly covered in the freezer for up to 2 weeks. Keeping a protective layer directly against the surface helps reduce exposure to air and limits the formation of ice crystals.
This recipe is naturally gluten-free when made with appropriately labeled ingredients. If preparing it for someone with celiac disease or gluten sensitivity, check the cocoa powder, vanilla extract, condensed milk, and all optional toppings for suitable gluten-free labeling, and prevent cross-contact during preparation.