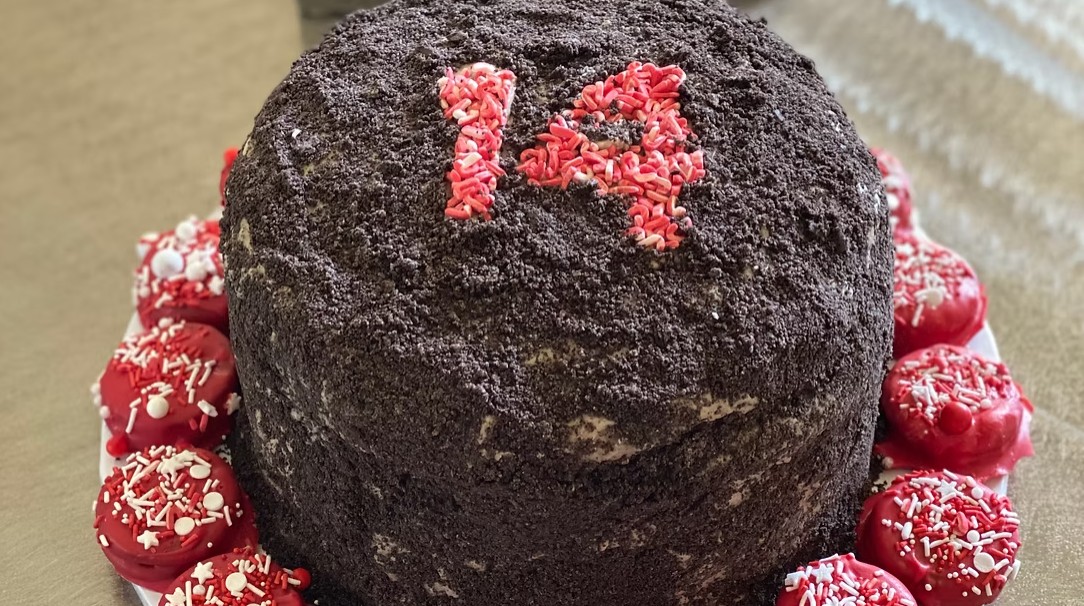
Make this Easy Gluten-Free Chocolate-Covered Oreos Recipe with smooth melted chocolate and festive decorations for holidays, parties, gifts, and dessert trays.
This Easy Gluten-Free Chocolate-Covered Oreos Recipe transforms crisp chocolate sandwich cookies into a rich and beautifully decorated no-bake dessert. Each gluten-free Oreo is covered with smooth melted chocolate and finished with sprinkles, cookie crumbs, flaky sea salt, or a contrasting chocolate drizzle.
These chocolate-covered cookies are simple enough for beginning bakers but polished enough for birthdays, holiday celebrations, baby showers, cookie exchanges, dessert tables, and homemade gifts. Use milk chocolate for a classic sweet coating, dark chocolate for a deeper flavor, white chocolate for a creamy finish, or a combination for a colorful assortment.
Preparing the cookies requires only a few ingredients and no baking. Once the cookies are dipped and decorated, a brief chilling period helps the chocolate become firm. Their crisp cookie centers, creamy filling, and smooth chocolate shells make these easy gluten-free chocolate-covered Oreos an irresistible treat for nearly any occasion.
Directions
Step 1: Prepare the Work Area
Line a large baking sheet, tray, or cutting board with parchment paper or wax paper. This will prevent the chocolate-covered cookies from sticking and make cleanup easier.
Arrange the gluten-free Oreo cookies near the prepared tray. Place your selected decorations in small bowls so they are ready to use immediately after each cookie is dipped. Melted chocolate can begin setting quickly, so preparing the toppings in advance will make decorating easier.
Step 2: Melt the Chocolate
Place the chocolate in a microwave-safe bowl. Microwave it in 20- to 30-second intervals, stirring thoroughly after each interval. Continue heating and stirring until the chocolate is completely melted, smooth, and glossy.
Alternatively, melt the chocolate using a double boiler. Place the chocolate in a heatproof bowl set over a saucepan containing a small amount of gently simmering water. Make sure the bottom of the bowl does not touch the water. Stir continuously until the chocolate is fully melted and smooth.
Step 3: Dip the Cookies
Place one gluten-free Oreo cookie in the melted chocolate. Use a fork, spoon, or chocolate-dipping tool to turn the cookie gently until it is completely coated.
Lift the cookie out of the bowl and allow the excess chocolate to drip back into the bowl. Tap the fork lightly against the side of the bowl to remove additional chocolate and create a smoother finish.
Carefully transfer the coated cookie to the prepared parchment-lined surface. Repeat the dipping process with the remaining cookies. If the chocolate begins to thicken, warm it briefly and stir until smooth before continuing.
Step 4: Decorate the Cookies
Add the desired decorations before the chocolate coating sets. Sprinkle the cookies with crushed gluten-free Oreo crumbs for a cookies-and-cream appearance, or add colorful gluten-free sprinkles for birthdays and other celebrations.
Finish dark chocolate-covered cookies with a small pinch of flaky sea salt for a sweet and salty flavor. Mini chocolate chips, sanding sugar, chocolate curls, finely chopped nuts, edible glitter, and pearl dust can also be used to create different designs.
For seasonal treats, choose gluten-free sprinkles in colors that coordinate with Christmas, Valentine’s Day, Halloween, birthdays, baby showers, or other special occasions.
Step 5: Chill the Cookies
Transfer the tray to the refrigerator. Chill the cookies for 10 to 15 minutes, or until the chocolate coating is completely firm.
Once the chocolate has hardened, remove the cookies from the refrigerator. They can be served immediately or finished with an additional chocolate drizzle.
Step 6: Add the Optional Drizzle
Allow the first chocolate coating to set completely before adding a second layer of decoration.
Drizzle melted white chocolate over cookies coated in milk or dark chocolate. For white chocolate-covered cookies, use melted dark chocolate to create a contrasting design.
Return the decorated cookies to the refrigerator for several additional minutes, or until the drizzle is completely firm.
Step 7: Serve the Cookies
Arrange the Easy Gluten-Free Chocolate-Covered Oreos on a dessert platter or cookie tray. Serve them alone or pair them with gluten-free brownies, chocolate truffles, sugar cookies, fresh strawberries, raspberries, or gluten-free candies.
To give the cookies as edible gifts, place them in decorative tins, gift boxes, or clear treat bags after the chocolate is completely set. Add parchment paper between stacked cookies to protect the coatings and decorations.
Notes
Choose good-quality chocolate for the best flavor and texture. Chocolate melting wafers, couverture chocolate, or baking chocolate can create a smooth coating with a polished appearance.
Keep the mixing bowl, utensils, and work area completely dry. Even a small amount of water can cause melted chocolate to seize and become thick or grainy.
A chocolate-dipping fork can help create a neat finish, but a regular dinner fork also works well.
Prepare the cookies one or two days before a party or special event for a convenient make-ahead dessert.
Store the cookies in an airtight container at room temperature for up to one week if the kitchen remains cool. Place parchment paper between the layers to prevent sticking and protect the decorations.
In warmer conditions, refrigerate the cookies in an airtight container for up to two weeks. Let the chilled cookies stand at room temperature briefly before serving if desired.
For longer storage, freeze the cookies in an airtight freezer-safe container for up to three months. Separate the layers with parchment paper and thaw the cookies in the refrigerator overnight before serving.
When preparing this recipe for someone with celiac disease or gluten sensitivity, check the labels on the cookies, chocolate, sprinkles, sanding sugar, edible decorations, and other packaged ingredients to confirm they are appropriate for a gluten-free diet. Prevent cross-contact by using clean bowls, utensils, trays, and work surfaces.