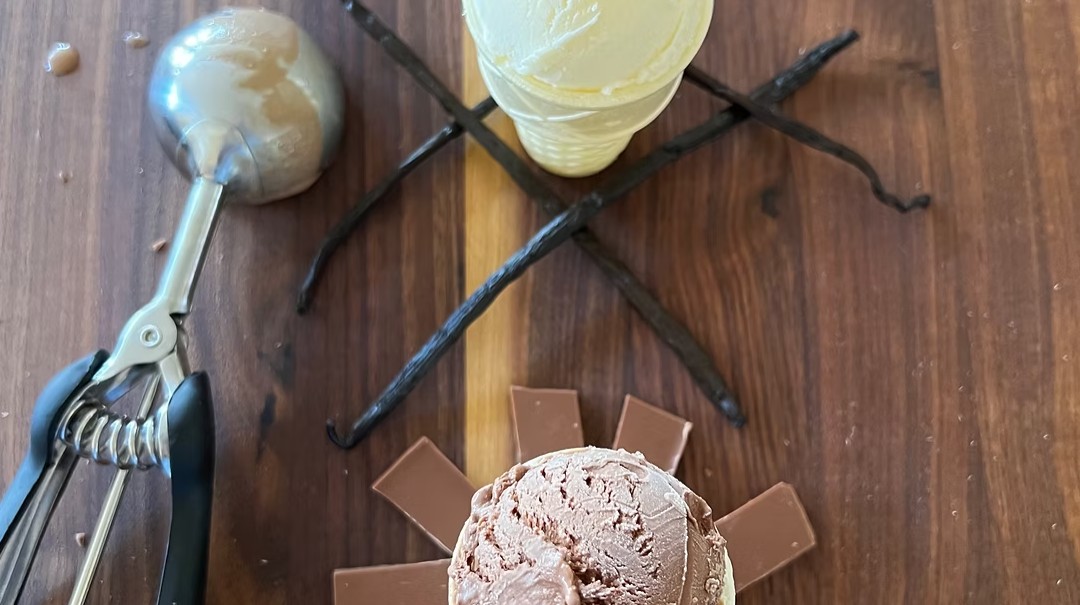
Make this easy no-churn vanilla ice cream with three simple ingredients. It is creamy, rich, and requires no ice cream maker.
Creamy, rich, and incredibly easy to prepare, this Easy No-Churn Vanilla Ice Cream Recipe makes a delicious homemade frozen dessert without an ice cream maker. The simple three-ingredient base comes together in about 15 minutes, making it perfect for summer gatherings, birthday celebrations, family dinners, and last-minute dessert cravings.
Heavy whipping cream gives this homemade vanilla ice cream its light, smooth texture. Whipping the cream incorporates air into the mixture, while sweetened condensed milk adds sweetness and helps create a creamy consistency without a traditional cooked custard base. Pure vanilla extract provides the familiar flavor that makes classic vanilla ice cream so comforting and versatile.
The most important part of this no-churn ice cream recipe is folding the whipped cream gently into the condensed milk. Careful folding preserves the air in the cream, helping the finished ice cream stay light and scoopable. Once combined, the mixture simply needs to be covered and placed in the freezer until firm.
Serve this easy homemade vanilla ice cream in bowls, cones, sundaes, or alongside warm brownies, fruit cobbler, pie, or cake. It is also an excellent base for creative flavors. Add cookies, chocolate chips, berries, candy pieces, or a swirl of caramel or fudge to create a personalized frozen treat.
Prep Time: 15 minutes
Freeze Time: 4 to 6 hours
Total Time: 4 hours 15 minutes to 6 hours 15 minutes
Yield: 8 servings
Ingredients
2 cups heavy whipping cream
1 (14-ounce) can sweetened condensed milk
1 teaspoon pure vanilla extract
Directions
Step 1: Chill the Equipment
For the best results, place a large mixing bowl and the beaters or whisk attachment in the refrigerator for about 15 minutes before beginning.
Chilled equipment helps the heavy cream whip more quickly and maintain its structure.
Step 2: Whip the Cream
Pour the cold heavy whipping cream into the chilled mixing bowl. Using a hand mixer or stand mixer fitted with the whisk attachment, beat the cream until stiff peaks form.
The whipped cream should hold its shape when the beaters are lifted from the bowl. Watch it carefully as it thickens and stop mixing once stiff peaks form. Overwhipped cream can become grainy and may affect the smooth texture of the finished ice cream.
Step 3: Prepare the Vanilla Base
In a separate large bowl, whisk together the sweetened condensed milk and pure vanilla extract until completely combined. Make sure the vanilla is evenly distributed throughout the condensed milk.
Step 4: Fold the Mixtures Together
Add approximately one-third of the whipped cream to the sweetened condensed milk mixture. Gently fold it in with a rubber spatula to lighten the base.
Add the remaining whipped cream and continue folding slowly. Move the spatula down through the center of the bowl and bring the mixture up from the bottom, turning the bowl as you work.
Avoid vigorous stirring because it can remove the air incorporated into the whipped cream. Continue folding just until the mixture is smooth, evenly combined, and free from visible streaks of whipped cream.
Step 5: Transfer the Ice Cream
Spoon the vanilla ice cream mixture into a freezer-safe loaf pan, insulated container, or airtight freezer-safe tub. Use a spatula to spread the mixture evenly and smooth the surface.
Cover the container tightly with a lid or plastic wrap. If using plastic wrap, gently press it against the surface of the ice cream to help limit exposure to air and reduce the formation of ice crystals.
Step 6: Freeze Until Firm
Place the covered container in the freezer for 4 to 6 hours, or until the vanilla ice cream is firm enough to scoop. The exact freezing time may vary depending on the depth of the container and the temperature of the freezer.
For easier scooping, a shallow container may freeze more evenly than a deep container.
Step 7: Soften and Serve
Remove the ice cream from the freezer a few minutes before serving. If it is especially firm, allow it to stand at room temperature for 5 to 10 minutes.
Scoop the ice cream into bowls or cones and serve immediately. Add chocolate syrup, caramel sauce, fresh berries, sprinkles, crushed cookies, chopped nuts, or another favorite topping if desired.
Notes
Use cold heavy whipping cream for the best volume and structure. Cream that is not cold enough may take longer to whip or may not hold stiff peaks properly.
Chilling the bowl and beaters for 15 minutes before whipping the cream can make the process easier, especially when preparing the recipe in a warm kitchen.
Pure vanilla extract gives the ice cream a rich, classic vanilla flavor.
Vanilla bean paste may provide a more pronounced vanilla flavor, but the original recipe uses pure vanilla extract.
Fold the whipped cream into the condensed milk gently. Stirring or beating the mixtures together can deflate the whipped cream and produce a denser frozen dessert.
To create different flavors, fold in mini chocolate chips, crushed sandwich cookies, brownie pieces, chopped candy, or fresh berries after combining the whipped cream and condensed milk mixture.
For a swirled variation, layer the finished vanilla mixture with spoonfuls of caramel sauce, chocolate fudge sauce, or fruit preserves. Drag a butter knife gently through the layers once or twice to create a swirl without blending the sauce completely into the base.
When adding fresh fruit, pat it dry and cut it into small pieces. Excess moisture can freeze into icy spots and change the consistency of the finished dessert.
Store the no-churn vanilla ice cream in an airtight freezer-safe container for up to 2 weeks. Keep the container tightly covered to help protect the flavor and prevent ice crystals from forming.
If the ice cream becomes too firm after extended freezing, let it rest at room temperature for 5 to 10 minutes before scooping. Avoid repeatedly thawing and refreezing the entire container because temperature changes can affect its texture.
This recipe makes approximately eight servings, although the exact number will depend on the size of each scoop.