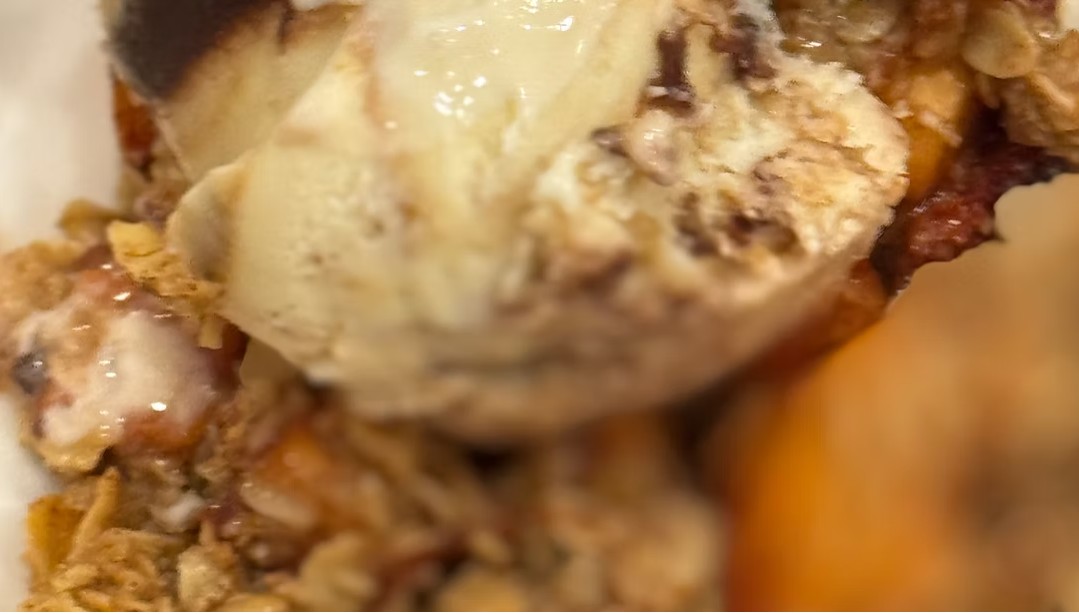
Make an easy gluten-free oat crumble with oats, brown sugar, butter, oat flour, and rice flour for a crisp, versatile dessert topping.
Buttery, crisp, and perfectly sweet, this Easy Gluten-Free Oat Crumble Recipe is a versatile topping for fruit crisps, cobblers, muffins, coffee cakes, and pies. Gluten-free old-fashioned oats give the crumble a hearty texture, while brown sugar adds rich caramel flavor and helps the topping become beautifully golden as it bakes.
A combination of oat flour and white rice flour creates a light, crumbly consistency without using wheat flour. Cold butter is worked into the dry ingredients, leaving small pieces that melt during baking and produce irresistible crisp clusters. Chilling the prepared topping helps the butter remain firm until it reaches the oven, creating a crunchier finished texture.
This easy gluten-free crumble topping can be prepared in just minutes and kept chilled until you are ready to use it. Make it ahead for seasonal apple, peach, cherry, strawberry, blueberry, or mixed berry desserts. You can also freeze the unbaked crumble for convenient homemade treats whenever you need a quick finishing touch.
Directions
Step 1: Combine the Dry Ingredients
Place the brown sugar, oat flour, and white rice flour in a large mixing bowl. Stir thoroughly, breaking apart any clumps of brown sugar, until the ingredients are evenly combined.
Use 3/4 cup brown sugar for a moderately sweet topping that allows the flavor of the fruit or baked good underneath to stand out. Use the full 1 cup for a richer and sweeter crumble.
Step 2: Cut in the Cold Butter
Add the chilled butter cubes to the dry ingredients. Using a pastry cutter, two knives, or clean fingertips, work the butter into the flour mixture until coarse crumbs begin to form.
Continue mixing until most of the butter is incorporated but some pea-sized pieces remain visible. These small pockets of cold butter will melt during baking, helping the gluten-free oat crumble develop crisp edges and crunchy clusters.
Work quickly if using your fingertips so the warmth of your hands does not soften the butter too much. If the butter begins to feel greasy or the mixture becomes overly soft, refrigerate the bowl briefly before continuing.
Step 3: Add the Oats
Add the gluten-free old-fashioned oats to the butter mixture. Stir gently until the oats are evenly distributed and coated with the brown sugar, flour, and butter mixture.
The finished topping should look crumbly rather than smooth or dough-like. It is normal to have a combination of fine crumbs, oat flakes, and larger clusters.
Step 4: Chill the Crumble
Cover the mixing bowl and refrigerate the crumble topping for at least 15 minutes. Chilling firms the butter and helps prevent the topping from melting too quickly when it is placed in the oven.
If you are preparing the crumble ahead of time, keep it covered in the refrigerator until you are ready to assemble and bake your dessert.
Step 5: Add the Topping
Sprinkle the chilled crumble evenly over a prepared fruit filling, muffins, coffee cake, cobbler, pie, or another baked good. Gently scatter the mixture instead of pressing it down firmly. Leaving the topping loose allows heat to circulate around the crumbs so they can become crisp.
For more texture, leave a few larger clusters in the mixture as you distribute it. Spread the topping all the way to the edges when covering a fruit filling so every serving receives some of the buttery oat crumble.
Step 6: Bake Until Golden
Bake the crumble according to the time and oven temperature specified in the recipe for your fruit filling or baked good. The topping is ready when it is golden brown, crisp, and fragrant.
Because baking times vary depending on the dessert, depth of the filling, baking dish, and oven temperature, watch the topping carefully near the end of the recommended baking time. If it browns before the dessert underneath is ready, loosely cover the top with aluminum foil for the remainder of the baking time.
Step 7: Cool and Serve
Allow the finished dessert to cool as directed in the accompanying recipe. The crumble topping will continue to become firmer and crisper as it cools.
Serve it over a warm fruit crisp or cobbler, or use it to add a buttery oat layer to muffins, coffee cakes, and pies.
Notes
For extra warmth and flavor, mix 1 teaspoon ground cinnamon, 1/4 teaspoon ground nutmeg, or a pinch of cardamom into the dry ingredients. Choose a spice that complements the fruit or baked good you are preparing.
Use the full 1 cup of brown sugar when you want a richer and sweeter topping. The 3/4-cup amount is a good choice for naturally sweet fruit fillings or desserts that already contain plenty of sugar.
This gluten-free oat crumble pairs especially well with apples, peaches, blueberries, strawberries, cherries, and mixed berries.
Keep the butter cold throughout preparation. Cold butter creates distinct crumbs and clusters, while overly soft butter can produce a denser or greasier topping.
Old-fashioned oats provide the best hearty texture. Check that the oats, oat flour, white rice flour, and other packaged ingredients carry appropriate gluten-free labeling when preparing the recipe for someone with celiac disease or gluten sensitivity. Prevent cross-contact by using clean bowls, utensils, preparation surfaces, and storage containers.
Store unused, unbaked crumble topping in an airtight container in the refrigerator for up to 5 days.
For longer storage, transfer the unbaked topping to an airtight freezer-safe container or bag and freeze it for up to 3 months. Use the crumble directly from frozen, breaking apart any large frozen pieces before sprinkling it over the prepared dessert.
This recipe can be doubled when you need enough topping for multiple desserts or a larger batch of baked goods.