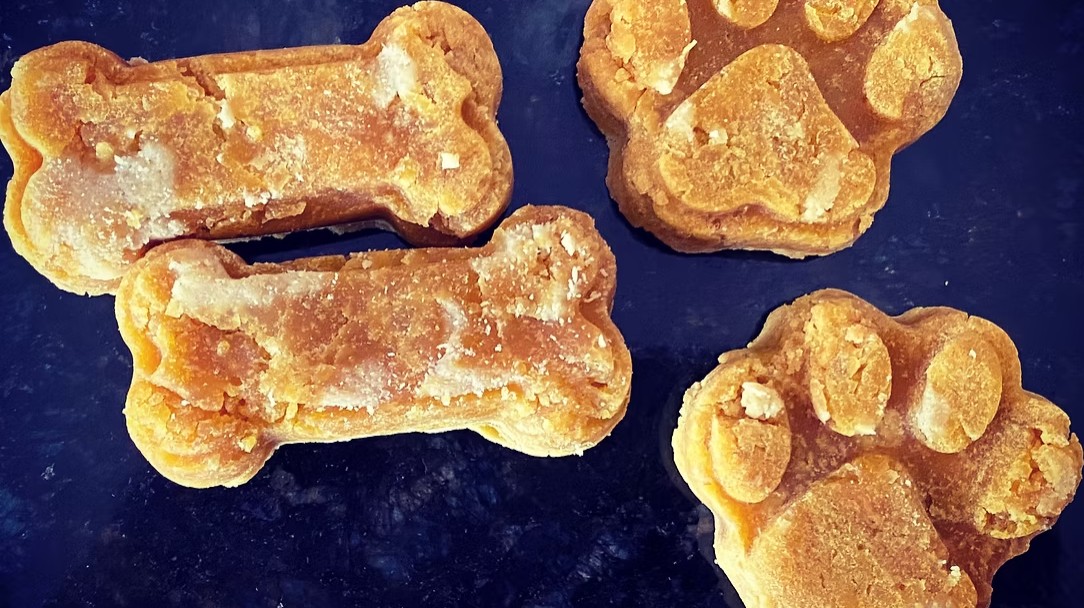
Make crunchy gluten-free pumpkin peanut butter pup cookies with pumpkin purée, xylitol-free peanut butter, eggs, and individual gluten-free flours.
Treat your furry friend to a batch of homemade Crunchy Gluten-Free Pumpkin Peanut Butter Pup Cookies. Made with pumpkin purée, natural peanut butter, eggs, and individual gluten-free flours, these crisp dog biscuits contain no wheat, corn, soy, or artificial additives.
Preparing dog treats at home gives you control over every ingredient. Pumpkin adds natural flavor, while peanut butter makes the cookies especially enticing to dogs. Eggs bind the dough, and a combination of white rice flour, brown rice flour, tapioca starch, and potato starch produces a sturdy dough that is easy to roll and cut.
Use a bone, paw print, heart, or seasonal cookie cutter to make these treats extra special. They are ideal for occasional rewards, training sessions, birthdays, holidays, or simply showing your canine companion a little extra love.
Prep Time: 15 minutes
Bake Time: 20 minutes
Total Time: 35 minutes
Yield: Approximately 20 to 24 cookies, depending on cutter size
Ingredients
1/3 cup canned pumpkin purée
2 tablespoons natural peanut butter, xylitol-free
2 large eggs
1/2 cup white rice flour
1/4 cup brown rice flour
3 tablespoons tapioca starch
1/2 cup plus 1 tablespoon potato starch
Additional gluten-free flour for rolling
Directions
Step 1: Prepare the Oven
Preheat the oven to 350°F. Line a large baking sheet with unbleached parchment paper and set it aside.
Step 2: Combine the Wet Ingredients
Place the pumpkin purée, xylitol-free peanut butter, and eggs in a large mixing bowl. Whisk until the mixture is smooth and evenly combined.
Step 3: Make the Dough
Add the white rice flour, brown rice flour, tapioca starch, and potato starch to the pumpkin mixture. Stir until a thick, firm dough forms. The dough should be slightly stiff so it can be rolled and cut into shapes.
Step 4: Knead the Dough
Lightly dust a clean work surface with additional gluten-free flour. Transfer the dough to the prepared surface and sprinkle a small amount of flour over the top.
Gently knead the dough several times, just until it becomes smooth and easy to handle. If the dough feels sticky, work in a little more flour as needed.
Step 5: Roll the Dough
Using a rolling pin, roll the dough to approximately 1/4-inch thickness. Try to keep the thickness even so the cookies bake at the same rate.
Step 6: Cut the Cookies
Cut the dough with a bone-shaped cookie cutter or another pet-themed cutter. Gather the remaining scraps, gently reroll them, and continue cutting until all the dough has been used.
Arrange the cookies on the prepared baking sheet, leaving a small amount of space between them.
Step 7: Bake the Cookies
Place the baking sheet on the center oven rack. Bake for approximately 20 minutes, or until the cookies are set and the edges are lightly golden.
For crunchier dog biscuits, turn off the oven after baking. Leave the cookies inside for an additional 15 to 20 minutes with the oven door slightly ajar.
Step 8: Cool Completely
Remove the baking sheet from the oven and let the cookies cool on the pan for about 10 minutes.
Transfer the cookies to a wire rack and allow them to cool completely before offering one to your dog.
Notes
Always check the peanut butter label carefully. It must not contain xylitol, an ingredient that is highly toxic to dogs.
Use plain canned pumpkin purée, not sweetened or spiced pumpkin pie filling.
Check every packaged ingredient for suitable gluten-free labeling if your dog needs to avoid gluten.
Prevent cross-contact by using clean utensils, bowls, work surfaces, and baking equipment.
Bone, paw print, heart, and seasonal cookie cutters are all suitable for shaping the dough. The size of the cutter will affect the final yield and may affect the baking time.
For slightly softer treats, reduce the baking time by 2 to 3 minutes. Make sure the cookies are fully set before removing them from the oven.
Let the cookies cool completely before serving them to your dog. Break larger cookies into smaller pieces when appropriate for your dog’s size.
Store the cooled cookies in an airtight container at room temperature for up to 5 days. For longer storage, refrigerate them for up to 2 weeks.
The cookies may also be frozen for up to 3 months. Thaw frozen treats before serving.
These homemade cookies are intended to be given as occasional treats rather than as a replacement for a complete and balanced diet.
Consult your veterinarian before introducing a new treat if your dog has food allergies, dietary restrictions, digestive concerns, or another health condition.