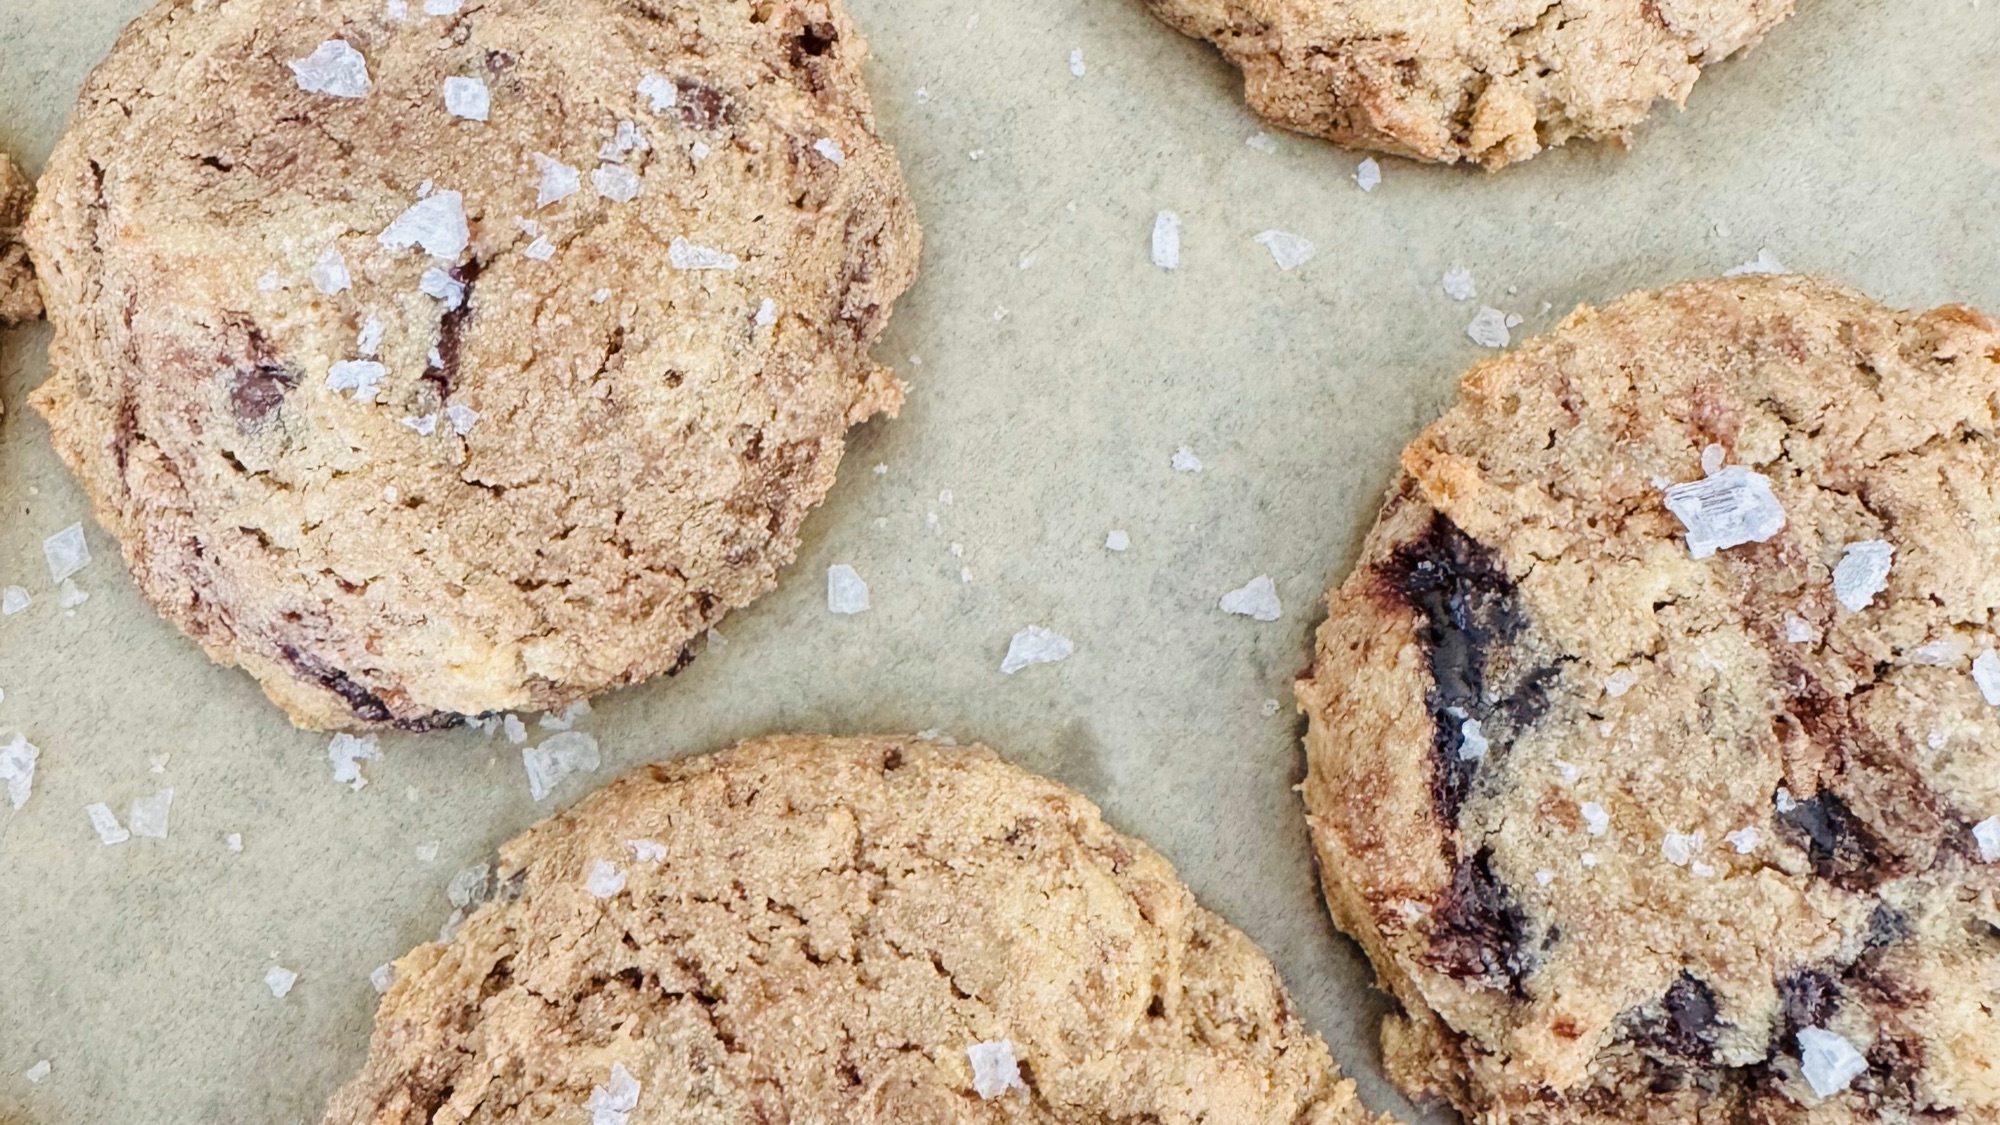
Make irresistible gluten-free ice cream cone cookies with chocolate chips, crunchy cone pieces, swirls of hot fudge, and flaky sea salt.
These Irresistible Gluten-Free Ice Cream Cone Cookies turn everything fun about an ice cream sundae into a thick, soft-centered cookie. Sweet brown sugar cookie dough is packed with chocolate chips and crunchy pieces of gluten-free ice cream cones, then rippled with chilled hot fudge for pockets of rich chocolate in every bite. A light sprinkle of flaky salt balances the sweetness and makes the chocolate flavor stand out even more.
Glutinous rice flour and gluten-free oat flour create a chewy, tender texture without traditional wheat flour. Despite its name, glutinous rice flour does not contain gluten. It gets its name from its naturally sticky texture, which helps give these cookies their satisfying chew. Be sure to use certified gluten-free oat flour and gluten-free sugar or waffle cones to keep the entire recipe gluten-free.
These playful gluten-free cookies are especially fun for summer parties, birthdays, ice cream socials, cookouts, and family celebrations. Serve them on their own or slightly warm alongside a scoop of vanilla ice cream for a dessert that brings together cookies, ice cream cones, chocolate, and hot fudge in one irresistible treat.
Directions
Step 1: Chill the Hot Fudge
Drop small spoonfuls of hot fudge onto a parchment-lined plate or small tray. Place in the freezer for about 15 minutes while you prepare the cookie dough. The fudge does not need to freeze completely. It should simply be very cold and firm enough that it can be folded into the dough without immediately blending into it.
Step 2: Preheat the Oven
Preheat the oven to 375°F. Line two large baking sheets with parchment paper and set aside.
Step 3: Combine the Gluten-Free Flours
In a medium bowl, whisk together the glutinous rice flour, gluten-free oat flour, baking powder, and xanthan gum until evenly combined. Whisking thoroughly helps distribute the xanthan gum and baking powder throughout the flour mixture.
Step 4: Cream the Butter and Sugars
In the bowl of a stand mixer fitted with the paddle attachment, combine the softened butter, light brown sugar, and granulated sugar. Beat on medium-high speed for 3 to 4 minutes, scraping down the sides of the bowl as needed, until the mixture is lighter in color and fluffy.
This creaming step incorporates air into the dough and helps give the finished cookies a soft texture with lightly crisp edges.
Step 5: Add the Eggs and Vanilla
Add the eggs and pure vanilla extract to the butter mixture. Mix on low speed until smooth and completely combined, stopping to scrape down the bowl as necessary.
Step 6: Add the Dry Ingredients
Gradually add the flour mixture to the wet ingredients. Mix on low speed just until no visible streaks of flour remain. Avoid continuing to mix once the dough is combined.
Step 7: Add the Chocolate Chips and Cone Pieces
Gently fold the chocolate chips and broken gluten-free cone pieces into the cookie dough with a spatula. Distribute the pieces throughout the dough without crushing them too finely. Leaving some slightly larger cone pieces gives the baked cookies more noticeable pockets of crisp texture.
Step 8: Swirl in the Hot Fudge
Remove the chilled hot fudge from the freezer. Scatter the cold fudge pieces over the cookie dough and gently fold or swirl them through the dough with a spatula just a few times.
The goal is to create visible ribbons and pockets of hot fudge rather than completely incorporating the chocolate into the dough. Overmixing at this stage will eliminate the marbled appearance.
Step 9: Portion the Cookies
Using a large cookie scoop, portion approximately 4 tablespoons of dough for each cookie. Gently shape the portions into cookie dough balls without compressing them too firmly.
Arrange 5 to 6 cookies on each prepared baking sheet, leaving plenty of room between them for spreading. Sprinkle the tops lightly with flaky sea salt.
Step 10: Bake Until the Edges Are Golden
Bake for 11 to 14 minutes, or until the edges are lightly golden and set while the centers still appear soft.
Avoid baking until the centers look completely firm. The cookies will continue to set from the residual heat of the baking sheet as they cool.
Step 11: Shape and Cool the Cookies
Immediately after removing the cookies from the oven, use the rounded edge of a spoon or spatula to gently nudge any uneven edges inward and create rounder cookies, if desired.
Add another light sprinkle of flaky sea salt while the cookies are still warm.
Allow the cookies to cool on the baking sheet for about 10 minutes. Once they are firm enough to handle, carefully transfer them to a wire rack to finish cooling.
Notes
Glutinous rice flour is also commonly labeled sweet rice flour or Mochiko. Despite the word “glutinous,” it is naturally gluten-free. It contributes chewiness and structure to these cookies and should not be replaced with ordinary white rice flour at the same ratio.
Use certified gluten-free oat flour if the cookies need to be strictly gluten-free. Oats can be exposed to wheat during growing, processing, or packaging, so certification is important for anyone who needs to avoid gluten.
Check the packaging on sugar cones and waffle cones carefully. Traditional ice cream cones frequently contain wheat flour, so specifically labeled gluten-free cones are necessary for a completely gluten-free cookie.
Keeping the hot fudge very cold is the key to creating distinct chocolate swirls. Freezing small spoonfuls for about 15 minutes makes the fudge easier to distribute through the dough without turning the entire cookie dough chocolate.
Do not overwork the dough after adding the hot fudge. A few gentle folds are enough to create the desired marbled effect.
Waffle cones provide a richer, slightly caramelized flavor and a heartier crunch, while sugar cones tend to be lighter and crisper. Either variety works well as long as it is gluten-free.
Because the cookies are intentionally large, leave generous space between each portion on the baking sheet. Baking only 5 to 6 cookies on each pan helps prevent them from spreading into one another.
For softer cookies, remove them from the oven when the centers still appear slightly underbaked. They will continue to set as they rest on the hot baking sheet.
Store completely cooled cookies in an airtight container at room temperature for up to 4 days. Because the cone pieces absorb moisture from the cookies over time, their crunch will be strongest on the first and second day.
For an ice cream sundae-inspired dessert, serve a cookie slightly warm with a scoop of vanilla ice cream and an additional drizzle of warm hot fudge.