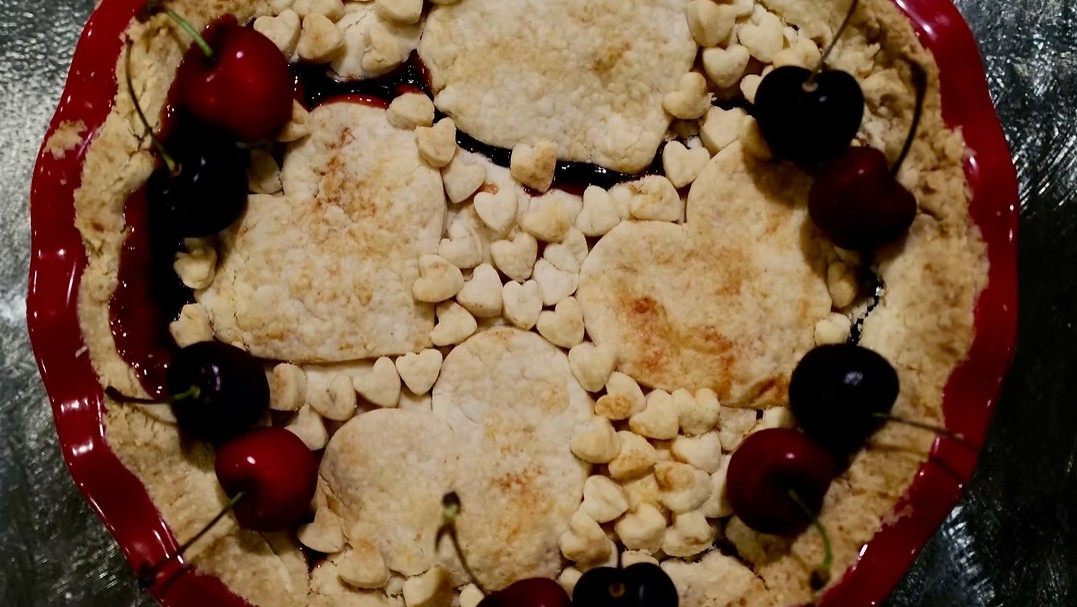
Make the best gluten-free cherry vanilla pandowdy with juicy cherries, fragrant vanilla, and a flaky homemade crust for a rustic fruit dessert.
This Gluten-Free Cherry Vanilla Pandowdy brings together a bubbling cherry filling, warm vanilla flavor, and tender homemade pastry. It has everything people love about cherry pie and fruit cobbler, but its charming appearance makes it easier and more relaxed to prepare.
During baking, the golden top crust is broken into large pieces and gently pressed into the hot cherry filling. This traditional pandowdy technique allows the fruit juices to flow over the pastry, creating caramelized edges and pockets of flaky crust. Every serving offers a satisfying balance of sweet cherries, bright lemon, fragrant vanilla, and buttery pastry.
Fresh cherries make this dessert especially lovely during cherry season, while frozen cherries allow you to enjoy it throughout the year. Serve it warm with vanilla ice cream or softly whipped cream for an inviting homemade dessert.
Directions
Step 1: Mix the Dry Crust Ingredients
Place the tapioca flour, cornstarch, brown rice flour, oat flour, granulated sugar, sea salt, and xanthan gum in a food processor. Pulse several times until thoroughly combined.
Step 2: Cut in the Cold Butter
Add the cold butter cubes to the food processor. Pulse in short intervals until the mixture resembles coarse crumbs with small, visible pieces of butter remaining. These pieces of cold butter help create a flaky gluten-free crust.
Step 3: Bring the Pastry Dough Together
Add the eggs and vanilla bean flecks. Pulse just until the dough begins to gather together. Avoid overmixing because it can make the finished pastry less tender.
Step 4: Shape and Chill the Dough
Transfer the dough to a surface lightly dusted with tapioca flour. Knead it gently a few times until smooth, then divide it into two equal portions.
Shape each portion into a disk, wrap it tightly, and refrigerate for at least 2 hours.
Step 5: Cook the Cherry Vanilla Filling
Place the cherries, granulated sugar, lemon juice, cornstarch, vanilla extract, and cinnamon, if using, in a medium saucepan.
Cook over medium heat for 8 to 10 minutes, stirring frequently, until the cherries release their juices and the filling becomes glossy and thick enough to coat a spoon. Remove the saucepan from the heat and allow the filling to cool slightly.
Step 6: Preheat the Oven
Preheat the oven to 375°F. Place a rimmed baking sheet on the center oven rack while the oven heats.
The hot baking sheet will help the bottom pastry cook evenly and catch any bubbling fruit juices.
Step 7: Form the Bottom Crust
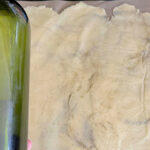
Roll one chilled dough disk between two sheets of parchment paper until it is large enough to fit a 9-inch pie dish.
Remove the top sheet of parchment paper. Carefully invert the dough over the pie dish, then peel away the remaining parchment. Press the crust gently into the bottom and sides of the dish.
Step 8: Add the Cherry Filling
Spoon the slightly cooled cherry vanilla filling into the prepared crust. Spread the cherries evenly so every serving contains plenty of fruit.
Step 9: Add the Top Crust
Roll the second dough disk between two sheets of parchment paper. Carefully place it over the cherry filling.
Fold or trim the edges as needed, then press or crimp the top and bottom crusts together to seal them.
Step 10: Apply the Egg Wash
Whisk the egg and water together in a small bowl. Brush the egg wash evenly over the top crust.
Sprinkle the crust with coarse sugar, if desired, for a crisp, sparkling finish. Cut a few small openings in the crust to allow steam to escape.
Step 11: Begin Baking the Pandowdy
Carefully place the pie dish on the preheated baking sheet. Bake for 25 minutes, or until the crust begins to set and the cherry filling starts bubbling around the edges.
Step 12: Break and Press the Top Crust
Remove the pandowdy from the oven. Use the back of a large spoon to gently break the top crust into several rustic pieces.
Press some of the pastry lightly into the bubbling cherry filling, allowing the fruit juices to flow between and over the crust pieces.
Step 13: Finish Baking the Pandowdy
Return the pandowdy to the oven and bake for another 20 to 25 minutes. The dessert is ready when the crust is golden brown and the cherry filling is bubbling vigorously.
If the outer edges begin to brown too quickly, cover them loosely with aluminum foil.
Step 14: Cool the Pandowdy
Place the baked pandowdy on a heat-resistant surface and allow it to cool for at least 1 hour. This resting time gives the cherry filling a chance to thicken and makes the dessert easier to serve.
Step 15: Serve
Serve the Gluten-Free Cherry Vanilla Pandowdy warm or at room temperature. Top each serving with vanilla ice cream or softly whipped cream, if desired.
Notes
For the flakiest gluten-free crust, keep the butter and other pastry ingredients as cold as possible.
Use certified gluten-free oat flour when preparing this dessert for someone who must avoid gluten. Check all packaged ingredients for appropriate gluten-free labeling and prevent cross-contact during preparation.
Fresh sweet or tart cherries may be used. Taste the fruit before adding the full amount of sugar, especially if the cherries are naturally very sweet.
Frozen cherries also work well. Thaw and drain them before measuring to help prevent the filling from becoming watery.
Rolling the pastry between sheets of parchment paper helps prevent sticking and makes delicate gluten-free dough easier to transfer.
If the chilled dough is too firm to roll, let it rest at room temperature for 5 to 10 minutes. If it becomes sticky, return it to the refrigerator until firm.
The filling may appear slightly loose when the dessert first comes out of the oven, but it will continue to thicken as it cools.
Store leftover pandowdy tightly covered in the refrigerator for up to 4 days. Reheat individual servings gently before adding ice cream or whipped cream.