Make a flaky gluten-free vanilla bean pie crust with cold butter and fragrant vanilla seeds. Choose a homemade flour blend or an easy flour option.
Buttery, tender, and beautifully flecked with real vanilla bean seeds, this Flaky Gluten-Free Vanilla Bean Pie Crust Recipe adds an elegant layer of flavor to any homemade dessert. The delicate vanilla aroma complements fruit fillings, creamy custards, pumpkin pie, pecan pie, and other seasonal favorites without overpowering them.
Two crust options make this recipe easy to customize. The first combines tapioca starch, cornstarch, superfine brown rice flour, and oat flour for a carefully balanced homemade blend. The second uses gluten-free all-purpose flour for a simpler approach. Both versions produce enough dough for two pie crusts and are prepared with cold salted butter, eggs, fresh lemon juice, and fragrant vanilla bean seeds.
Chilling the dough allows the gluten-free flours to hydrate and helps the butter remain cold, creating a tender crust that is easier to roll. Parchment paper makes handling the dough simpler and reduces the need for excess flour. Choose the version that best suits your ingredients and baking preferences, then fill and bake the crust according to your selected pie recipe.
Directions
Option 1: Homemade Gluten-Free Vanilla Bean Pie Crust
Step 1: Prepare the Pie Plate
Lightly grease a 9-inch pie plate and set it aside.
Step 2: Combine the Dry Ingredients
Place the tapioca starch, cornstarch, superfine brown rice flour, gluten-free oat flour, granulated sugar, sea salt, and xanthan gum in the bowl of a stand mixer fitted with the paddle attachment. Mix until the ingredients are evenly combined.
Step 3: Cut in the Butter
Add the cold, diced butter to the flour mixture. Mix until the mixture resembles coarse crumbs and small pieces of butter remain visible throughout.
Step 4: Add the Wet Ingredients
Split the vanilla beans lengthwise and scrape out the seeds with the back of a knife. Add the vanilla bean seeds, eggs, and lemon juice to the flour mixture.
Mix just until the dough begins to come together. Avoid overmixing, which may cause the butter to soften.
Step 5: Form the Dough
Transfer the dough to a work surface lightly dusted with tapioca starch or brown rice flour. Gently knead it a few times, just until it forms a cohesive mass.
Divide the dough into two equal portions. Shape each portion into a disk and wrap it tightly in plastic wrap.
Step 6: Chill the Dough
Refrigerate the dough for at least 1 hour or up to overnight. Chilling gives the gluten-free flours time to hydrate and helps the crust retain a tender texture.
Step 7: Roll Out the Dough
Remove one dough disk from the refrigerator and let it rest at room temperature for 10 to 15 minutes.
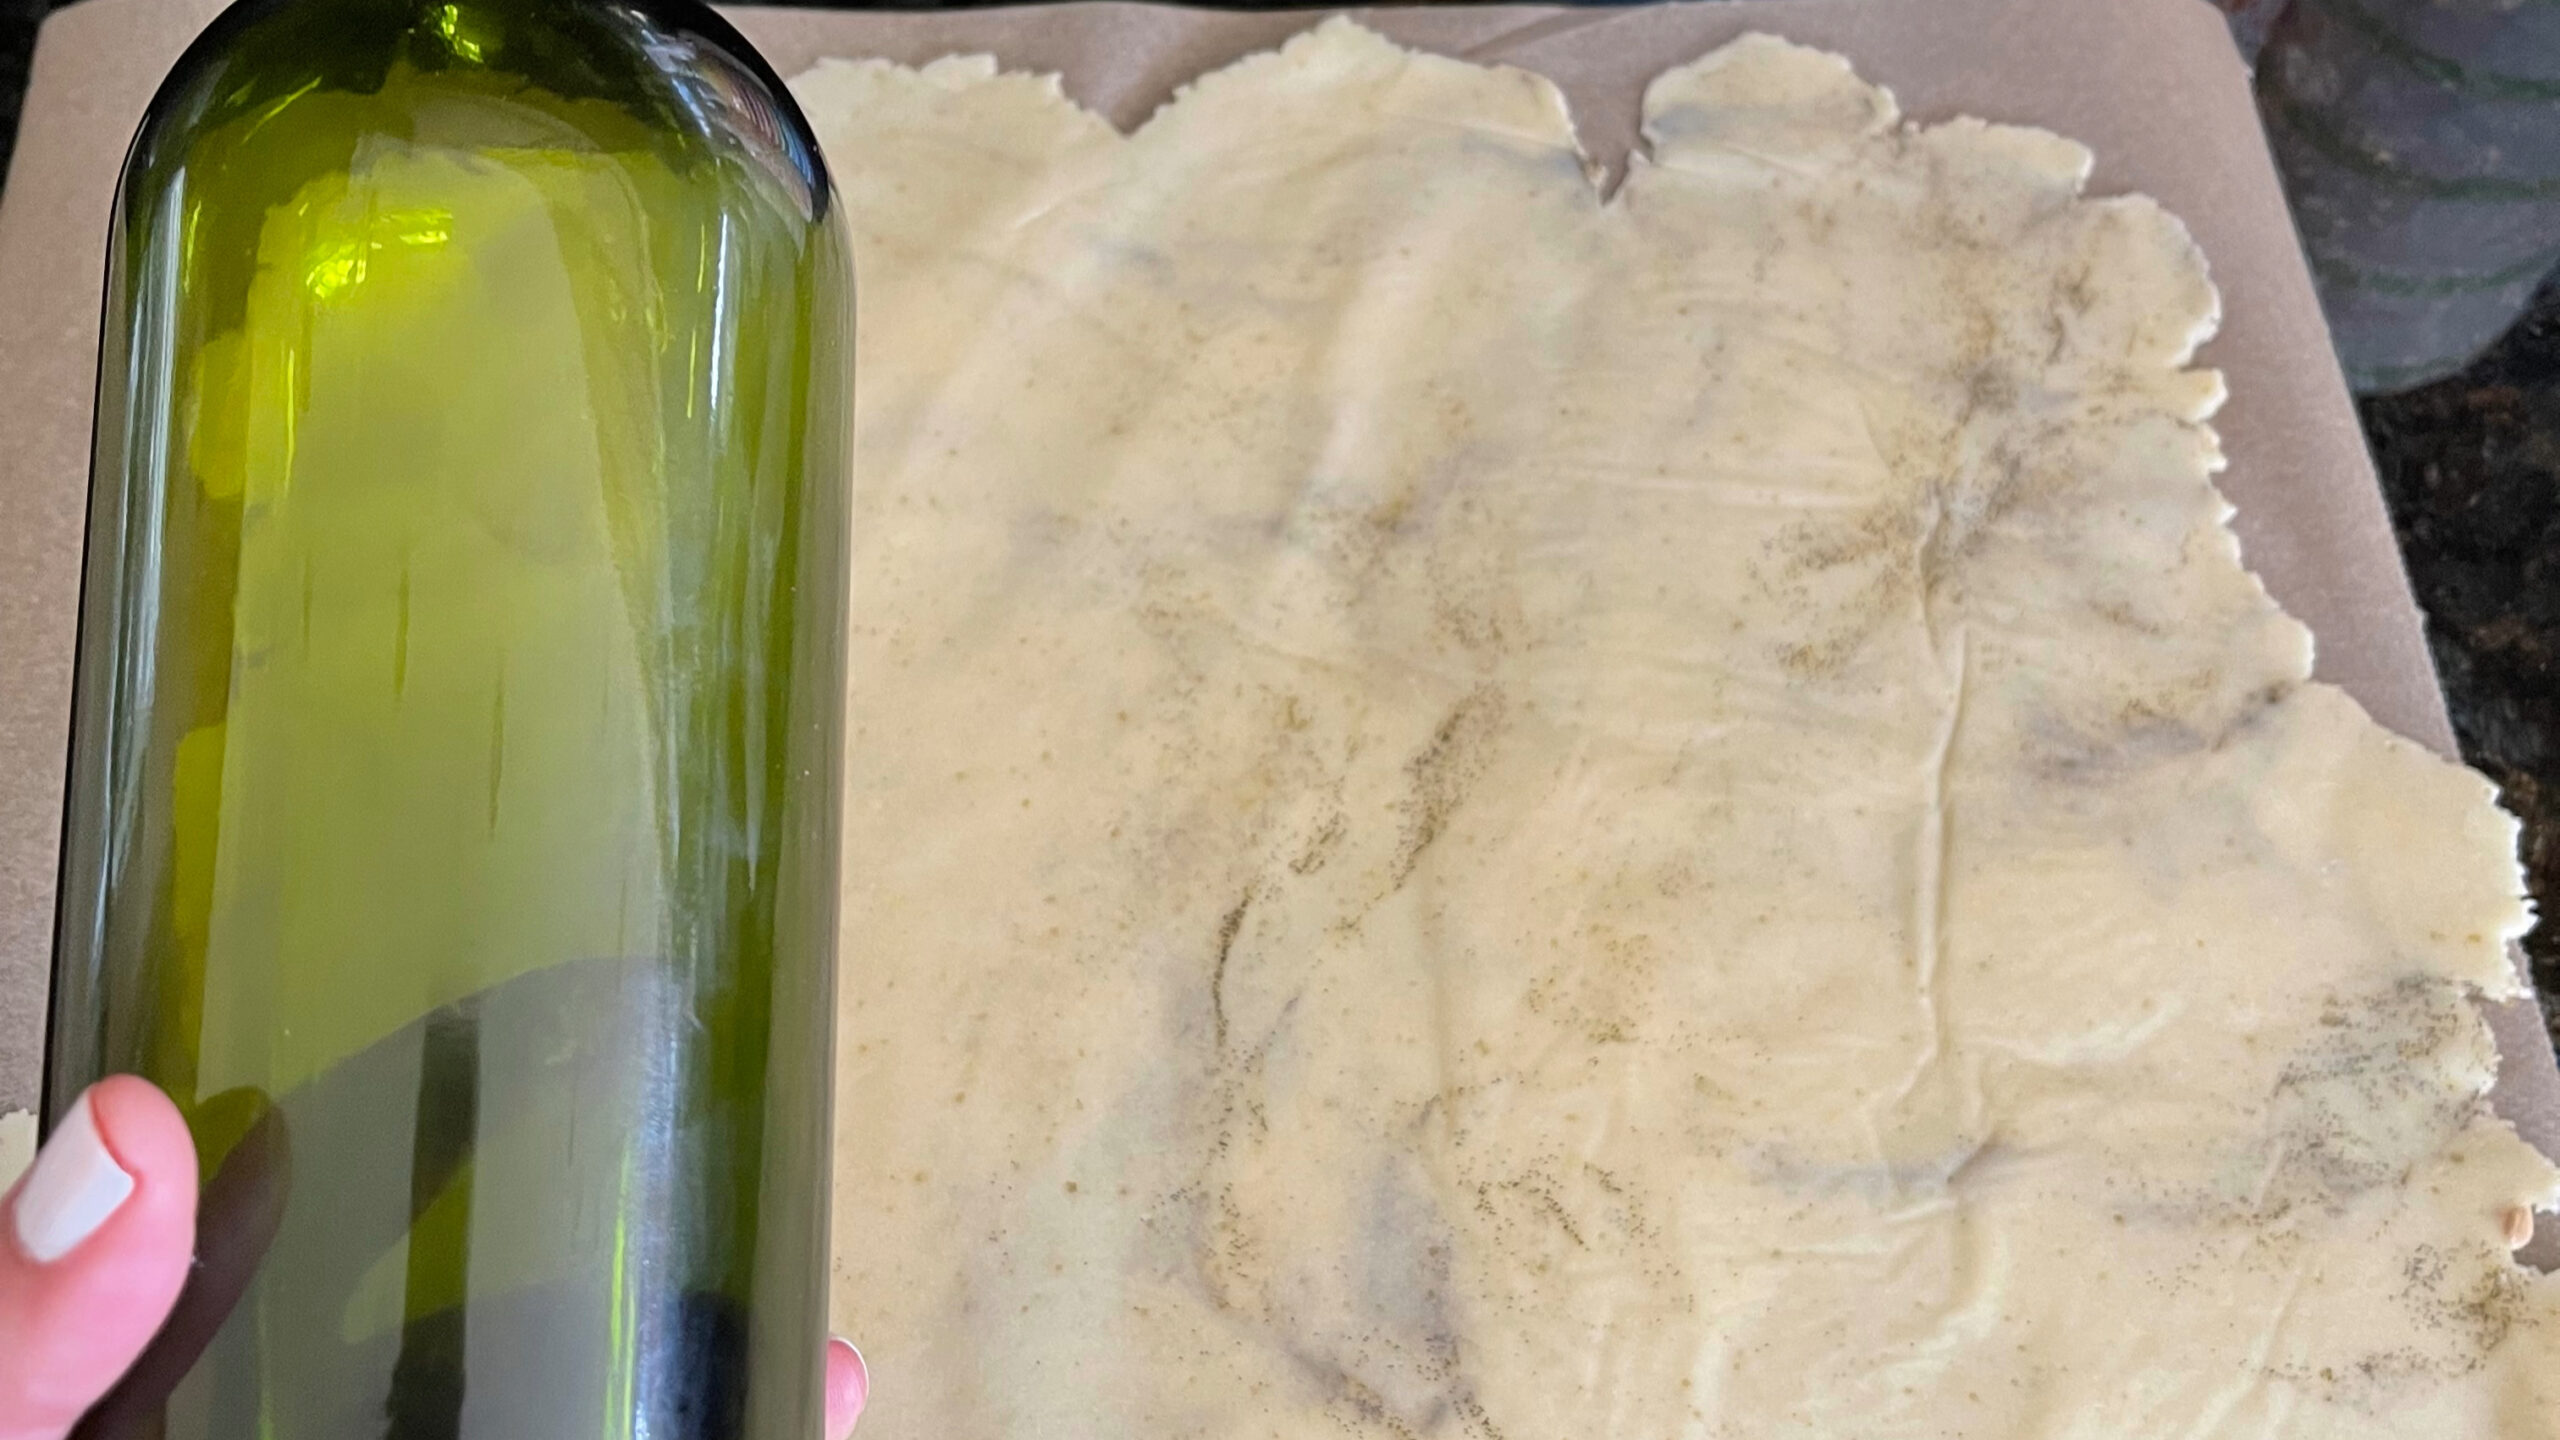
Place a sheet of parchment paper on the work surface and lightly dust it with tapioca starch. Set the dough on the parchment and roll it into an approximately 14-inch round. For easier handling, place a second sheet of parchment paper over the dough before rolling.
Step 8: Transfer the Dough
Carefully lift the dough with the parchment paper or loosely roll it around a rolling pin. Transfer it to the prepared pie plate.
Gently lift the edges and allow the dough to settle naturally into the plate without stretching it. Trim the excess dough, leaving approximately a 1-inch overhang around the edge.
Fold the overhang underneath itself. Crimp or decorate the edge as desired.
Step 9: Fill and Bake
Add the filling and bake the crust according to the directions for your selected pie. This crust pairs especially well with fruit, pumpkin, pecan, cream, and custard pies.
Option 2: Easy Gluten-Free Vanilla Pie Crust
Step 1: Combine the Ingredients
Place the gluten-free all-purpose flour blend, cold diced butter, eggs, lemon juice, and vanilla bean seeds in a large mixing bowl. Mix until a soft dough forms.
Step 2: Roll Out the Dough
Place the dough between two sheets of parchment paper. Roll it into a circle large enough to fit a 9-inch pie plate.
Using parchment paper on both sides prevents sticking and makes the delicate gluten-free dough easier to transfer.
Step 3: Shape the Crust
Remove the top sheet of parchment paper. Carefully invert the dough into the pie plate and remove the remaining parchment.
Press the dough gently into the bottom and sides of the plate without stretching it. Trim the excess dough and crimp the edge as desired.
Step 4: Fill or Chill the Crust
Use the crust immediately in your favorite pie recipe or refrigerate it until you are ready to fill and bake it.
Notes
Real vanilla bean seeds provide the richest flavor and create attractive flecks throughout the dough. Vanilla bean paste may be used for convenience.
Superfine brown rice flour creates a smoother texture and helps prevent the grittiness sometimes associated with gluten-free pastry.
Use gluten-free oat flour that is appropriately labeled for your needs. Check all packaged ingredients, including flour blends, starches, and vanilla products, for suitable gluten-free labeling. Prevent cross-contact during preparation when serving someone with celiac disease or gluten sensitivity.
Keep the butter cold while preparing the dough. Small pieces of cold butter help create a flaky, tender texture as the crust bakes.
If the dough becomes too soft while you are rolling or shaping it, refrigerate it for 10 to 15 minutes before continuing.
For a sweeter dessert crust, increase the granulated sugar to 1 tablespoon.
To freeze the dough, wrap each disk tightly and freeze it for up to 3 months. Thaw the dough overnight in the refrigerator before rolling it.
For a blind-baked crust, line the chilled crust with parchment paper and fill it with pie weights. Bake at 375°F for 15 to 20 minutes. Remove the parchment and weights, then continue baking until the crust is lightly golden.
The final baking time will depend on the pie filling and whether the recipe requires a fully baked, partially baked, or unbaked crust.