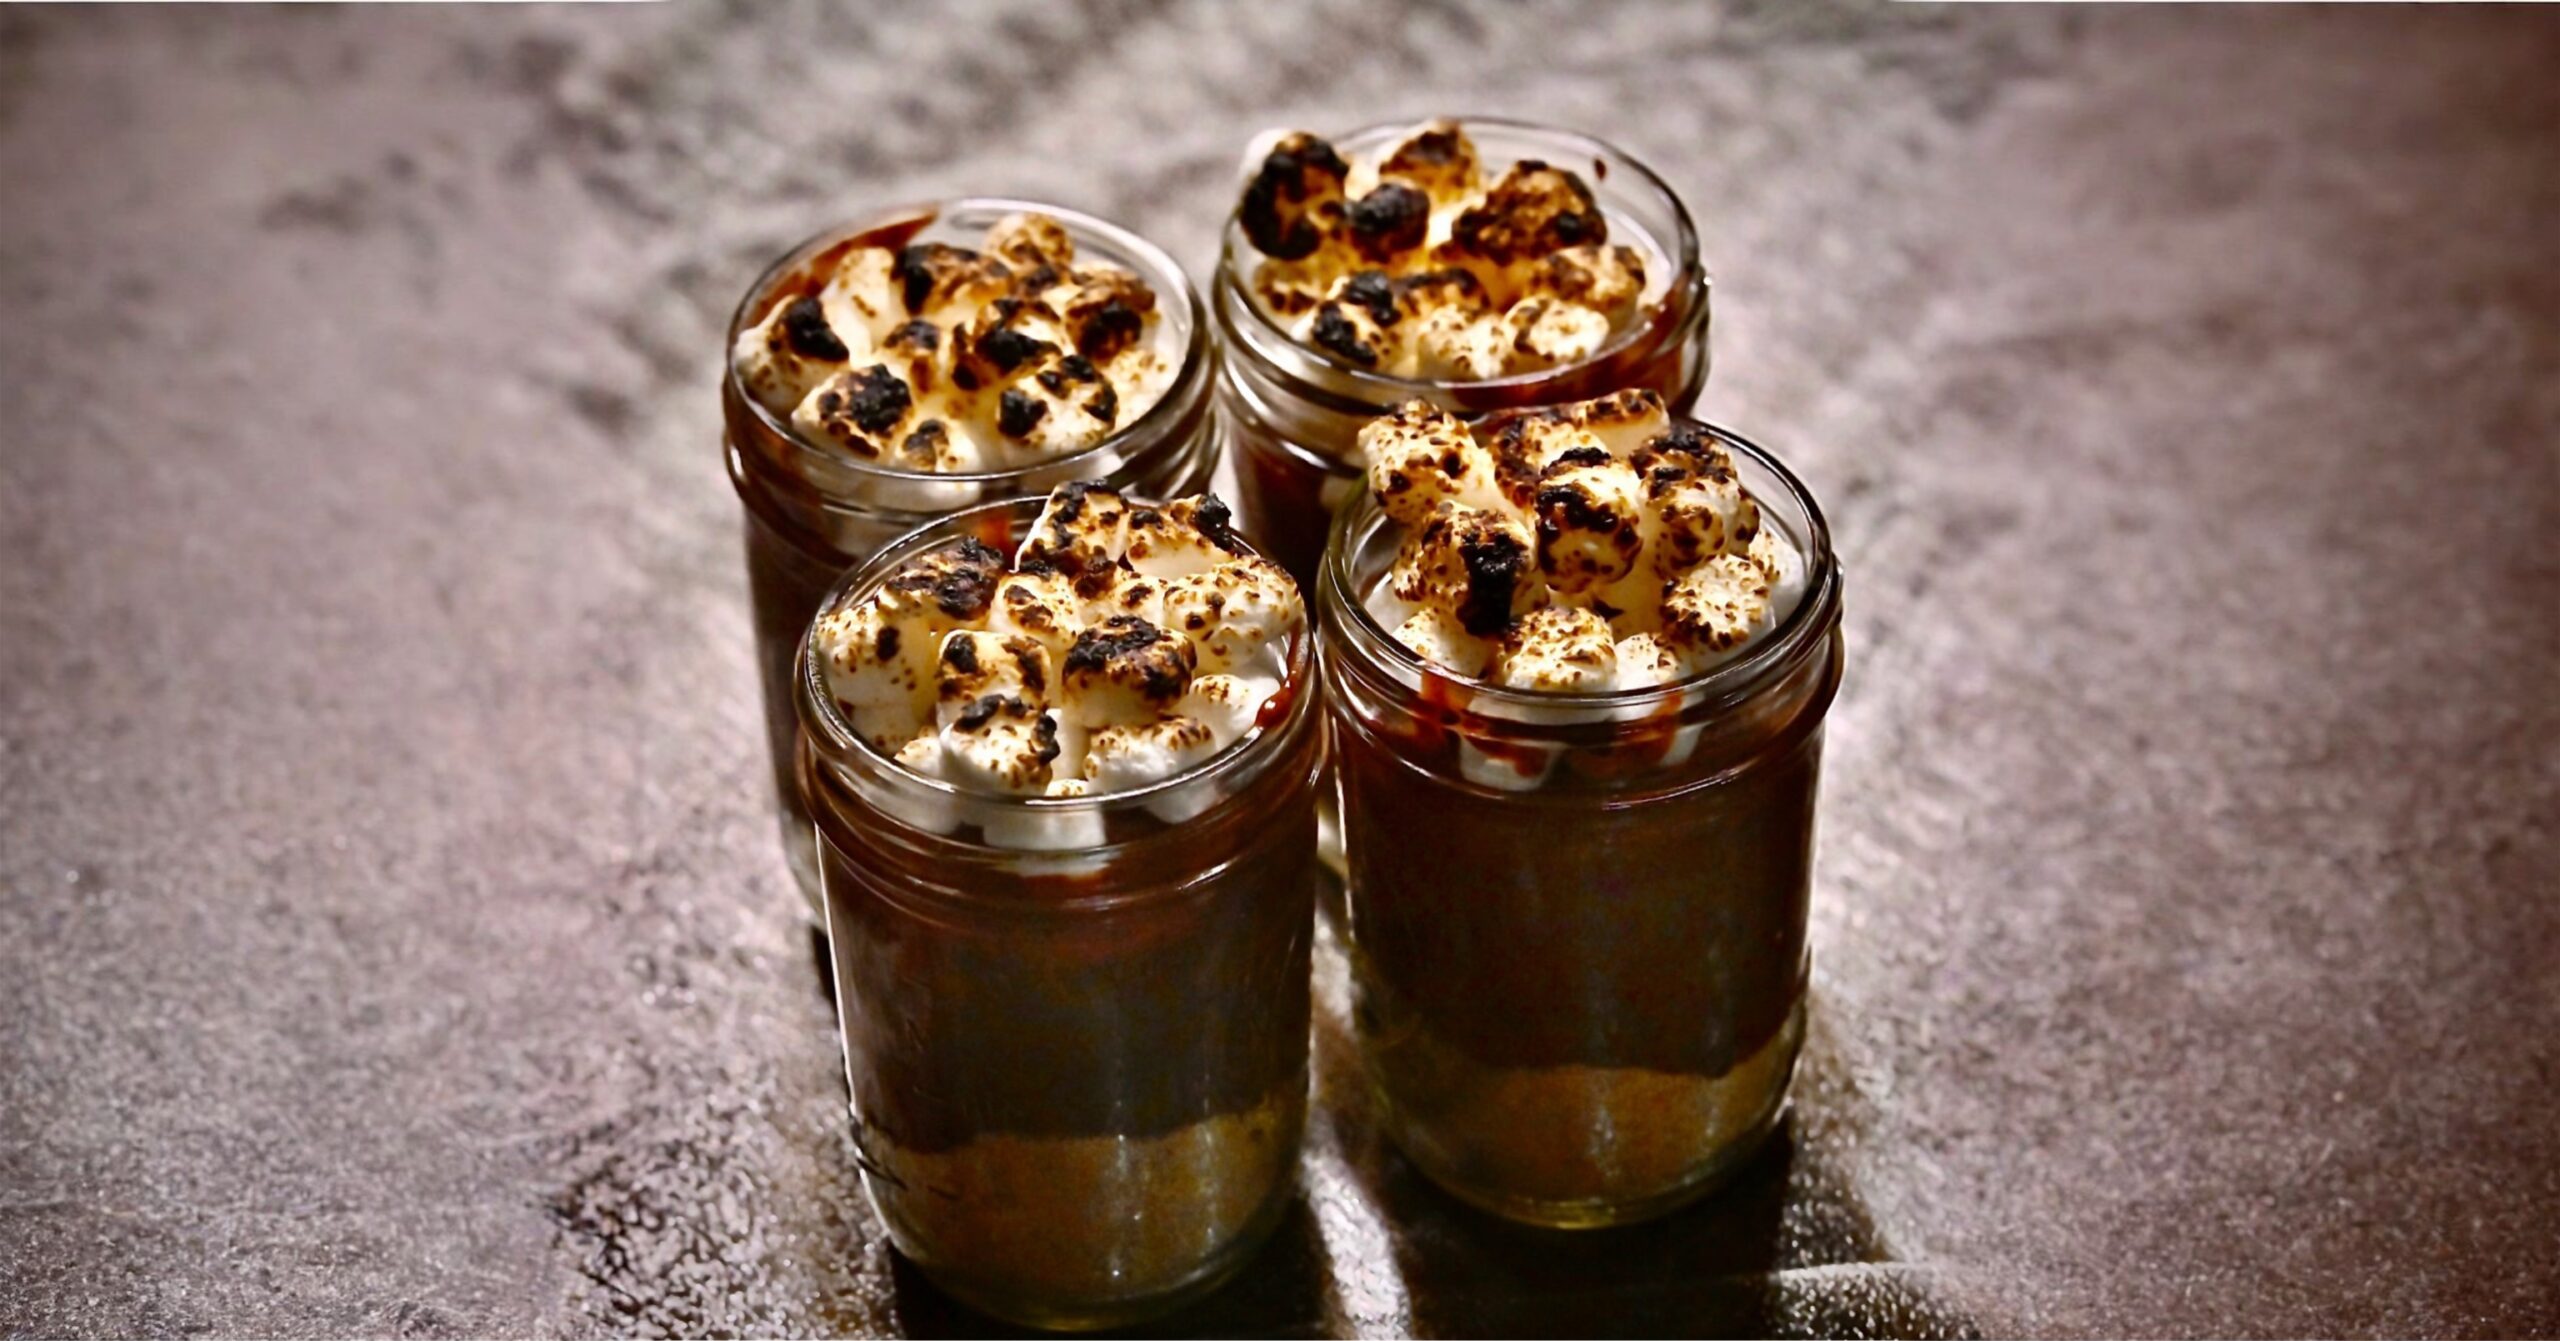
Make easy gluten-free mason jar s’mores with graham cracker crumbs, creamy chocolate pudding, toasted marshmallows, and delicious toppings.
This Easy Gluten-Free Mason Jar S’mores Recipe transforms the nostalgic flavors of a classic campfire treat into a convenient layered dessert. Crunchy gluten-free graham cracker crumbs, creamy chocolate pudding, and fluffy toasted marshmallows come together in every spoonful.
Serving s’mores in individual jars makes them less messy than traditional handheld s’mores and creates a fun presentation for parties, cookouts, birthdays, picnics, and family gatherings. The jars can be layered shortly before serving, and most of the preparation can be completed in advance.
The contrast of textures makes this simple dessert especially satisfying. Graham cracker crumbs create a crisp base, chocolate pudding adds a rich and creamy center, and toasted mini marshmallows provide the familiar caramelized flavor associated with campfire s’mores. Optional chocolate sauce, chocolate chips, extra crumbs, or flaky sea salt can be added for an even more indulgent finish.
For the best results, serve these gluten-free mason jar s’mores immediately after toasting the marshmallows. The pudding will remain cool and creamy while the marshmallow topping is warm, soft, and lightly golden.
Prep Time: 15 minutes
Chill Time: 5 minutes
Total Time: 20 minutes
Yield: 4 to 6 mason jars
Ingredients
For the Mason Jar S’mores
2 spoonfuls gluten-free graham cracker crumbs per jar
1 box instant chocolate pudding, prepared according to the package directions
1 handful mini marshmallows per jar
Optional Toppings
Chocolate sauce
Mini chocolate chips
Gluten-free chocolate cookie crumbs
Crushed gluten-free graham crackers
Flaky sea salt
Directions
Step 1: Prepare the Chocolate Pudding
Prepare the instant chocolate pudding according to the directions on the package. Whisk until the mixture is smooth, creamy, and free of dry pockets.
Allow the pudding to stand for about 5 minutes, or for the amount of time directed on the package, so it can thicken before the jars are assembled. A properly thickened pudding will create defined layers and help prevent the graham cracker crumbs from becoming soggy too quickly.
Step 2: Prepare the Jars
Arrange 4 to 6 clean mason jars or individual dessert glasses on a flat work surface. The number of servings will depend on the size of the containers and the amount of pudding added to each one.
Use small jars for party-sized servings or larger jars for more generous individual desserts.
Step 3: Create the Graham Cracker Base
Place 2 spoonfuls of gluten-free graham cracker crumbs in the bottom of each jar. Use the back of a spoon to spread the crumbs into an even layer.
Press the crumbs down gently. Avoid packing them too firmly because a lightly pressed layer will be easier to scoop through when the desserts are served.
Step 4: Add the Chocolate Pudding
Divide the prepared chocolate pudding among the jars, spooning it over the graham cracker bases. Smooth the pudding toward the edges of each jar so the chocolate layer is visible from the outside.
If the jars are especially deep, create a second layer of graham cracker crumbs and pudding before adding the marshmallows.
Step 5: Add the Marshmallows
Place a generous handful of mini marshmallows over the pudding in each jar. Arrange the marshmallows in an even layer, covering as much of the chocolate pudding as possible.
Leave a little space at the top of each jar so the marshmallows do not spill over while they are being toasted or served.
Step 6: Toast the Marshmallows
Place the jars on a heat-resistant surface. Using a kitchen torch, carefully toast the tops of the marshmallows until they are puffed and golden brown.
Keep the flame moving continuously and direct it toward the marshmallows rather than the glass. Do not hold the flame in one spot because the marshmallows can burn quickly.
If you do not have a kitchen torch, arrange the marshmallows on a foil-lined baking sheet and broil them separately until golden. Watch them continuously because they may toast in less than a minute. Use a spoon or spatula to transfer the toasted marshmallows to the assembled jars.
Do not place ordinary mason jars or cold glassware under the broiler. Sudden or intense heat may cause glass containers to crack or shatter.
Step 7: Add the Toppings
Drizzle the toasted marshmallows with chocolate sauce, if desired. Finish each dessert with mini chocolate chips, gluten-free chocolate cookie crumbs, additional graham cracker crumbs, or a small pinch of flaky sea salt.
Choose one topping or combine several for additional chocolate flavor and texture.
Step 8: Serve
Serve the gluten-free mason jar s’mores immediately while the marshmallows are warm, soft, and freshly toasted. Provide a spoon long enough to reach through every layer so each bite includes graham cracker crumbs, chocolate pudding, and marshmallow.
Notes
Check the labels on the graham crackers, pudding mix, marshmallows, chocolate sauce, chocolate chips, and cookie crumbs to confirm that they meet your gluten-free needs. Prevent cross-contact by using clean preparation surfaces, utensils, and equipment.
Use gluten-free graham crackers or gluten-free graham-style cookies for the crumb layer. Crush them in a sealed food-storage bag with a rolling pin or process them briefly in a food processor.
Chocolate instant pudding creates the classic s’mores flavor, but chocolate fudge or dark chocolate pudding may be used for a richer variation. Prepare the selected pudding according to its package directions.
For a more decadent dessert, chocolate ganache may be substituted for the pudding. Because ganache is richer and denser, use a smaller amount in each jar.
The pudding and graham cracker layers can be assembled several hours before serving. Cover the jars and refrigerate them without the marshmallow layer. Add and toast the marshmallows shortly before serving for the best appearance and texture.
For cleaner layers, spoon the pudding into a resealable food-storage bag, snip off one corner, and pipe it into the jars.
Do not place refrigerated or non-oven-safe glass jars beneath a broiler. Toasting the marshmallows separately is the safest oven alternative when a kitchen torch is unavailable.
Cover and refrigerate leftovers promptly. Enjoy them within 2 days, keeping in mind that the graham cracker crumbs and toasted marshmallows will soften during storage.