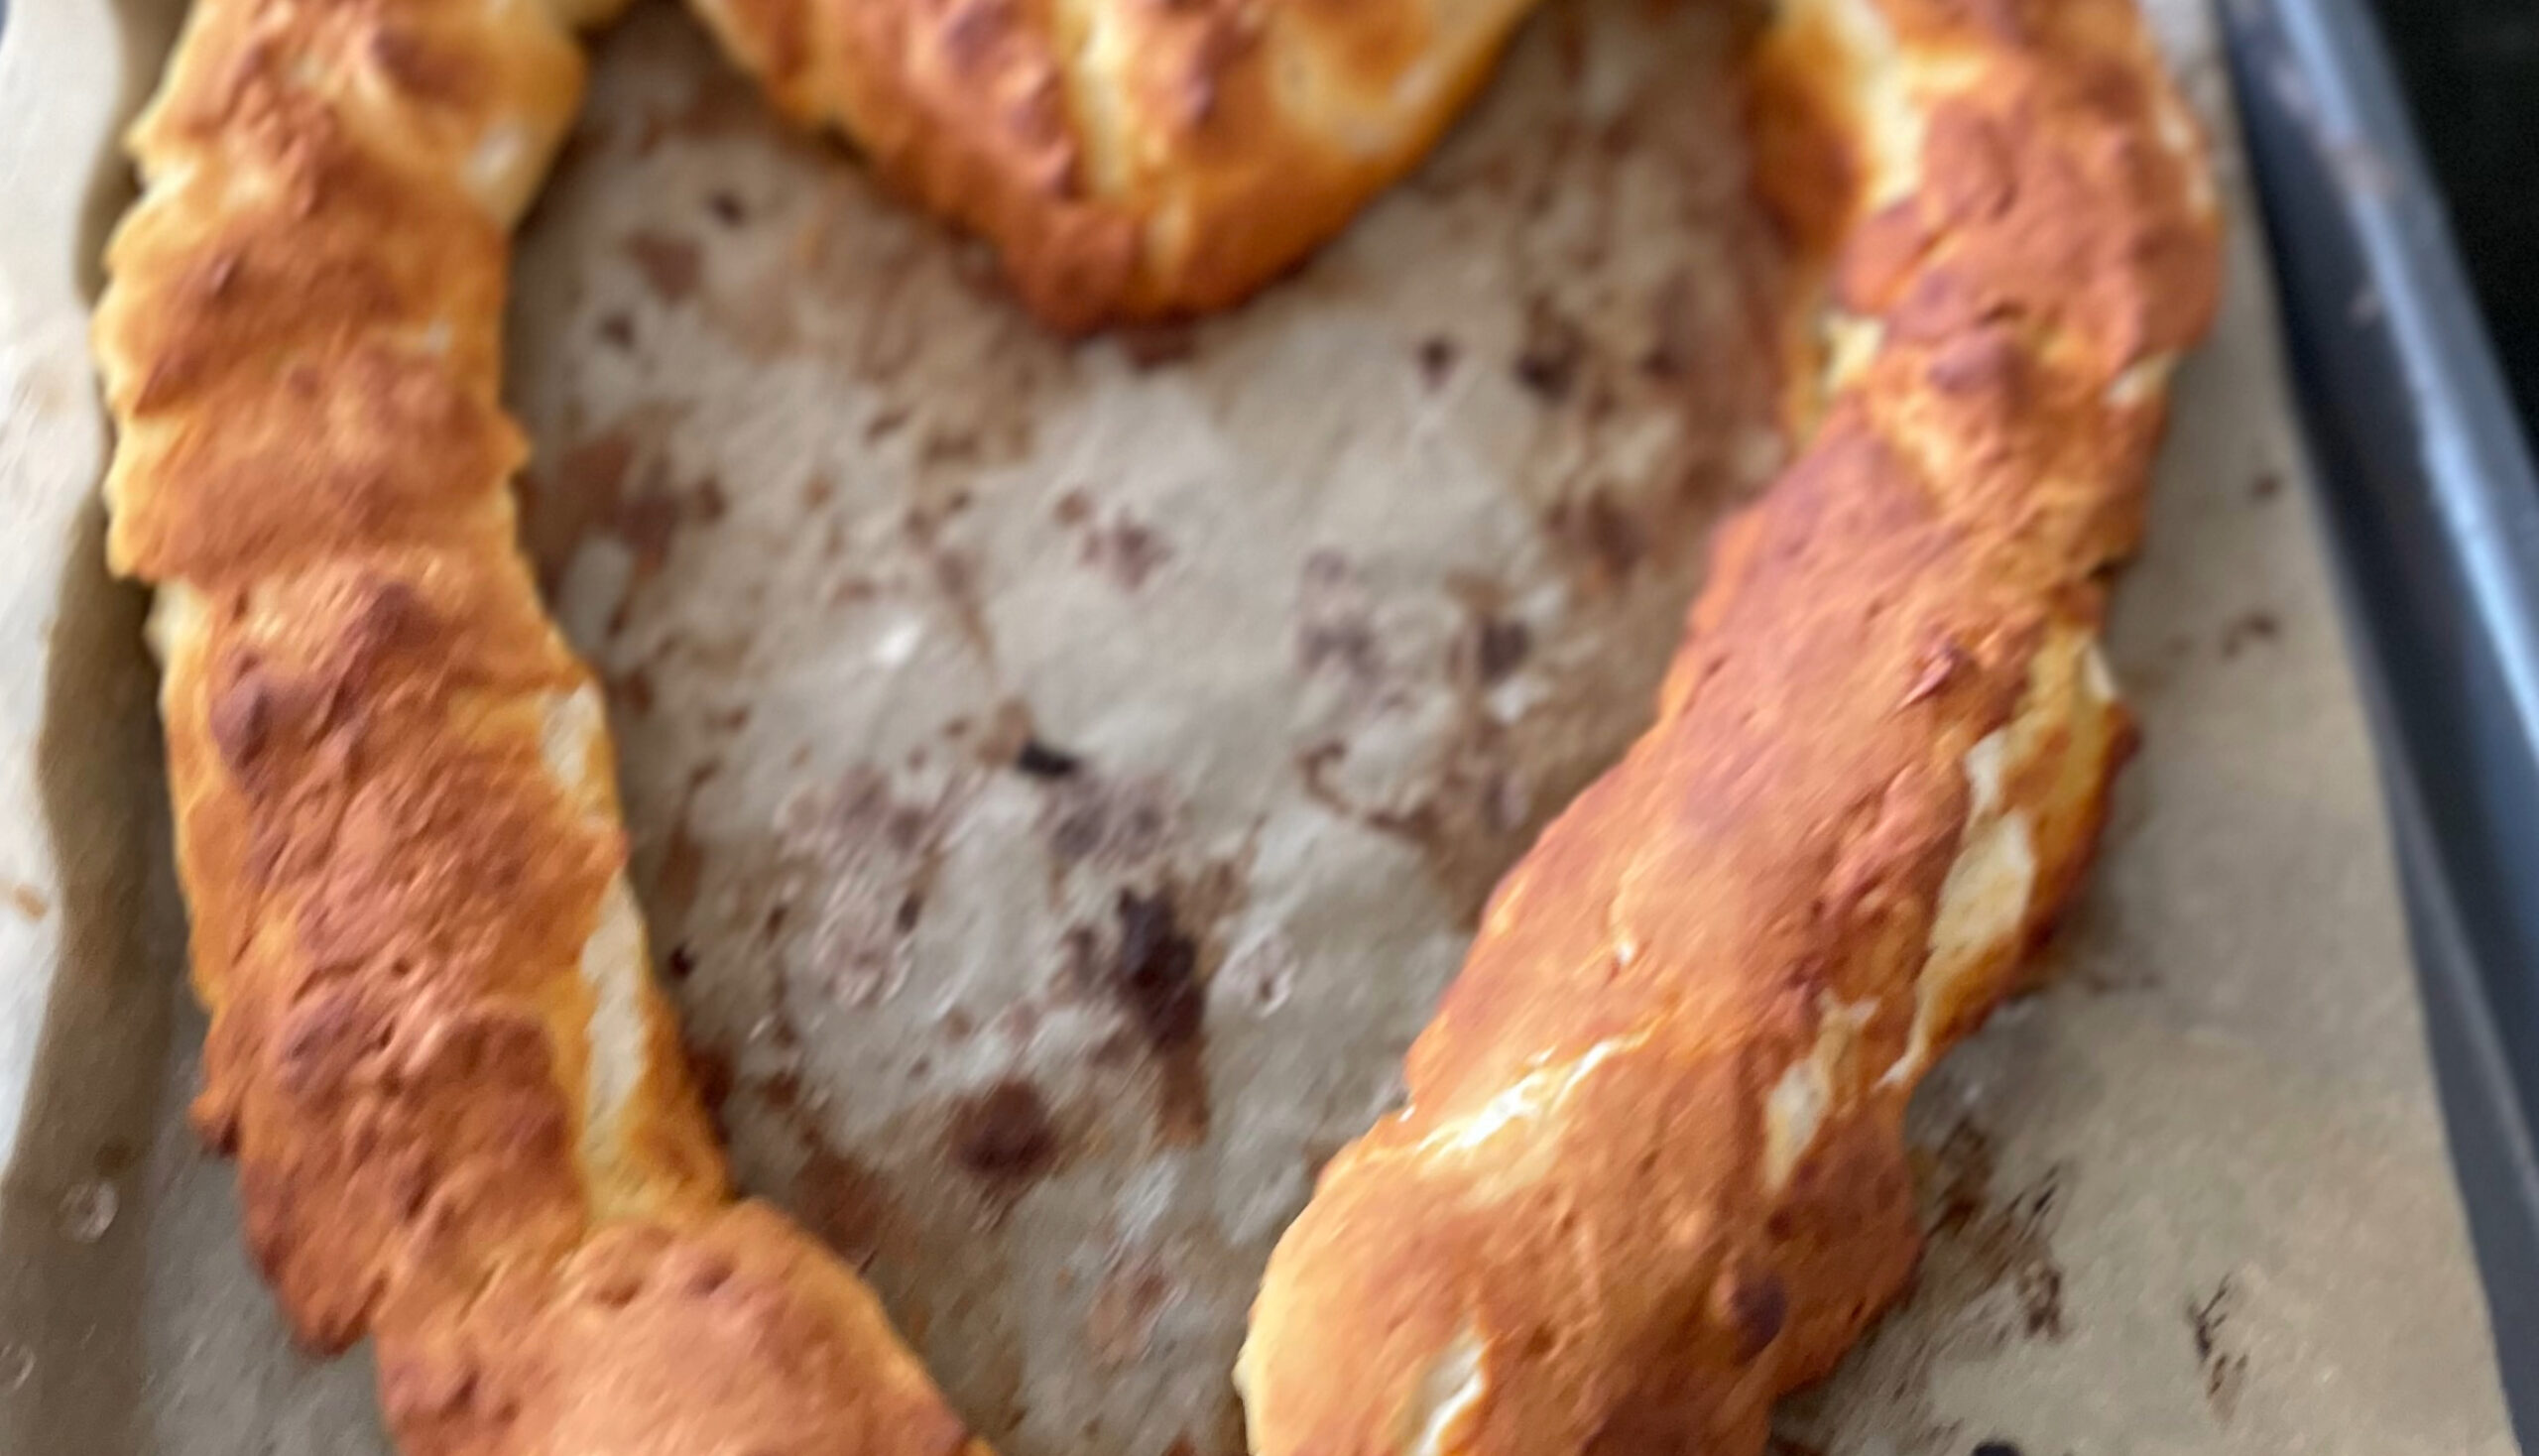
Make easy gluten-free soft pretzels with a chewy center and golden bakery-style crust. Includes individual gluten-free flour and all-purpose flour options.
There is something irresistible about a warm soft pretzel fresh from the oven, especially when it has a deeply golden crust, a tender and chewy center, and just the right amount of coarse salt on top. This Easy Gluten-Free Soft Pretzels Recipe brings that classic bakery-style experience home without gluten.
These homemade gluten-free pretzels can be prepared two ways. Option 1 uses a custom blend of tapioca starch, brown rice flour, and oat flour for bakers who enjoy working with individual gluten-free flours. Option 2 uses a gluten-free all-purpose flour blend for a simpler approach. Each option has its own carefully matched liquid amounts, baking soda bath, oven temperature, and baking time.
Serve these chewy gluten-free soft pretzels warm with mustard, honey mustard, cheese sauce, or your favorite dipping sauce. They are especially delicious for game day, movie nights, parties, afternoon snacks, and casual gatherings. A quick baking soda bath helps create the characteristic pretzel crust, while an egg wash gives the surface a beautiful bakery-style finish.
Directions
Step 1: Activate the Yeast for Option 1
If making Option 1, combine the active dry yeast, 1 tablespoon of the brown sugar, and 1 1/3 cups of the warm water in a small bowl. Let the mixture stand for 5 to 10 minutes, or until the yeast becomes foamy.
If making Option 2, no separate activation is necessary because the recipe uses instant yeast. Add the instant yeast directly to the dry ingredients.
Step 2: Mix the Option 1 Pretzel Dough
In the bowl of a stand mixer fitted with the paddle attachment, combine the tapioca starch, brown rice flour, oat flour, xanthan gum, salt, and remaining 2 1/2 tablespoons brown sugar.
Add the activated yeast mixture and the remaining 1 1/3 cups warm water.
Mix until the ingredients come together into a smooth, sticky dough, stopping to scrape down the sides and bottom of the bowl as necessary.
Step 3: Mix the Option 2 Pretzel Dough
If making Option 2, combine the gluten-free all-purpose flour, brown sugar, instant yeast, salt, xanthan gum if required, and baking powder in the bowl of a stand mixer.
Add the warm water, egg, and softened butter. Mix on medium speed for approximately 4 minutes, or until thoroughly combined and smooth.
Gluten-free flour blends absorb liquid differently. If the dough seems too dry to shape without cracking, mix in additional warm water 1 tablespoon at a time, using no more than necessary to produce a soft, workable dough.
Step 4: Let the Dough Rise
Transfer the prepared dough to a lightly greased bowl and cover it.
Allow the dough to rise in a warm, draft-free place for 45 to 90 minutes, or until noticeably expanded and nearly doubled in volume. The exact rising time will depend on the temperature of the room and the flour option used.
Step 5: Preheat the Oven
For Option 1, preheat the oven to 450°F.
For Option 2, preheat the oven to 425°F.
Line two large baking sheets with parchment paper.
Step 6: Shape the Soft Pretzels
Lightly dust the work surface with brown rice flour when making Option 1 or gluten-free all-purpose flour when making Option 2.
Divide the dough evenly into 12 portions.
Gently roll each portion into a rope approximately 12 to 18 inches long. Longer ropes will produce a more open traditional pretzel shape, while shorter ropes will create thicker, softer pretzels.
Form each rope into a U shape. Cross the two ends over each other twice, then bring them down toward the curved portion of the U. Gently press the ends against the dough to secure the classic pretzel shape.
Arrange the shaped pretzels on the prepared baking sheets.
Step 7: Prepare the Baking Soda Bath
For Option 1, bring 5 cups of water to a gentle boil in a wide pot. Carefully add 5 tablespoons of baking soda and stir until dissolved.
For Option 2, bring 4 quarts of water to a boil in a large pot. Carefully add 1/4 cup of baking soda and 2 tablespoons of granulated sugar. Allow the initial bubbling to subside before adding the pretzels.
Add baking soda gradually and carefully because it can cause the boiling water to foam rapidly.
Step 8: Boil the Pretzels
For Option 1, carefully lower the pretzels into the baking soda bath and boil each one for 20 to 30 seconds.
For Option 2, dip each pretzel in the baking soda bath for approximately 5 seconds.
Work in small batches so the pretzels have enough room to move without sticking together.
Lift each pretzel from the water with a wide slotted spoon, allow excess water to drain, and return it to the parchment-lined baking sheet.
Step 9: Finish the Pretzels
For Option 1, brush the boiled pretzels evenly with the beaten egg, then sprinkle with flaky sea salt or pretzel salt.
For Option 2, sprinkle the boiled pretzels with coarse kosher salt or pretzel salt before baking.
Step 10: Bake Until Golden
Bake Option 1 at 450°F for 12 to 14 minutes, or until the pretzels develop a rich golden-brown crust.
Bake Option 2 at 425°F for approximately 18 to 20 minutes for a softer pretzel with a golden exterior.
Because gluten-free flour blends vary, begin checking the pretzels near the lower end of the recommended baking time rather than relying solely on the clock. The finished pretzels should be golden and set while remaining soft inside.
Step 11: Brush with Butter and Serve
If making Option 2 and using the optional melted butter, brush it over the pretzels immediately after they come out of the oven.
Let the freshly baked pretzels cool on the baking sheet for approximately 5 minutes before serving. This brief resting period allows the interior structure to set while keeping the pretzels warm and tender.
Serve with cheese sauce, yellow mustard, Dijon mustard, honey mustard, spicy mustard, or another favorite gluten-free dipping sauce.
Notes
Gluten-free pretzel dough behaves differently from traditional wheat-based dough because it does not contain the elastic gluten network that makes conventional pretzel dough easy to stretch. Handle the dough gently during shaping, and avoid adding excessive flour simply to make it less sticky. Too much additional flour can produce dry, dense pretzels.
The two flour options are separate formulas rather than interchangeable ingredient lists. Follow the dough ingredients, baking soda bath, oven temperature, finishing method, and baking time specified for the option you choose.
For Option 1, certified gluten-free oat flour is recommended when preparing the pretzels for someone who needs to avoid gluten.
For Option 2, check the ingredient label on your gluten-free all-purpose flour. If the blend already contains xanthan gum, do not add the additional 1 teaspoon. If it does not contain xanthan gum, add the full amount listed.
Water temperature is important when working with yeast. The water should feel comfortably warm rather than hot. Excessively hot water can damage the yeast and prevent the dough from rising properly.
The baking soda bath is responsible for much of the characteristic soft pretzel flavor, chewy exterior, and deep golden color. Keep the dipping times appropriate for the flour option you are preparing because the two dough formulas behave differently in the alkaline bath.
These gluten-free soft pretzels have their best texture while freshly baked and still slightly warm. If preparing them ahead, allow them to cool completely before storing.
Store leftover pretzels in an airtight container at room temperature for up to 2 days. To refresh them, warm the pretzels in a 300°F oven for approximately 5 to 7 minutes, or until heated through.
For longer storage, freeze completely cooled pretzels in a freezer-safe container for up to 2 months. Thaw before reheating in the oven. For convenience, freeze the pretzels individually before transferring them to a freezer container so you can reheat only the number you need.
For different flavors, replace the coarse salt with cinnamon sugar after baking, or serve unsalted pretzels with warm cheese sauce. Savory versions can also be finished with gluten-free seasonings, grated Parmesan, or dried herbs.
Always verify that packaged ingredients, including gluten-free flour blends, yeast, baking powder, seasonings, and dipping sauces, meet your individual gluten-free requirements.