Create a beautiful gluten-free ombre cake with soft vanilla cake layers and smooth gradient buttercream frosting. Includes four cake batter options, homemade vanilla buttercream, and step-by-step decorating instructions.
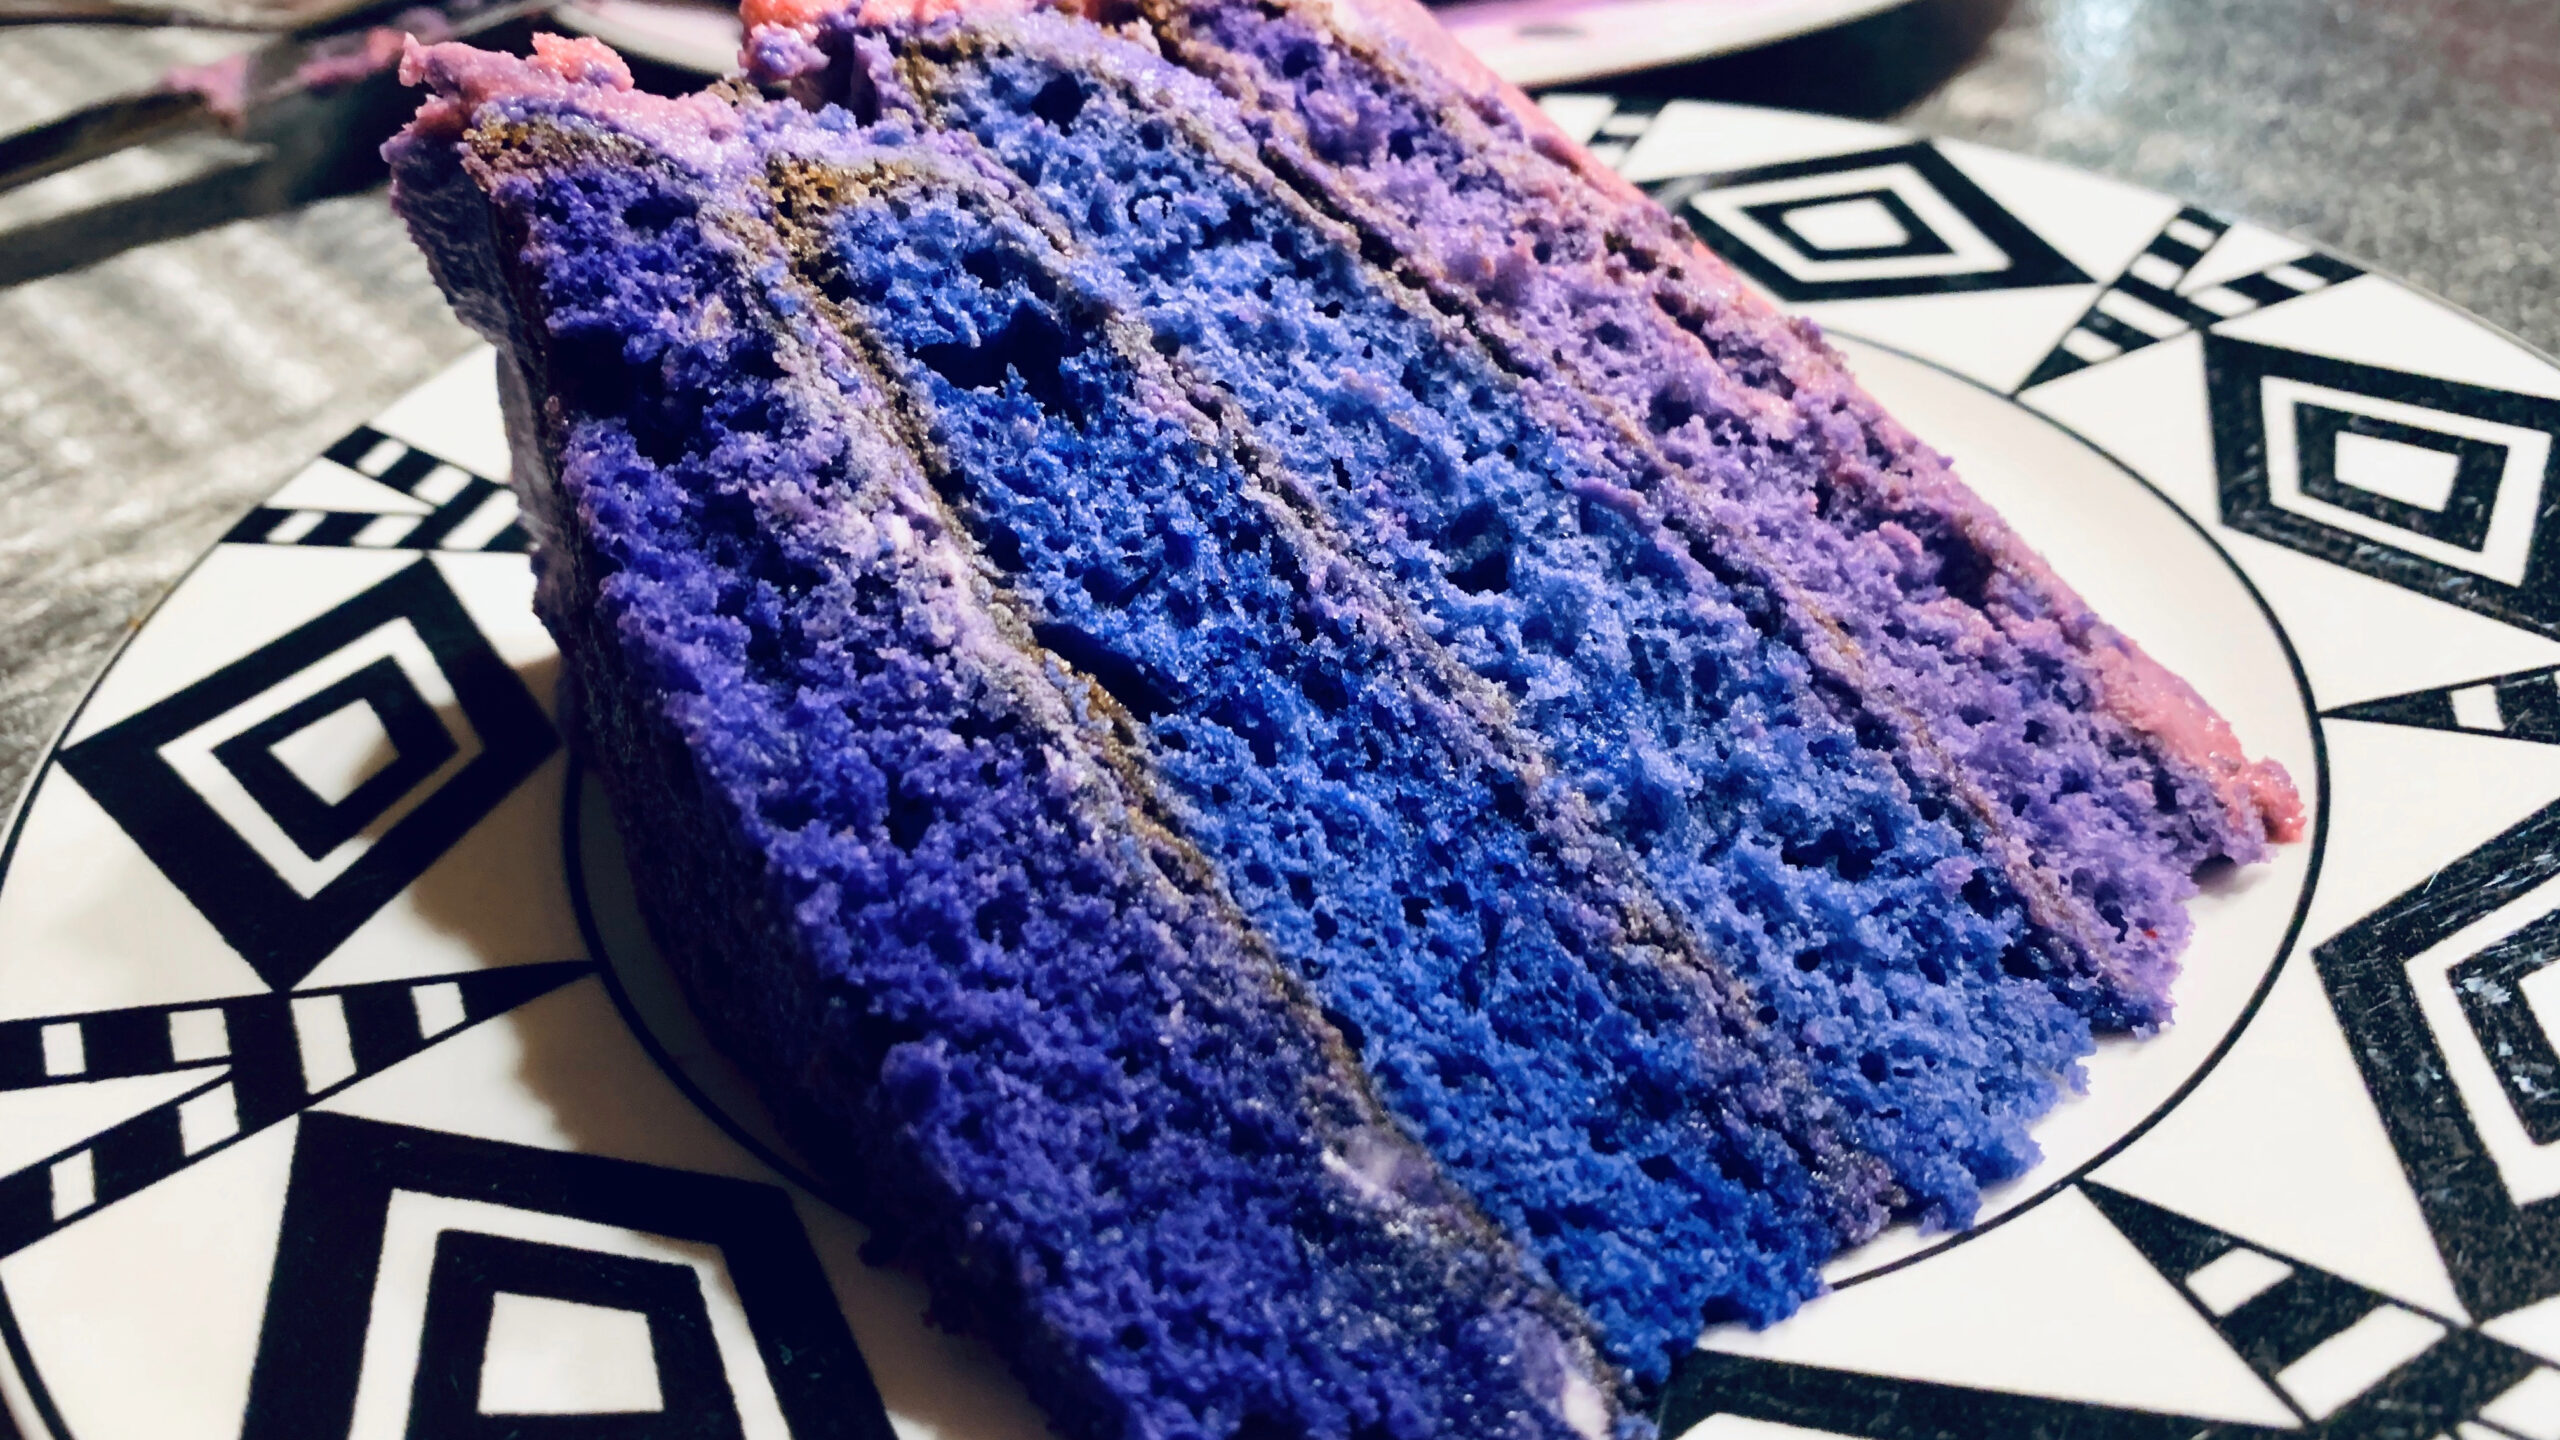
A gluten-free ombre cake is an elegant dessert that combines the timeless flavor of vanilla cake with stunning shades of color that gradually transition from light to dark. Unlike a tie-dye cake with swirls of multiple colors, an ombre cake features a smooth gradient that creates a sophisticated and eye-catching presentation. Every slice reveals beautifully layered shades that make this cake perfect for birthdays, bridal showers, baby showers, weddings, anniversaries, and special celebrations.
This recipe includes four delicious gluten-free cake options so you can bake completely from scratch or use a convenient gluten-free cake mix. Finished with silky homemade vanilla buttercream and decorated with a stunning ombre frosting effect, this cake is as beautiful as it is delicious.
About the Recipe Bake the perfect gluten-free vanilla cake with four easy options. Choose from a homemade gluten-free flour blend, gluten-free all-purpose flour, Measure for Measure flour, or a gluten-free cake mix. This moist, fluffy vanilla cake is perfect for birthdays, weddings, holidays, cupcakes, and every celebration. There is something truly timeless about a classic vanilla cake. Soft, tender, buttery, and delicately flavored with vanilla, it has been the centerpiece of celebrations for generations. From birthdays and weddings to baby showers, anniversaries, graduations, and holiday gatherings, a beautiful vanilla cake has a way of bringing people together. Its simple elegance allows it to pair beautifully with fresh fruit, rich buttercream, colorful sprinkles, edible flowers, chocolate ganache, and countless other decorations that make every celebration unique. One of the greatest misconceptions about gluten-free baking is that cakes cannot be as light and tender as traditional cakes. Fortunately, that could not be further from the truth. With quality ingredients, accurate measurements, and a few simple baking techniques, a gluten-free vanilla cake can have an incredibly soft crumb, rich flavor, and beautiful rise that rivals any bakery cake. At Culibloom, every recipe is thoughtfully developed to make gluten-free baking approachable, dependable, and delicious. Whether you are baking for someone with celiac disease, gluten sensitivity, or simply choosing a gluten-free lifestyle, everyone deserves desserts that taste just as wonderful as their traditional counterparts. This recipe collection was created to give you the flexibility to bake with the ingredients you already have while producing exceptional results every time. Instead of sharing only one recipe, this collection features four reliable methods for baking a delicious gluten-free vanilla cake. The first recipe is a bakery-style cake made completely from scratch using individual gluten-free flours. Sweet rice flour, white rice flour, brown rice flour, and tapioca flour combine to create an exceptionally moist cake with a delicate crumb and outstanding flavor. This option is perfect for bakers who enjoy crafting recipes from the ground up. The second recipe uses a gluten-free all-purpose flour blend, making preparation faster while still producing a cake with excellent texture and structure. It is a dependable everyday recipe that is equally suited for birthdays, holidays, and special occasions. The third recipe uses Measure for Measure gluten-free flour. Because this flour already contains the starches and binders needed for successful baking, it offers one of the easiest ways to prepare a consistently delicious vanilla cake. It is an excellent choice for beginner bakers or anyone looking for a simple, dependable recipe. The fourth recipe begins with a gluten-free vanilla cake mix. With a few homemade upgrades, including pure vanilla extract, sour cream, and rich homemade buttercream frosting, a simple boxed mix transforms into a beautiful celebration cake that tastes freshly baked from scratch. It is the perfect option for busy schedules without sacrificing flavor or presentation. Each cake pairs beautifully with the homemade vanilla buttercream frosting included in this collection. Light, creamy, and perfectly balanced, this frosting spreads smoothly, pipes beautifully, and creates a professional finish whether you are decorating an elegant layer cake, festive cupcakes, or a simple sheet cake. No matter which option you choose, these recipes are designed to help you bake with confidence. Whether you prefer measuring individual gluten-free flours, using an all-purpose blend, relying on Measure for Measure flour, or starting with a quality cake mix, you will have everything you need to create a moist, fluffy, bakery-quality vanilla cake that family and friends will request again and again. Prep Time 30 minutes Bake Time 20 to 35 minutes Cooling Time 45 minutes Total Time 1 hour 50 minutes Yield 8 to 12 servings
About the Recipe This Simple Vanilla Buttercream Recipe is rich, creamy, and incredibly easy to make with just a handful of pantry staples. Perfect for frosting cakes, cupcakes, cookies, and brownies, this classic buttercream has a smooth texture that spreads beautifully and pipes like a dream. Made with real butter, vanilla extract, powdered sugar, and heavy cream, this homemade frosting delivers bakery-quality flavor every time. Whether you are decorating a birthday cake or adding the finishing touch to your favorite dessert, this easy vanilla buttercream frosting recipe is one you will return to again and again. Prep Time 10 minutes Yield About 5 cups (enough to frost 24 cupcakes, one 9-inch two-layer cake, or a 9 × 13-inch cake)
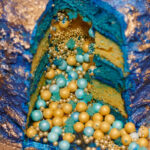
A Stunning Blue Vanilla Celebration Cake with a Hidden Candy Center If you are looking for a showstopping gluten-free celebration cake, this Gluten-Free Gold Foil Surprise Cake is guaranteed to impress. Wrapped in vibrant royal blue buttercream with artistic strokes of edible gold leaf or gold foil accents, this elegant layer cake hides a delightful surprise inside. When sliced, colorful candies, sprinkles, or chocolates spill from the center, creating a magical moment perfect for birthdays, anniversaries, graduations, baby showers, or any special occasion. This Classic Gluten-Free Vanilla Layer Cake is soft, moist, buttery, and rich with pure vanilla flavor. Combined with silky homemade vanilla buttercream, the cake provides the perfect canvas for dramatic blue frosting and shimmering edible gold details like the cake shown above. Whether you choose a homemade gluten-free flour blend, gluten-free all-purpose flour, or Measure for Measure flour, this recipe delivers beautiful results. The surprise center can be customized with your favorite candies, chocolate pearls, gluten-free sprinkles, edible glitter stars, or colorful chocolate gems for a unique reveal every time. Prep Time 45 minutes Cook Time 30 to 35 minutes Cooling Time 2 hours Decorating Time 1 hour Total Time Approximately 4 hours 20 minutes Servings 12 to 16 slices
Ingredients
Choose One Cake Batter Option
Option 1: Classic Gluten-Free Vanilla Layer Cake from Scratch
½ cup plus 1 tablespoon sweet rice flour
½ cup white rice flour
½ cup plus 1 tablespoon tapioca flour
¼ cup brown rice flour
¾ teaspoon xanthan gum
1 teaspoon baking powder
½ teaspoon baking soda
½ teaspoon kosher salt
½ cup unsalted butter, softened, or ½ cup neutral oil
1 cup granulated sugar
4 large eggs, room temperature
2 teaspoons pure vanilla extract
½ cup whole milk or buttermilk, room temperature
8 ounces sour cream, room temperature
Option 2: Gluten-Free Vanilla Cake with All-Purpose Flour
2¼ cups gluten-free all-purpose flour
1 teaspoon xanthan gum or guar gum, if your flour blend does not already contain one
1¾ cups granulated sugar
1 cup unsalted butter, softened
1 teaspoon kosher salt
2½ teaspoons baking powder
1 tablespoon pure vanilla extract
4 large eggs, room temperature
1 cup whole milk, room temperature
Option 3: Measure for Measure Gluten-Free Vanilla Cake
1¾ cups Measure for Measure gluten-free flour
½ cup unsalted butter, softened
1 cup granulated sugar
3 large eggs, room temperature
2 teaspoons pure vanilla extract
½ cup whole milk, room temperature
Option 4: Gluten-Free Vanilla Cake Mix Version
1 (15 to 16-ounce) gluten-free vanilla cake mix
Ingredients called for on the package, typically eggs, oil, and water or milk
1 teaspoon pure vanilla extract
¼ cup sour cream or plain Greek yogurt, optional
2 tablespoons melted butter, optional
Homemade Vanilla Buttercream Frosting
3 sticks unsalted butter, room temperature
4½ cups powdered sugar, sifted
1 tablespoon pure vanilla extract
3 to 5 tablespoons heavy cream
½ teaspoon kosher salt
For the Ombre Effect
Gel food coloring in your favorite color such as pink, blue, purple, peach, teal, or lavender
Directions
Step 1: Prepare the Cake Pans
Preheat the oven to 350°F. Grease and line four 6-inch cake pans or three 8-inch cake pans with parchment paper.
Step 2: Prepare Your Cake Batter
Prepare your preferred cake batter according to the selected option.
For scratch versions, whisk together the dry ingredients. Cream the butter and sugar until light and fluffy. Add the eggs one at a time followed by the vanilla. Alternate adding the dry ingredients and milk, then fold in the sour cream if using Option 1.
For the cake mix version, prepare according to the package directions while adding the vanilla, optional sour cream, and melted butter for extra richness.
Step 3: Create the Ombre Cake Layers
Divide the batter evenly into four bowls.
Leave one bowl plain.
Add a very small amount of gel food coloring to the second bowl to create a light shade.
Add additional coloring to the third bowl for a medium shade.
Add more coloring to the fourth bowl to create the darkest shade.
Each bowl should be a deeper version of the same color.
Step 4: Bake the Cake Layers
Pour each shade into its own prepared cake pan.
Bake for 28 to 35 minutes, or until a toothpick inserted into the center comes out clean.
Allow the cakes to cool in their pans for 10 minutes before transferring them to wire racks to cool completely.
Step 5: Prepare the Buttercream
Beat the butter until creamy.
Gradually mix in the powdered sugar.
Add the vanilla extract, salt, and enough heavy cream to create a smooth, spreadable frosting.
Continue beating for several minutes until light and fluffy.
Step 6: Assemble the Ombre Cake
Place the darkest cake layer on a serving plate.
Spread an even layer of buttercream over the top.
Add the medium-dark layer followed by more frosting.
Continue with the lighter layers, finishing with the lightest or white cake layer on top.
Step 7: Create the Ombre Buttercream
Divide the buttercream into four bowls.
Leave one bowl white.
Color the remaining bowls in increasingly darker shades of the same color.
Apply the darkest frosting around the bottom of the cake.
Spread the medium-dark frosting around the middle.
Apply the light frosting near the top.
Finish with white buttercream across the top edge.
Use a bench scraper or offset spatula to gently smooth the frosting together until the colors blend seamlessly into one another.
Step 8: Decorate the Cake
Pipe matching buttercream swirls around the top edge using the remaining frosting.
Decorate with fresh flowers, edible flowers, white chocolate curls, sprinkles, pearl dragees, or gold leaf for an elegant finish.
Step 9: Slice and Serve
Allow the cake to chill for 20 to 30 minutes before slicing.
Each slice will showcase beautiful graduated layers that perfectly match the ombre buttercream on the outside.
Notes
Use gel food coloring for the richest color without changing the consistency of the batter or frosting.
A digital kitchen scale helps divide both the batter and buttercream evenly.
Pastel shades create a soft, elegant appearance, while vibrant colors produce a bold celebration cake.
Chilling the crumb-coated cake before applying the final frosting makes decorating much easier.
Store the cake covered in the refrigerator for up to 5 days. Bring to room temperature before serving for the best texture and flavor.
Originally published
April 2026
Updated
July 2026
Reviewed by
Culibloom