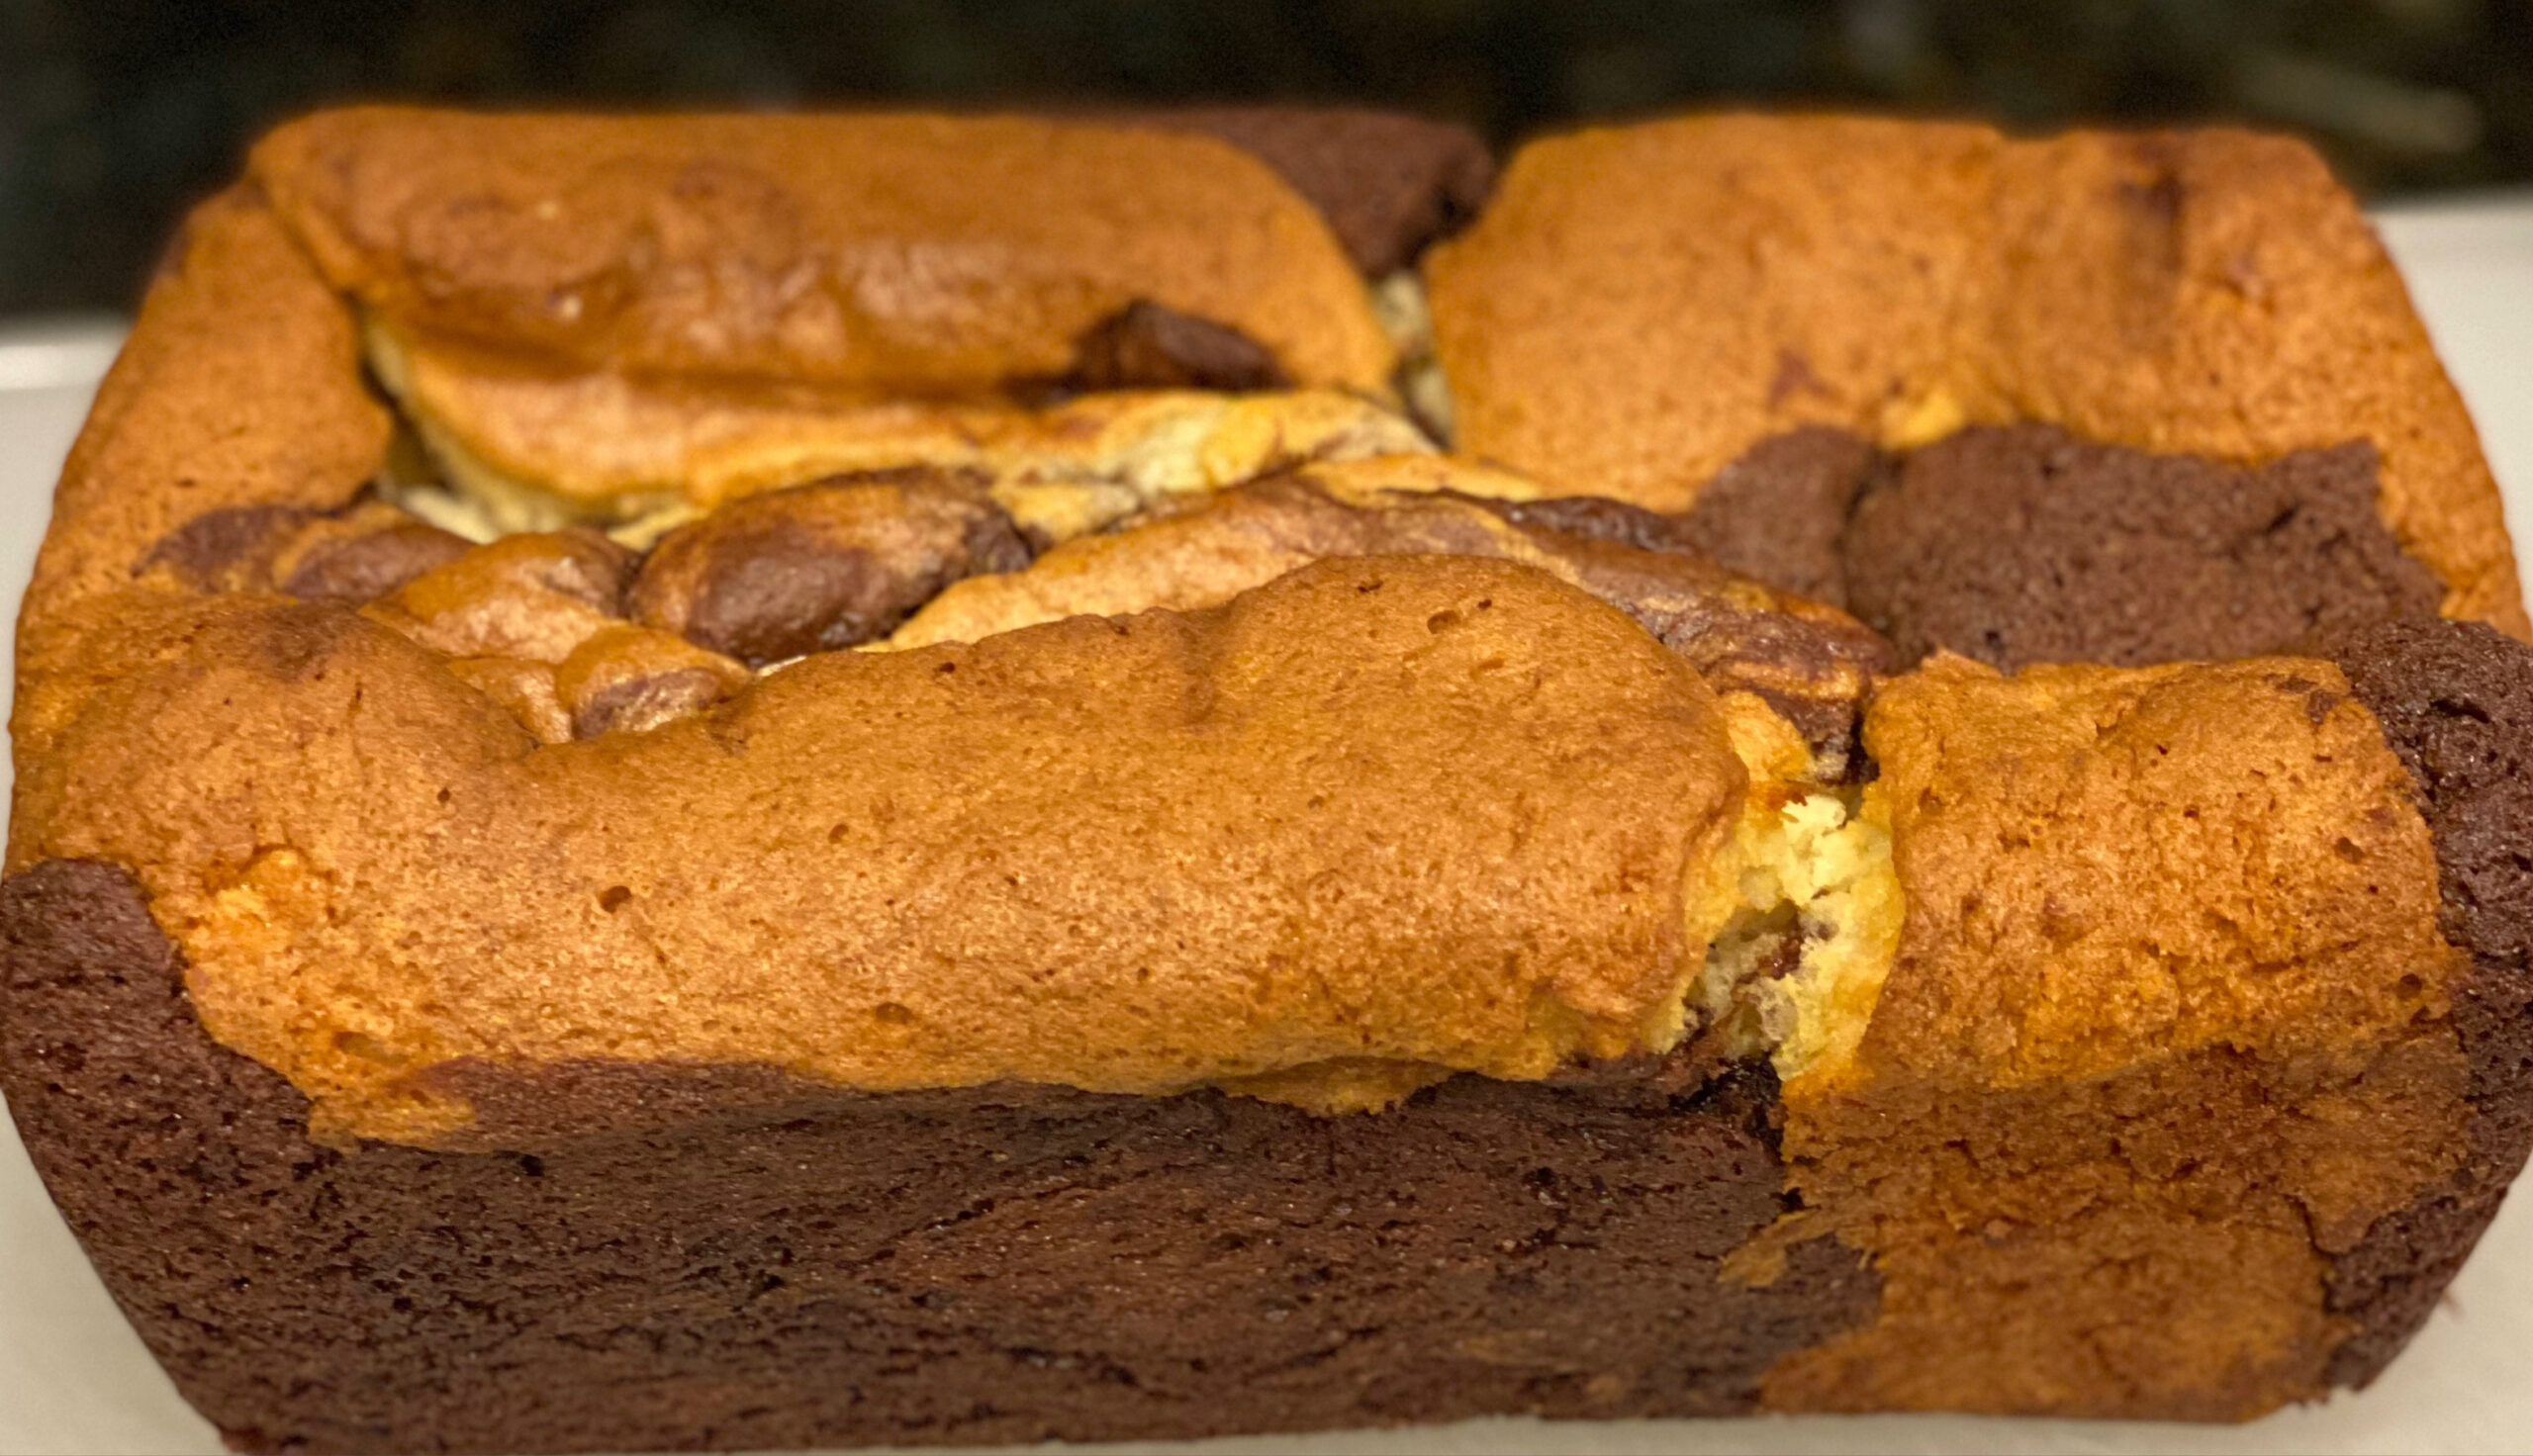
Make a moist gluten-free chocolate and vanilla marbled pound cake with buttery batters, beautiful swirls, and an optional homemade vanilla syrup.
Rich, buttery, and beautifully swirled, this Moist Gluten-Free Chocolate and Vanilla Marbled Pound Cake Recipe brings two classic flavors together in one elegant loaf. Each slice reveals ribbons of tender vanilla cake and deep chocolate cake, making this dessert as attractive as it is delicious.
The two batters are made with brown rice flour and gluten-free oat flour for structure, while tapioca starch lightens the vanilla portion and cocoa powder adds rich flavor to the chocolate portion. Butter, eggs, and whole milk create a soft, satisfying crumb that tastes wonderful on its own or paired with fresh berries, whipped cream, or vanilla ice cream.
For an especially moist cake, finish the warm loaf with the optional homemade vanilla syrup. It slowly soaks into the cake, enhancing the vanilla flavor and keeping every slice tender. The syrup is particularly helpful when preparing the cake ahead of a holiday, celebration, brunch, or family gathering.
Although the dramatic marbled pattern looks impressive, it is simple to create. Layer the two batters in a loaf pan, then use a skewer or knife to make a few gentle swirls. Avoid mixing too aggressively so the chocolate and vanilla ribbons remain distinct.
Directions
Step 1: Prepare the Oven and Pan
Preheat the oven to 350°F. Grease a standard loaf pan. If desired, line the pan with parchment paper, leaving enough overhang along the sides to help lift out the finished cake.
Step 2: Cream the Vanilla Cake Butter and Sugar
Place the softened butter and granulated sugar for the vanilla cake in a large mixing bowl. Beat for 2 to 3 minutes, or until the mixture is pale, light, and fluffy. Mix in the vanilla extract.
Step 3: Add the Vanilla Cake Eggs
Add the eggs one at a time, beating well after each addition. Scrape down the sides and bottom of the bowl as necessary so the mixture remains evenly blended.
Step 4: Finish the Vanilla Batter
Add the brown rice flour, gluten-free oat flour, tapioca starch, salt, xanthan gum, and baking powder. Mix on low speed until the dry ingredients are incorporated.
Pour in the whole milk and mix until combined. Increase the mixer speed and beat for about 2 minutes, or until the batter is smooth, light, and fluffy. Transfer the vanilla batter to a clean bowl and set it aside.
Step 5: Prepare the Chocolate Batter
Using the same mixing bowl, beat the softened butter and granulated sugar for the chocolate cake for 2 to 3 minutes, or until pale and fluffy. Mix in the vanilla extract.
Add the eggs one at a time, beating well after each addition. Add the brown rice flour, gluten-free oat flour, cocoa powder, salt, xanthan gum, and baking powder.
Mix on low speed until incorporated.
Pour in the whole milk and continue mixing until combined. Increase the mixer speed and beat for about 2 minutes, or until the chocolate batter is smooth, creamy, and fluffy.
Transfer the chocolate batter to a piping bag or a large zip-top bag. Trim one corner of the bag when you are ready to layer the cake.
Step 6: Layer the Batters
Spread one-third of the vanilla batter evenly across the bottom of the prepared loaf pan. Pipe half of the chocolate batter over the vanilla layer in loose zigzags or spiral lines.
Carefully spread another third of the vanilla batter over the chocolate layer. Pipe the remaining chocolate batter over the surface, then gently spread the remaining vanilla batter on top.
Step 7: Create the Marble Pattern
Insert a long skewer or sharp knife into the batter and slowly swirl it through the layers several times. Make sure the skewer reaches the bottom and corners of the pan, but avoid excessive swirling. Too much mixing can blend the batters together and reduce the definition of the chocolate and vanilla ribbons.
Step 8: Bake the Pound Cake
Loosely cover the loaf pan with aluminum foil. Bake for 45 to 50 minutes.
Remove the foil and continue baking for another 10 to 15 minutes. The cake is ready when the top is lightly golden and a toothpick inserted into the center comes out clean or with only a few moist crumbs.
Step 9: Prepare the Optional Vanilla Syrup
While the cake is baking, combine the water and granulated sugar in a small saucepan over medium heat. Stir until the sugar has dissolved completely.
Remove the saucepan from the heat and stir in the vanilla extract. Set the syrup aside to cool slightly while the cake finishes baking.
If you prefer a more traditional pound cake without the added syrup, you may omit this step.
Step 10: Add the Vanilla Syrup
Allow the baked cake to cool in the pan for about 10 minutes. Use a fork or skewer to make small holes across the top of the warm cake.
Slowly pour the warm vanilla syrup over the surface, pausing as needed to let it soak into the loaf. Allow some syrup to run around the edges so the moisture is distributed throughout the cake.
Let the cake rest in the pan for another 30 minutes.
Step 11: Cool and Serve
Carefully remove the cake from the pan and transfer it to a wire rack. Allow it to cool completely before slicing so the crumb can set and the marbled pattern remains neat.
Serve the cake plain or garnish individual slices with fresh berries, whipped cream, vanilla ice cream, cocoa nib whipped cream, or chocolate shavings.
Notes
Swirl the two batters gently. A few slow passes with a skewer or knife will produce defined chocolate and vanilla ribbons without blending the colors together.
Make sure the skewer reaches the bottom and corners of the loaf pan for a marbled design that extends throughout each slice.
Room-temperature butter, eggs, and milk blend more evenly and help create a smoother batter with a better rise.
The vanilla syrup is optional, but it gives the cake additional moisture and a more pronounced vanilla flavor. Pour it gradually over the warm cake so it has time to soak into the crumb.
Let the cake cool completely before slicing. Cutting it while it is still warm may compress the crumb and make the marbled slices look uneven.
Store the cake tightly covered at room temperature for up to 3 days.
The cake can be refrigerated for up to 1 week. Bring chilled slices closer to room temperature before serving for a softer texture.
Freeze the whole loaf or individual slices for up to 3 months. Wrap the cake securely before freezing, then thaw it overnight in the refrigerator or at room temperature before serving.
Check that the brown rice flour, oat flour, tapioca starch, cocoa powder, xanthan gum, baking powder, vanilla extract, and other packaged ingredients carry appropriate gluten-free labeling when baking for someone with celiac disease or gluten sensitivity. Prevent cross-contact by using clean equipment, work surfaces, and serving utensils.