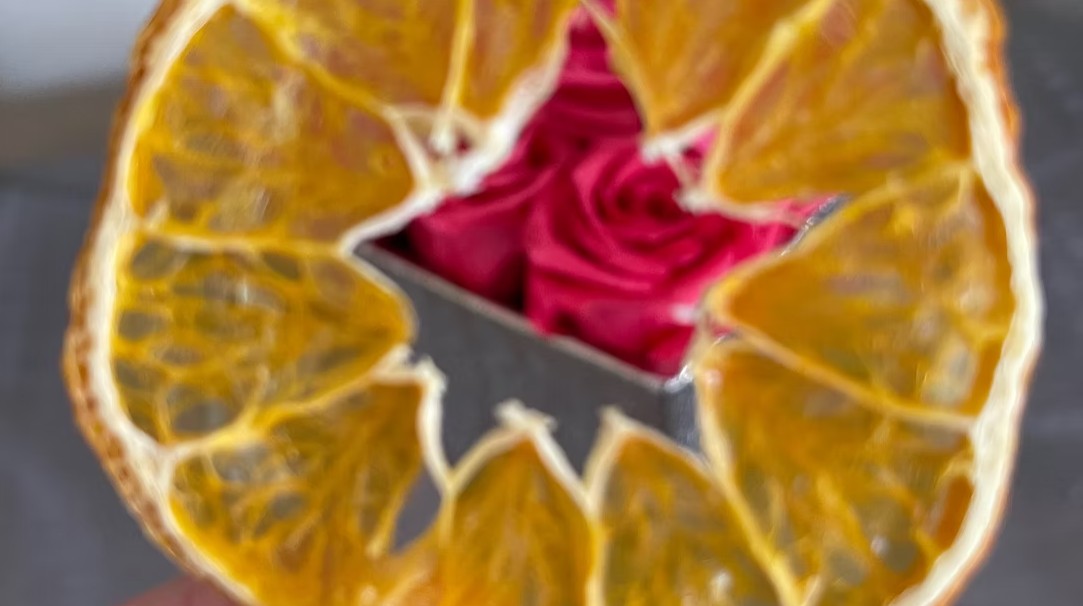
Make radiant oven-dried orange slices for cocktails, desserts, holiday decorations, wreaths, crafts, tea, charcuterie boards, and homemade gifts.
Radiant Oven-Dried Orange Slices are a beautiful and versatile addition to holiday decorations, cocktails, desserts, charcuterie boards, and homemade gifts. Drying the fruit slowly intensifies its vibrant color while preserving its fresh citrus aroma. With one simple ingredient and a little patience, you can transform ordinary oranges into elegant garnishes and rustic seasonal decorations.
This easy oven-drying method does not require a dehydrator or special equipment. The most important details are cutting the oranges evenly, removing excess surface moisture, and allowing enough time for the slices to dry at a low temperature. Because every orange contains a different amount of juice, some slices may finish sooner than others. Checking them regularly toward the end of the drying time helps prevent over browning.
Use the finished slices to garnish festive drinks, decorate cakes, flavor tea, embellish wrapped gifts, or add natural color to wreaths and garlands. When preparing them for edible uses, choose fresh, unblemished oranges and wash the peels thoroughly. The dried slices also pair beautifully with cinnamon sticks, evergreen branches, pinecones, and ribbons for fragrant holiday displays.
Directions
Step 1: Prepare the Oranges
Wash the oranges thoroughly under cool running water to remove dirt, residue, or wax from the peels. This is especially important when the slices will be used in drinks, desserts, or other edible applications. Dry each orange completely with a clean kitchen towel or paper towels before cutting.
Choose firm oranges without soft spots or damaged areas. Navel oranges work well because they are widely available and have a vivid color, but other varieties may also be used.
Step 2: Slice the Oranges
Using a sharp knife or mandolin, carefully cut the oranges crosswise into uniform rounds approximately 1/4 to 3/8 inch thick. Consistent thickness is essential because it helps the slices dry at approximately the same rate.
Very thin slices may dry faster but can become fragile or brown around the edges. Thicker slices usually retain more color and structure, but they require additional drying time. If using a mandolin, always follow the manufacturer’s safety instructions and use the hand guard.
Step 3: Remove Excess Moisture
Arrange the orange slices on a clean layer of paper towels or an absorbent kitchen towel. Place another layer over the slices and gently press to absorb excess juice.
Do not squeeze or crush the fruit. Gentle blotting is enough to remove surface moisture without damaging the shape of the slices. This step helps shorten the oven time and encourages more even drying.
Step 4: Prepare the Oven and Baking Sheets
Preheat the oven to 200°F. Line one or more large baking sheets with parchment paper.
Arrange the orange slices in a single layer on the prepared baking sheets. Leave a small amount of space between the slices and make sure they do not overlap. Proper spacing allows warm air to circulate around the fruit and helps the slices dry more consistently.
Step 5: Begin Drying the Orange Slices
Place the baking sheets in the preheated oven. Bake the orange slices at 200°F for approximately 4 to 6 hours.
The exact drying time will depend on the thickness of the slices, the moisture content of the oranges, the number of baking sheets in the oven, and the accuracy of the oven temperature. Treat the suggested time as a guide and rely on the appearance and texture of the fruit to determine when it is ready.
Step 6: Flip and Rotate the Slices
Every 1 to 2 hours, carefully flip each orange slice with tongs or a thin spatula. Rotate the baking sheets from front to back. If multiple oven racks are being used, switch the positions of the sheets as well.
Flipping and rotating the slices promotes even dehydration and reduces the likelihood of one side becoming dark while the other remains moist. Work carefully because the fruit will become increasingly delicate as it dries.
Step 7: Check for Doneness
Monitor the orange slices closely during the final hour of drying. Thinner pieces may be ready before thicker ones, so remove individual slices as they become fully dried.
The finished slices should feel dry rather than sticky, and the centers should no longer appear wet. Some slices may become crisp and brittle, while slightly thicker pieces may remain a little flexible when warm.
Avoid leaving fully dried slices in the oven for too long because the natural sugars can cause the fruit to brown or burn.
Step 8: Cool Completely
Transfer the dried orange slices to a wire cooling rack and allow them to cool completely at room temperature. The slices will continue to firm and crisp as they cool.
Inspect the cooled slices before storing them. If any centers still feel moist, return those pieces to the oven and continue drying them in short intervals. Storing slices with remaining moisture may encourage mold growth.
Step 9: Store or Use
Place completely cooled orange slices in a clean, airtight container. Store them in a cool, dry location away from humidity, heat, and direct sunlight.
Use the slices as cocktail garnishes, tea additions, cake decorations, charcuterie board accents, gift embellishments, or seasonal decorations. For wreaths and garlands, thread ribbon or twine through the dried flesh or make a small opening near the rind.
Notes
The number of dried slices will depend on the size and quantity of oranges used. One medium orange generally produces several rounds, but no fixed yield is required for this flexible method.
Uniform slicing is the key to even drying. If the slices vary significantly in thickness, separate them by size or remove the thinner pieces as soon as they are ready.
Blood oranges and Cara Cara oranges create colorful variations. Lemons, limes, and other citrus fruits can also be dried with this method, although their drying times may differ.
For edible garnishes, use fresh fruit with thoroughly cleaned peels. If possible, choose unwaxed oranges. Always discard slices that develop an unusual odor, visible moisture, or signs of mold during storage.
Store the completely dried slices in an airtight container in a cool, dry place for several weeks. Place parchment paper between delicate layers if needed to reduce breakage.
Humidity can soften dried citrus. If previously crisp slices become slightly flexible but show no signs of spoilage, they may be returned to a low oven briefly and then cooled completely before storage.
If your oven runs hot, begin checking the fruit early to prevent excessive browning. The oven door may be opened briefly to release accumulated moisture. Only leave the door slightly open during drying if the appliance manufacturer confirms that doing so is safe. Never leave the oven unattended.
For cocktails and beverages, float a dried orange slice on top of the drink, rest it against the inside of the glass, or place it on the rim. The slices can also be added to hot tea, mulled cider, or alcohol-free punch for color and citrus aroma.
For decorative displays, combine the dried oranges with cinnamon sticks, dried cranberries, pinecones, ribbon, or evergreen clippings. Keep decorative slices away from open flames, candles, and excessive moisture.