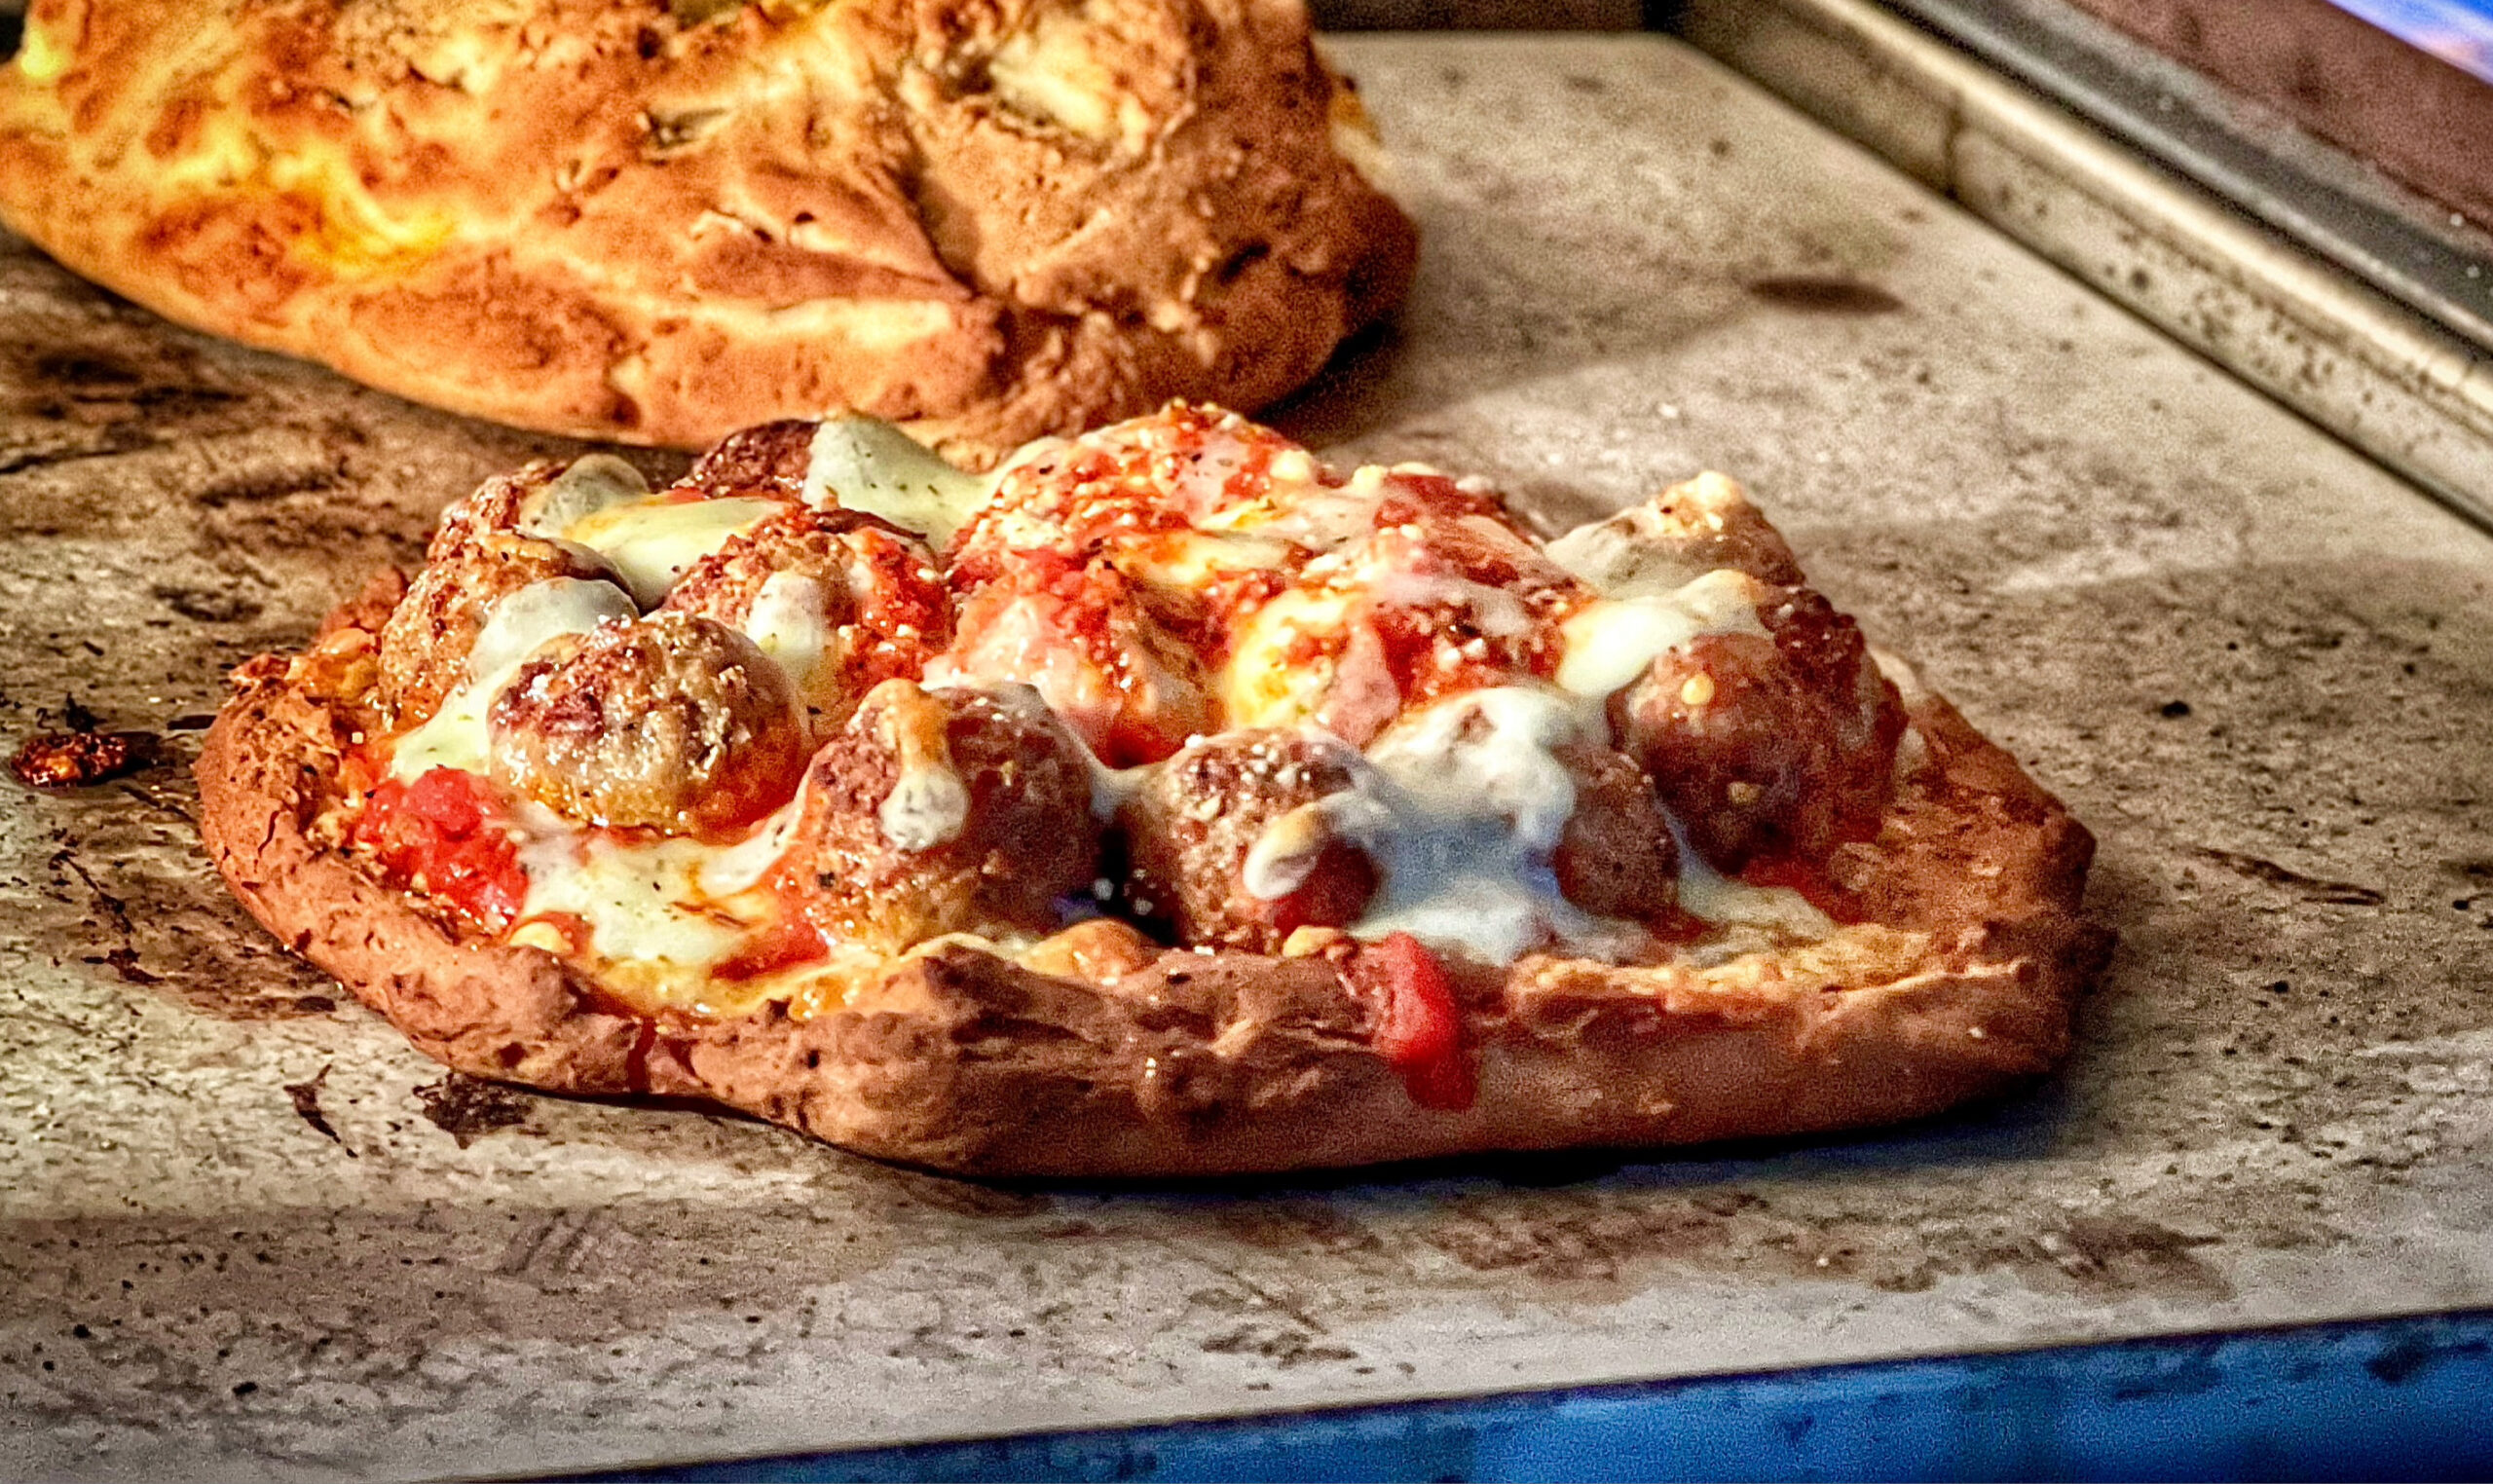
Make cheesy gluten-free meatball pizza with Italian meatballs, rich tomato sauce, mozzarella, and a crisp crust. Includes oven and wood-fired directions.
Bring hearty pizzeria flavor to your table with this Cheesy Gluten-Free Meatball Pizza Recipe. Juicy Italian meatballs, rich tomato sauce, and bubbling mozzarella cover a crisp, golden gluten-free crust. A finishing layer of Parmesan adds savory depth, while fresh basil or parsley brings a bright touch to every slice.
This gluten-free meatball pizza makes a satisfying choice for family dinners, casual entertaining, or weekend pizza nights. Use homemade gluten-free meatballs when you have them ready, or choose prepared gluten-free meatballs for convenient assembly. Either option pairs beautifully with the simple combination of tomato sauce, Italian seasoning, garlic, and melted cheese.
Bake your pizza in a conventional oven for a golden crust and lightly browned topping, or use a wood-fired pizza oven for a faster bake. With the meatballs cooked in advance and the crust ready for topping, this recipe comes together with just 20 minutes of preparation. Serve it hot, with extra Parmesan at the table.
Directions
Step 1: Prepare the Oven
Preheat a conventional oven to 475°F. If using a pizza stone or baking steel, place it in the oven while it preheats so the cooking surface is hot when the pizza is ready.
For a wood-fired pizza oven, follow the manufacturer’s preheating instructions and aim for approximately 700°F to 800°F. Choose a gluten-free crust suitable for your oven and baking temperature.
Step 2: Prepare the Crust
Prepare your gluten-free crust according to its recipe or package instructions, including any required pre-baking before adding toppings.
Place the crust on a pizza pan or baking sheet, or on a pizza peel if transferring it directly to a heated stone, steel, or pizza oven. If using parchment on a baking sheet, follow its stated temperature limit. Do not use parchment in the wood-fired oven.
Brush the outer edge of the crust with the extra-virgin olive oil to encourage a golden finish.
Step 3: Spread the Sauce
Spoon the pizza sauce onto the crust and spread it evenly, leaving about a 1/2-inch border around the edge. Sprinkle the Italian seasoning and garlic powder over the sauce.
Distribute the sauce across the surface rather than allowing it to collect in the center. An even layer helps balance the tomato flavor with the meatballs and cheese.
Step 4: Add the Cheese and Meatballs
Sprinkle half of the mozzarella evenly over the sauce. Arrange the cooked gluten-free meatballs across the pizza, spacing them so each slice will have a generous portion.
Halve larger meatballs to make the pizza easier to slice and eat. Small meatballs may remain whole.
Scatter the remaining mozzarella over and around the meatballs, then finish with the grated Parmesan.
Add the optional crushed red pepper flakes if you would like a little heat.
Step 5: Bake Until Golden and Bubbling
For a conventional oven, bake for 12 to 15 minutes, or until the crust is crisp and the cheese is melted, bubbly, and lightly browned. Follow any crust-specific baking guidance, since thickness and preparation can affect the baking time.
For a wood-fired pizza oven, bake for approximately 2 to 4 minutes, rotating as needed for even cooking. Watch closely because the high heat can brown the edges quickly.
The meatballs should be hot throughout when the pizza is ready.
Step 6: Garnish and Serve
Remove the pizza from the oven and let it rest for 2 to 3 minutes. This brief rest allows the melted cheese to settle slightly before slicing.
Sprinkle with the chopped fresh basil or parsley and add extra Parmesan as desired. Slice into portions and serve while hot, with the crisp crust and melted cheese at their best.
Notes
For a flavorful homemade topping, use gluten-free Italian meatballs made with fresh herbs, Parmesan, and gluten-free breadcrumbs. Cook the meatballs completely before adding them to the pizza. The baking times in this recipe are intended for cooked meatballs.
If using frozen cooked meatballs, thaw and warm them before assembling the pizza. This is especially helpful for the short wood-fired baking time.
Whole milk mozzarella gives the topping a creamy melt and a rich finish. Distributing it beneath and over the meatballs helps hold the toppings in place.
The listed toppings will cover a 12- to 16-inch crust. A smaller crust will have a more generous layer, while a larger crust will spread the toppings more thinly. Avoid piling everything in the center.
The 35-minute total reflects preparation and conventional oven baking with a crust ready for topping and already-cooked meatballs. Allow additional time for homemade dough, any required crust prebaking, oven preheating, and the brief rest before slicing.
Optional additions include sautéed mushrooms, roasted bell peppers, caramelized onions, or black olives. Drain excess moisture from additional toppings before using them.
For an optional finishing touch, drizzle the baked pizza with garlic-infused olive oil or a little hot honey.
Store leftover pizza in an airtight container in the refrigerator for up to 3 days. Reheat in a 375°F oven for approximately 8 to 10 minutes, or until hot and the crust has regained some crispness.
Check the gluten-free labeling on the crust, meatballs, sauce, and seasonings. Use clean preparation surfaces and utensils to help prevent cross-contact.